WABLI is cloud-based low-code platform that facilitates rapid prototyping for bootstrapping the design process and generating ready-to-deploy web applications.
WABLI provides tools for designing, building and deploying your web applications.
Below you can find an example scenario on how you can develop an application with WABLI.
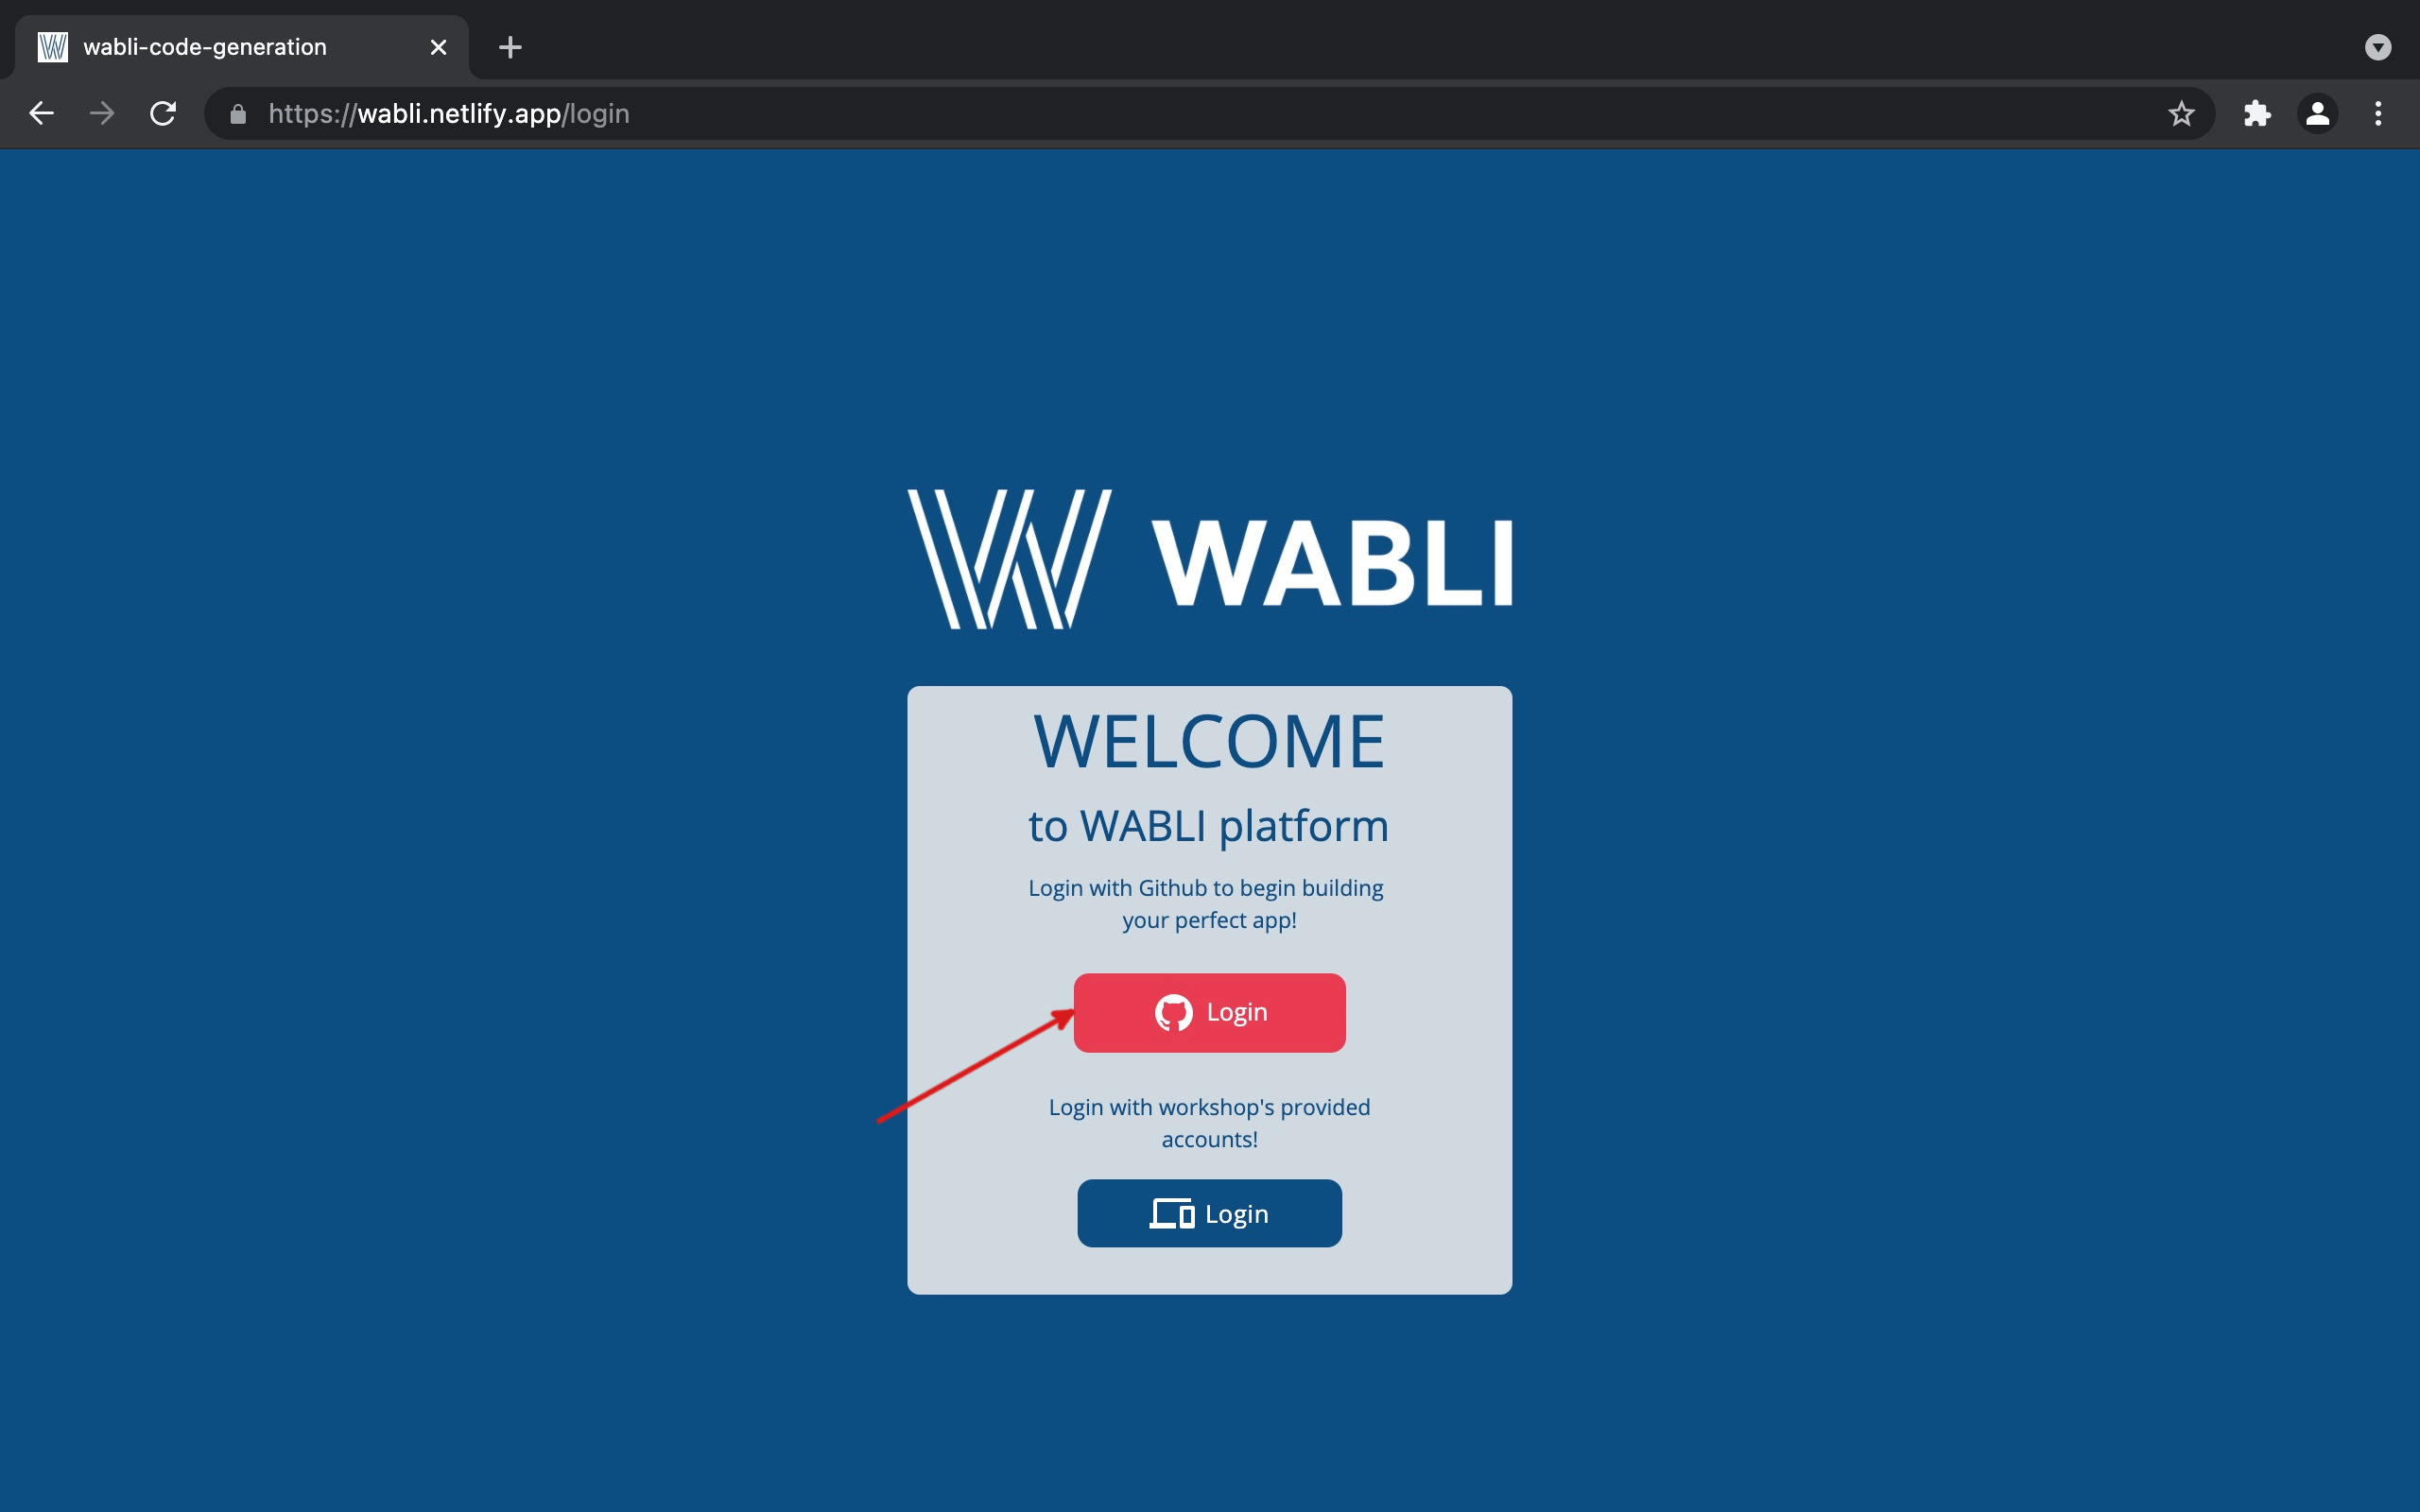
You can login to WABLI with your GitHub account by visiting the following url: https://wabli.netlify.app.
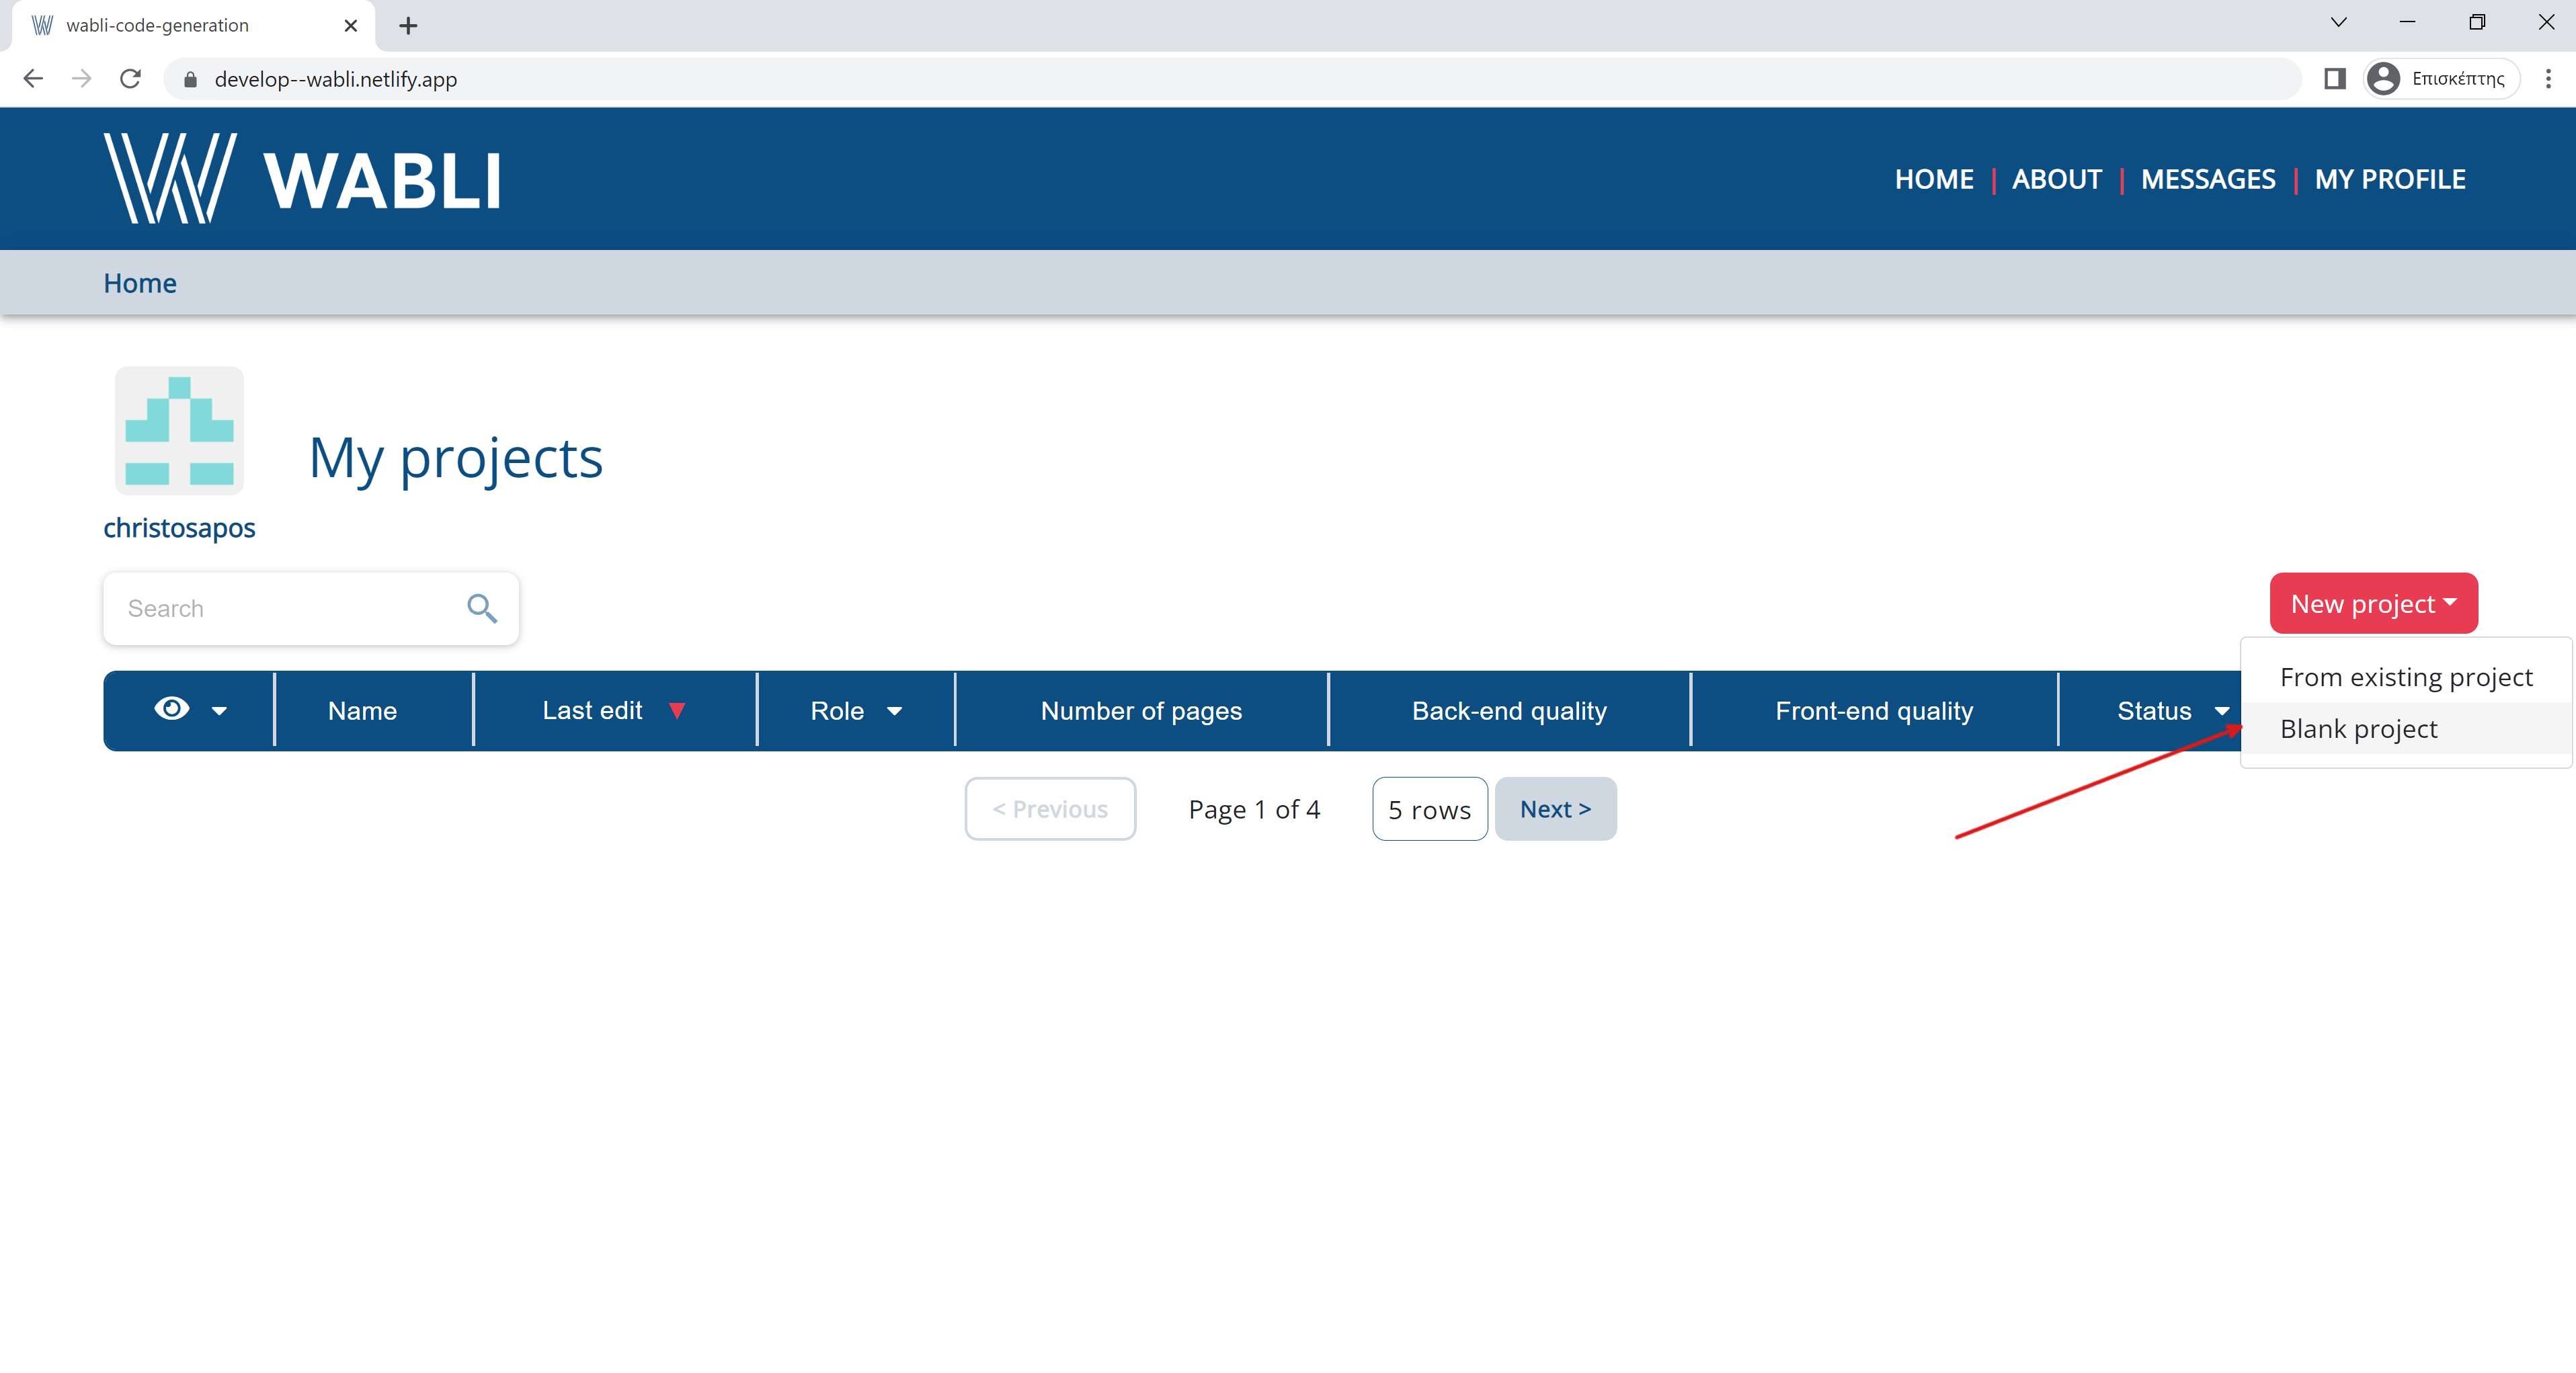
You can create a new project from the landing page by clicking on the "Create new project" button, and selecting "Blank project".
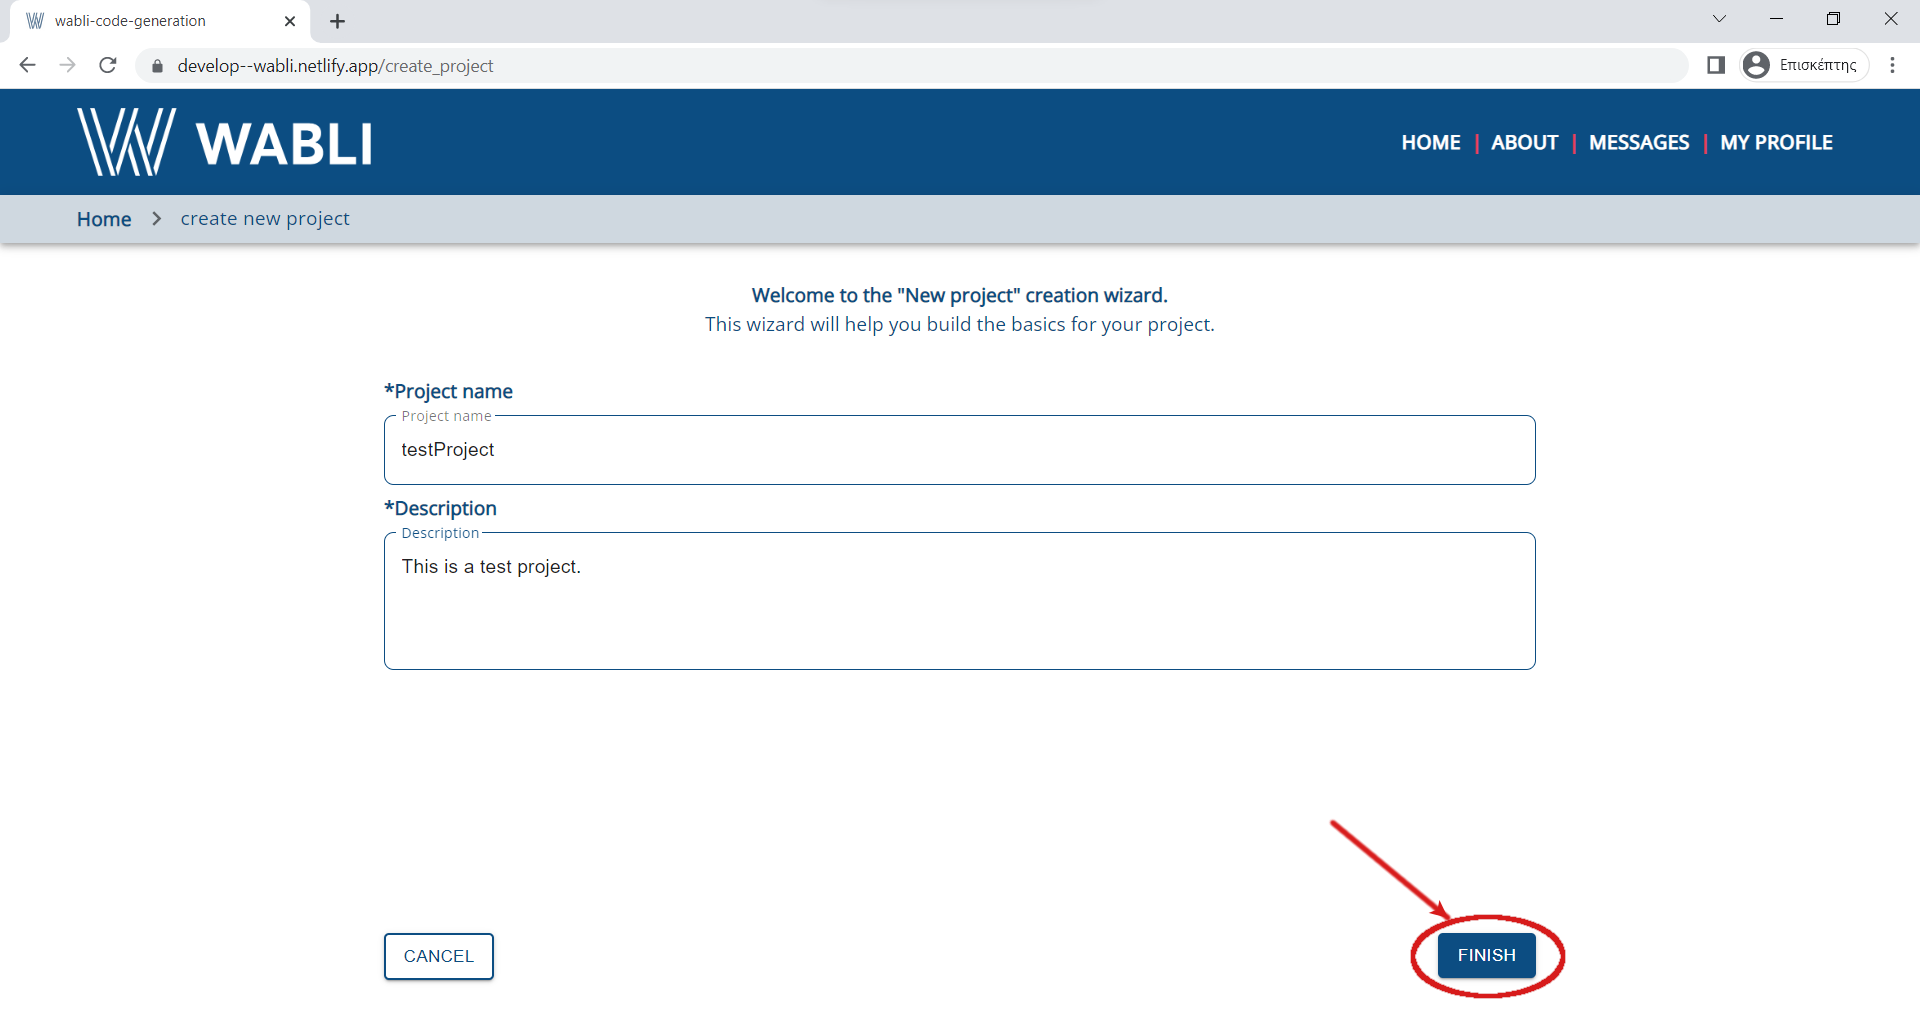
You can then complete the details of your project (Project name, Description).
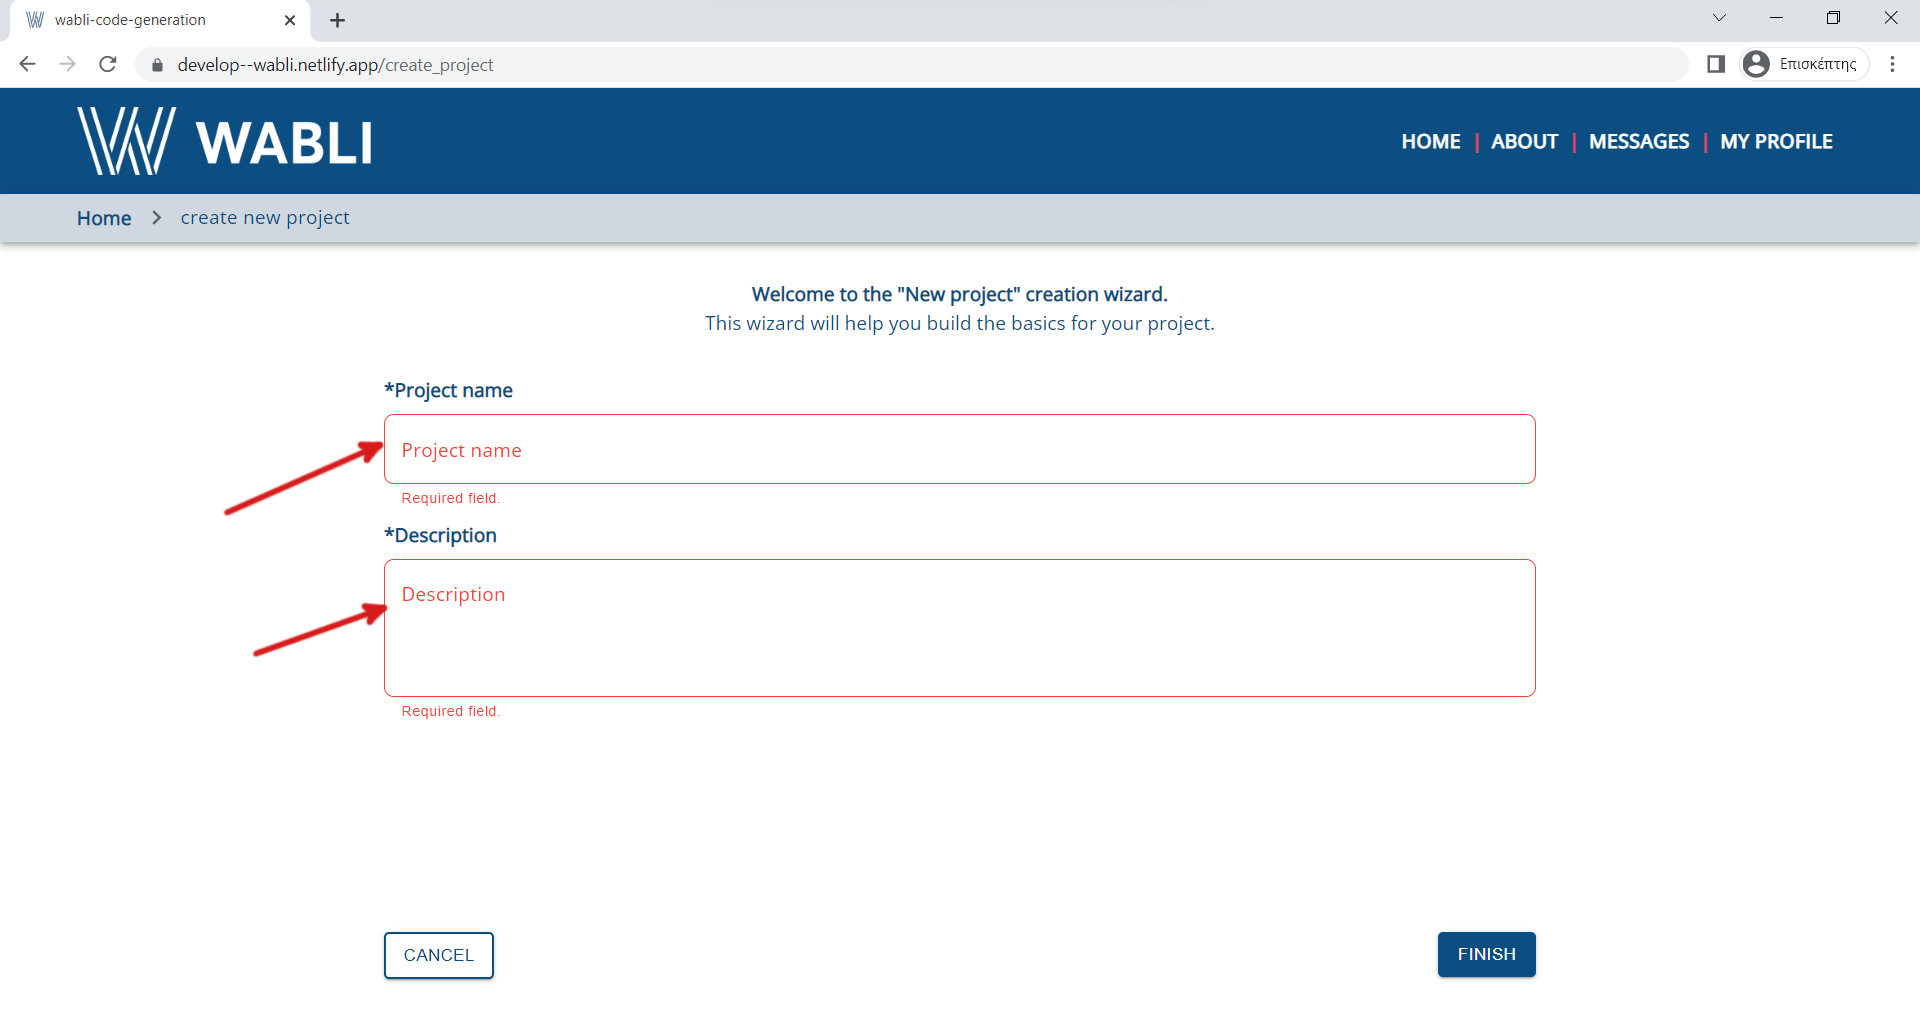
Click "Finish".
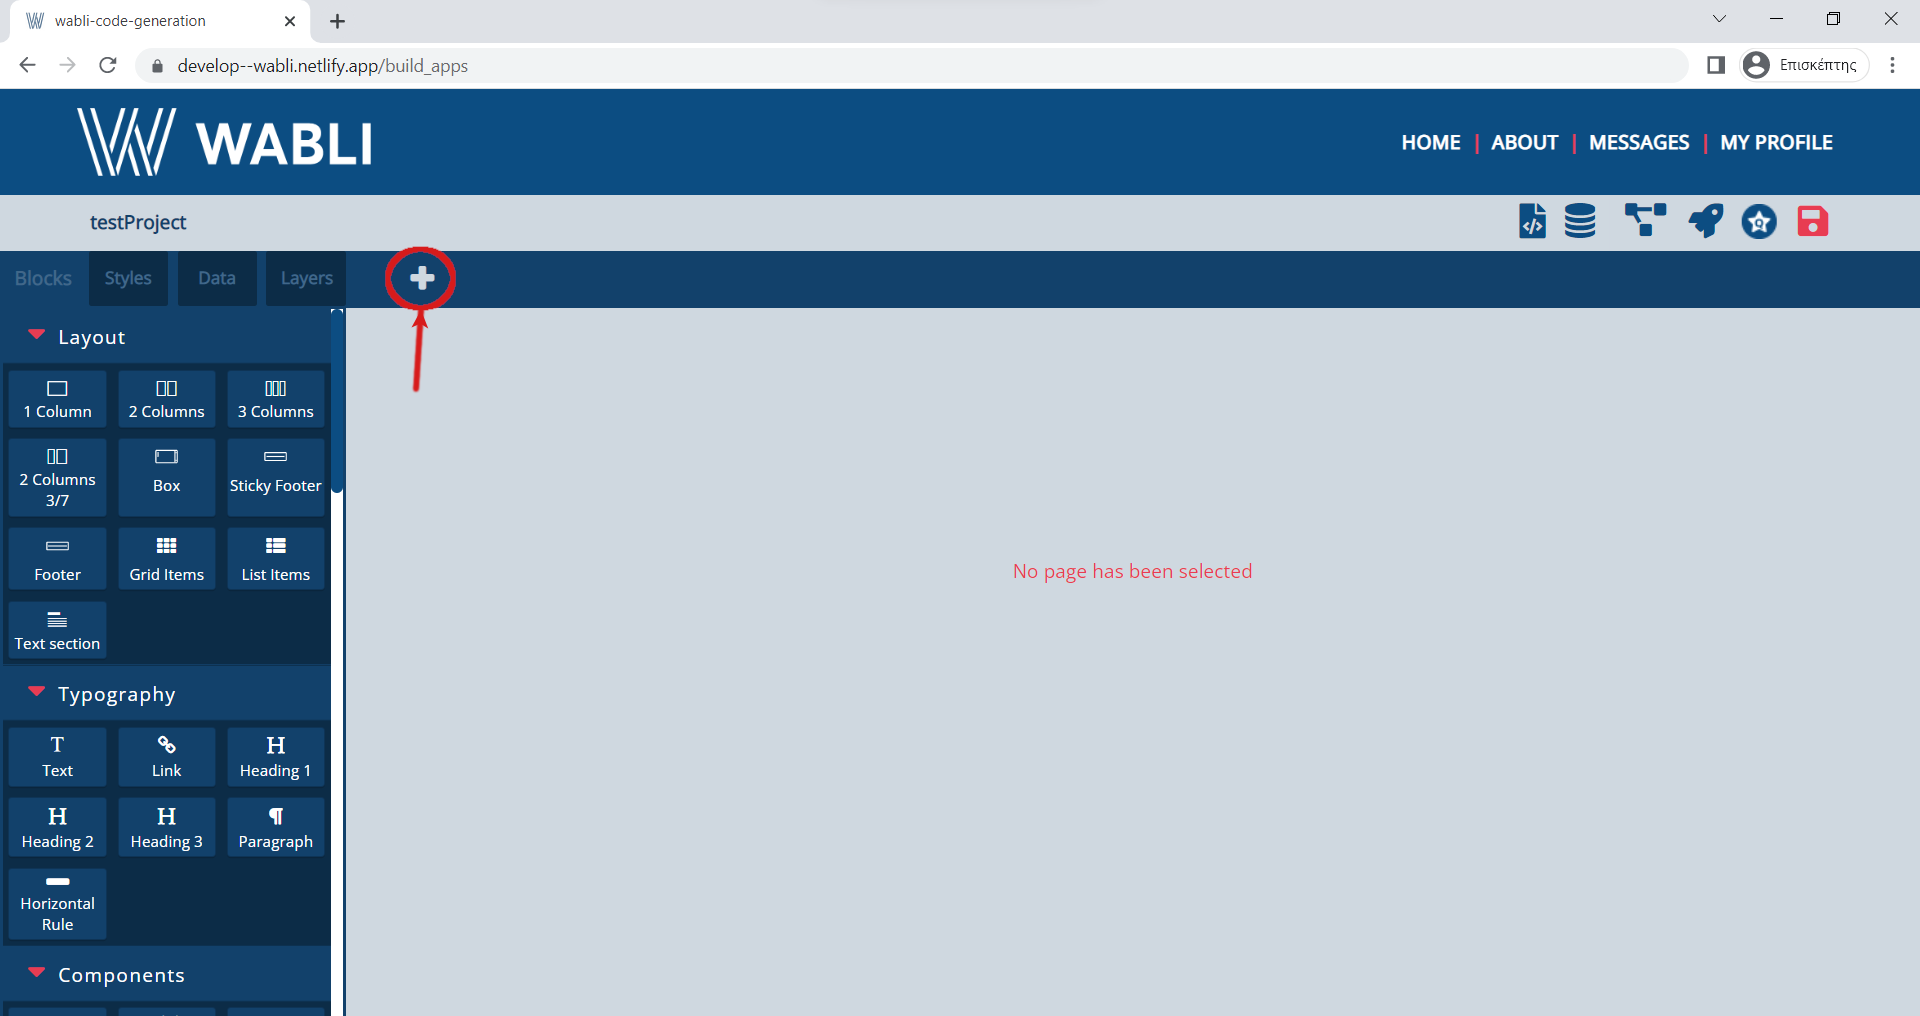
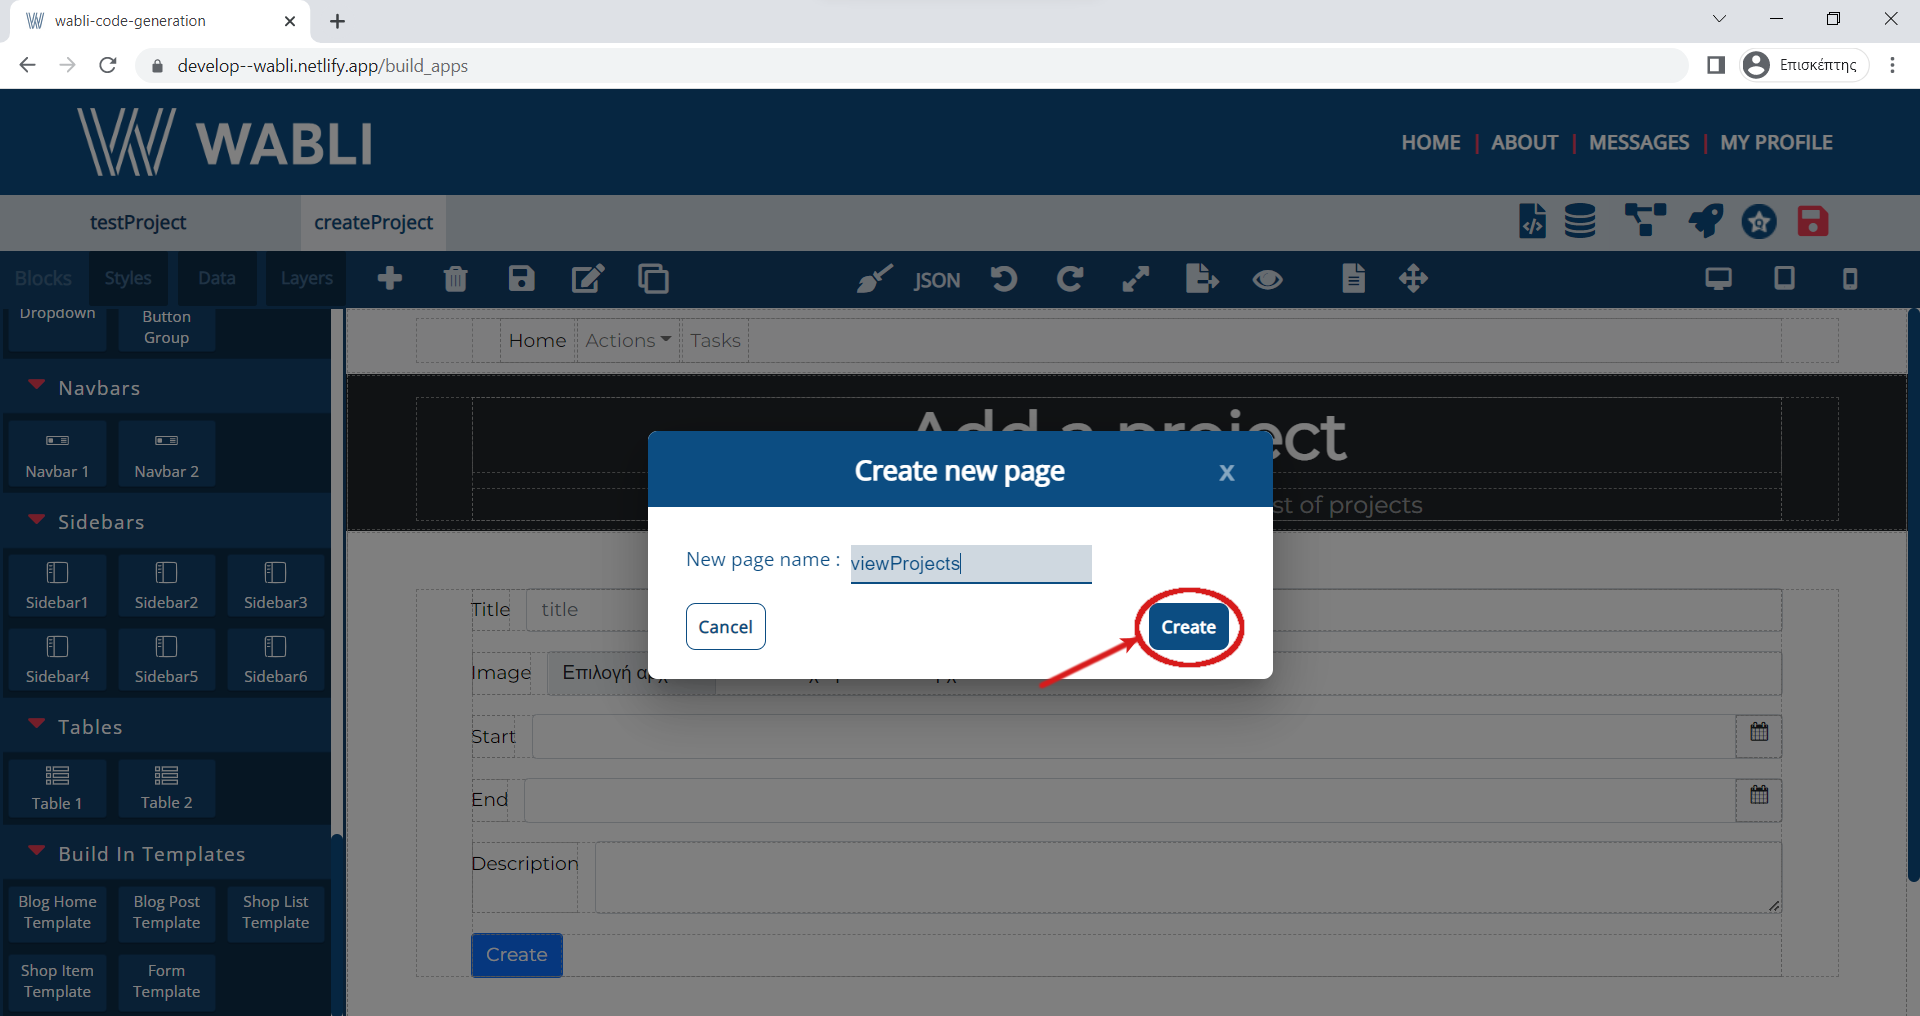
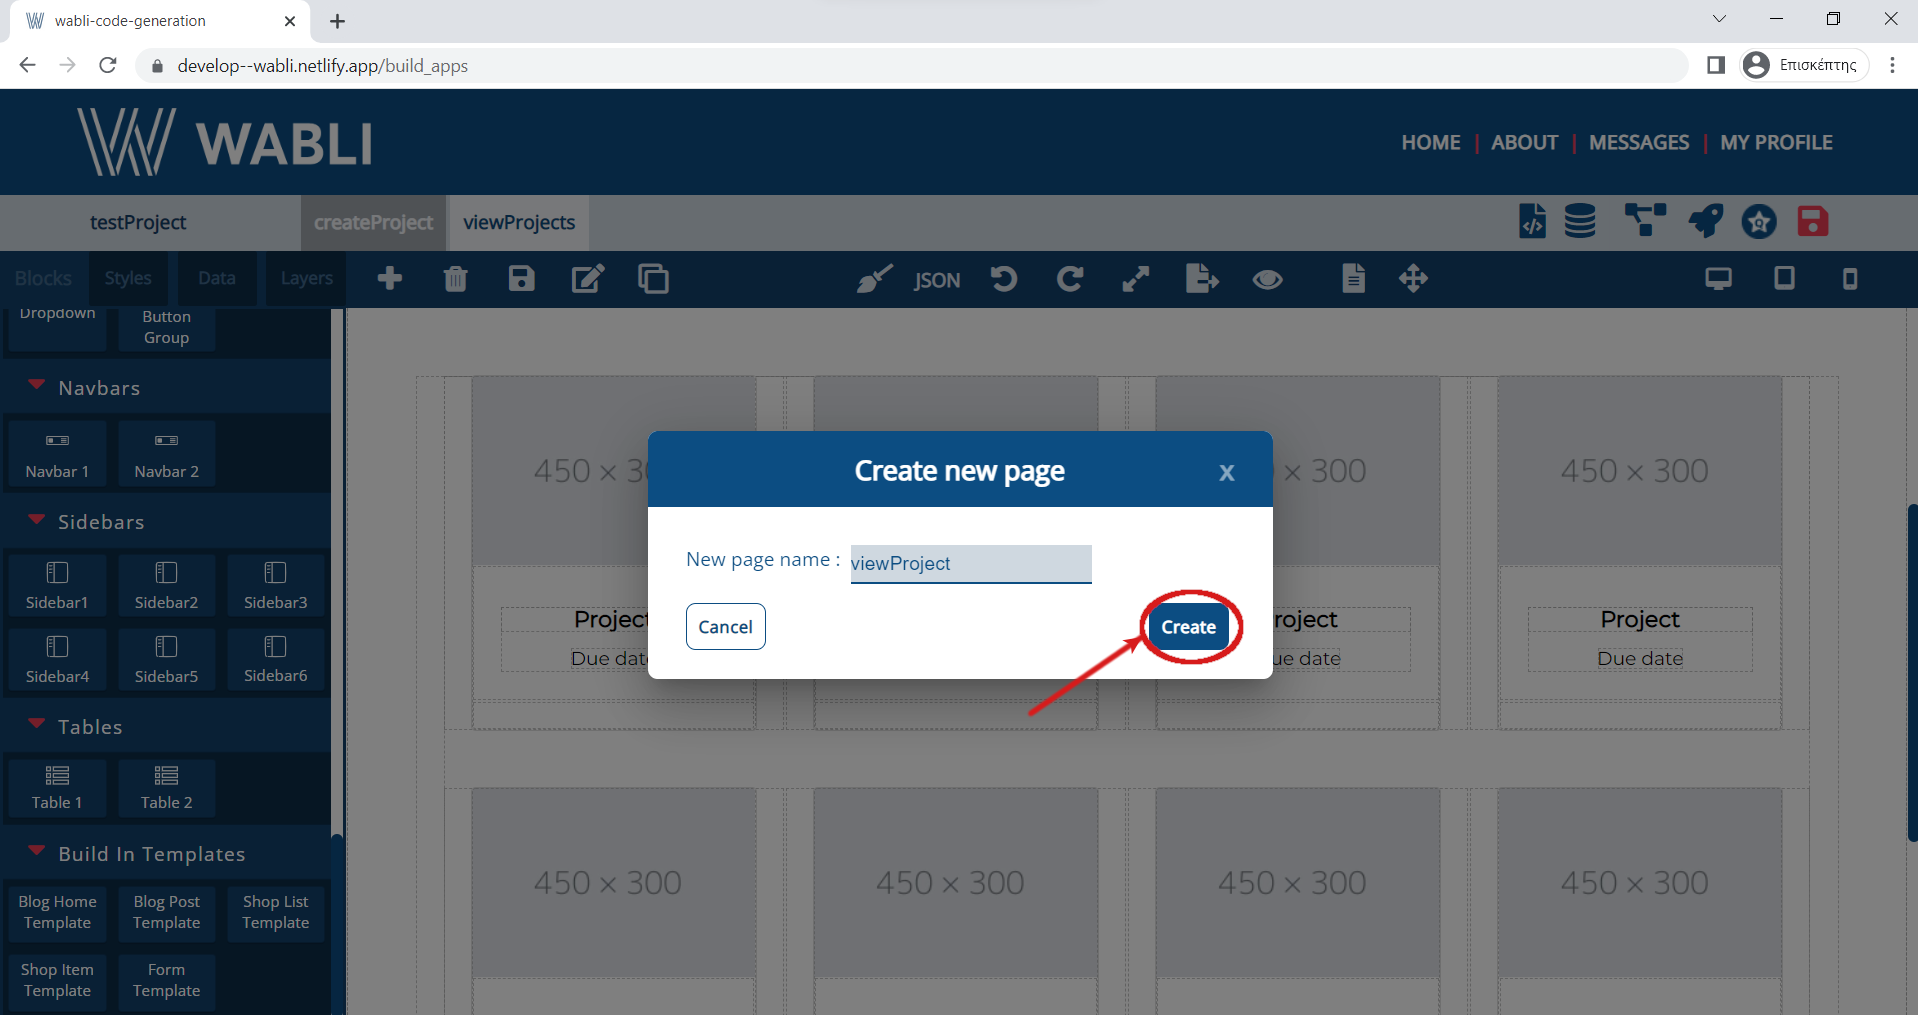
You can create a new page by clicking on the "+" button.
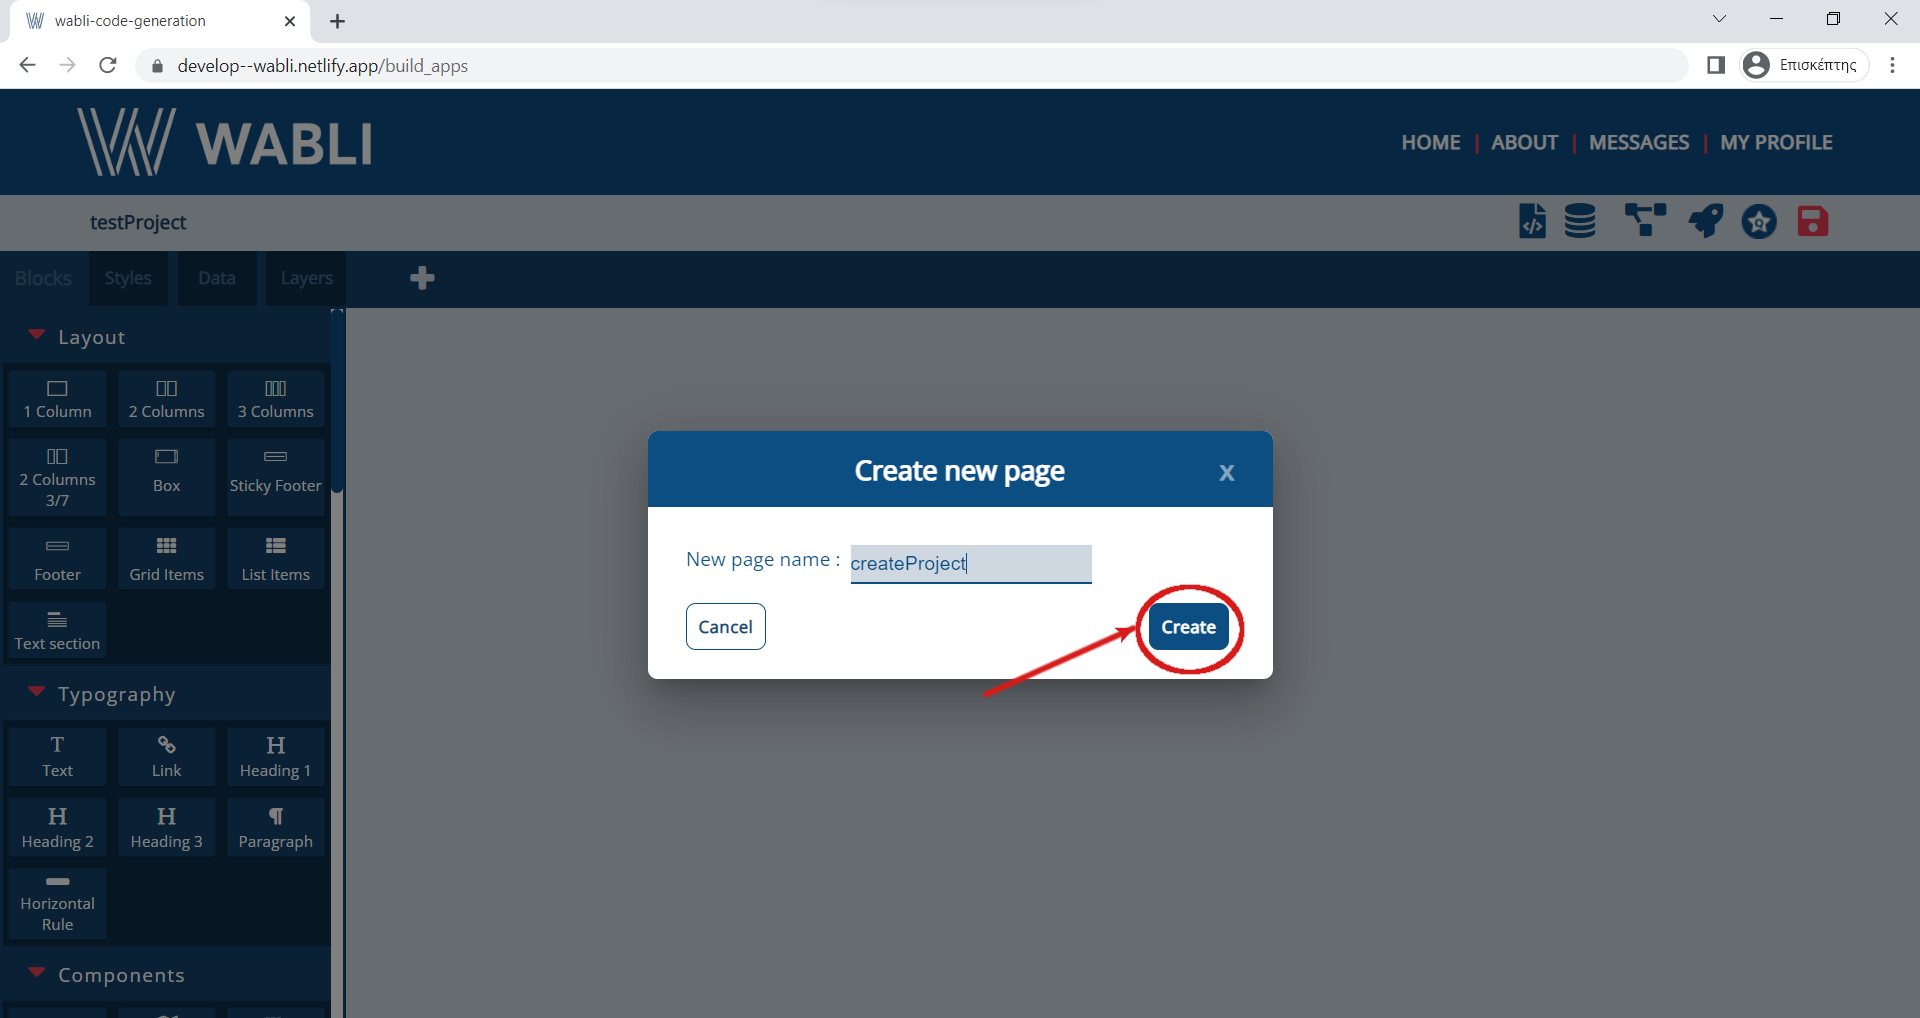
Name your page and click "Create" button.
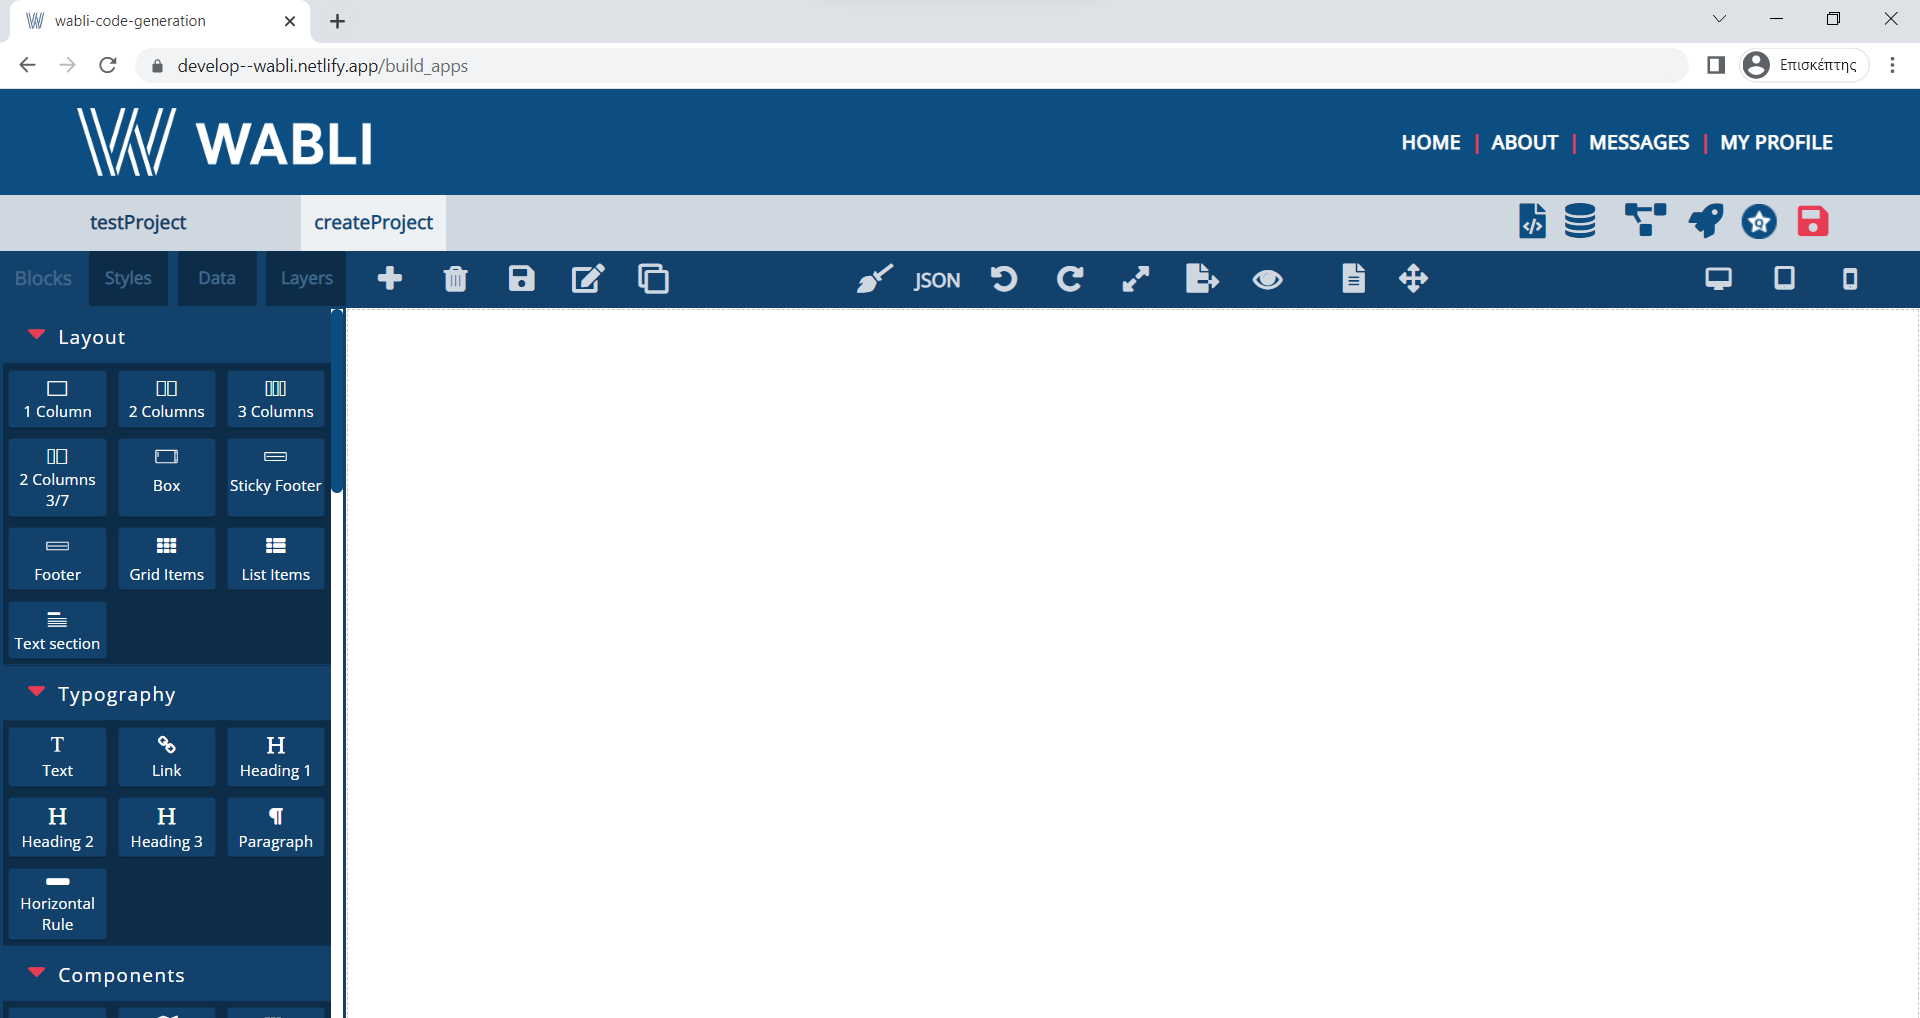
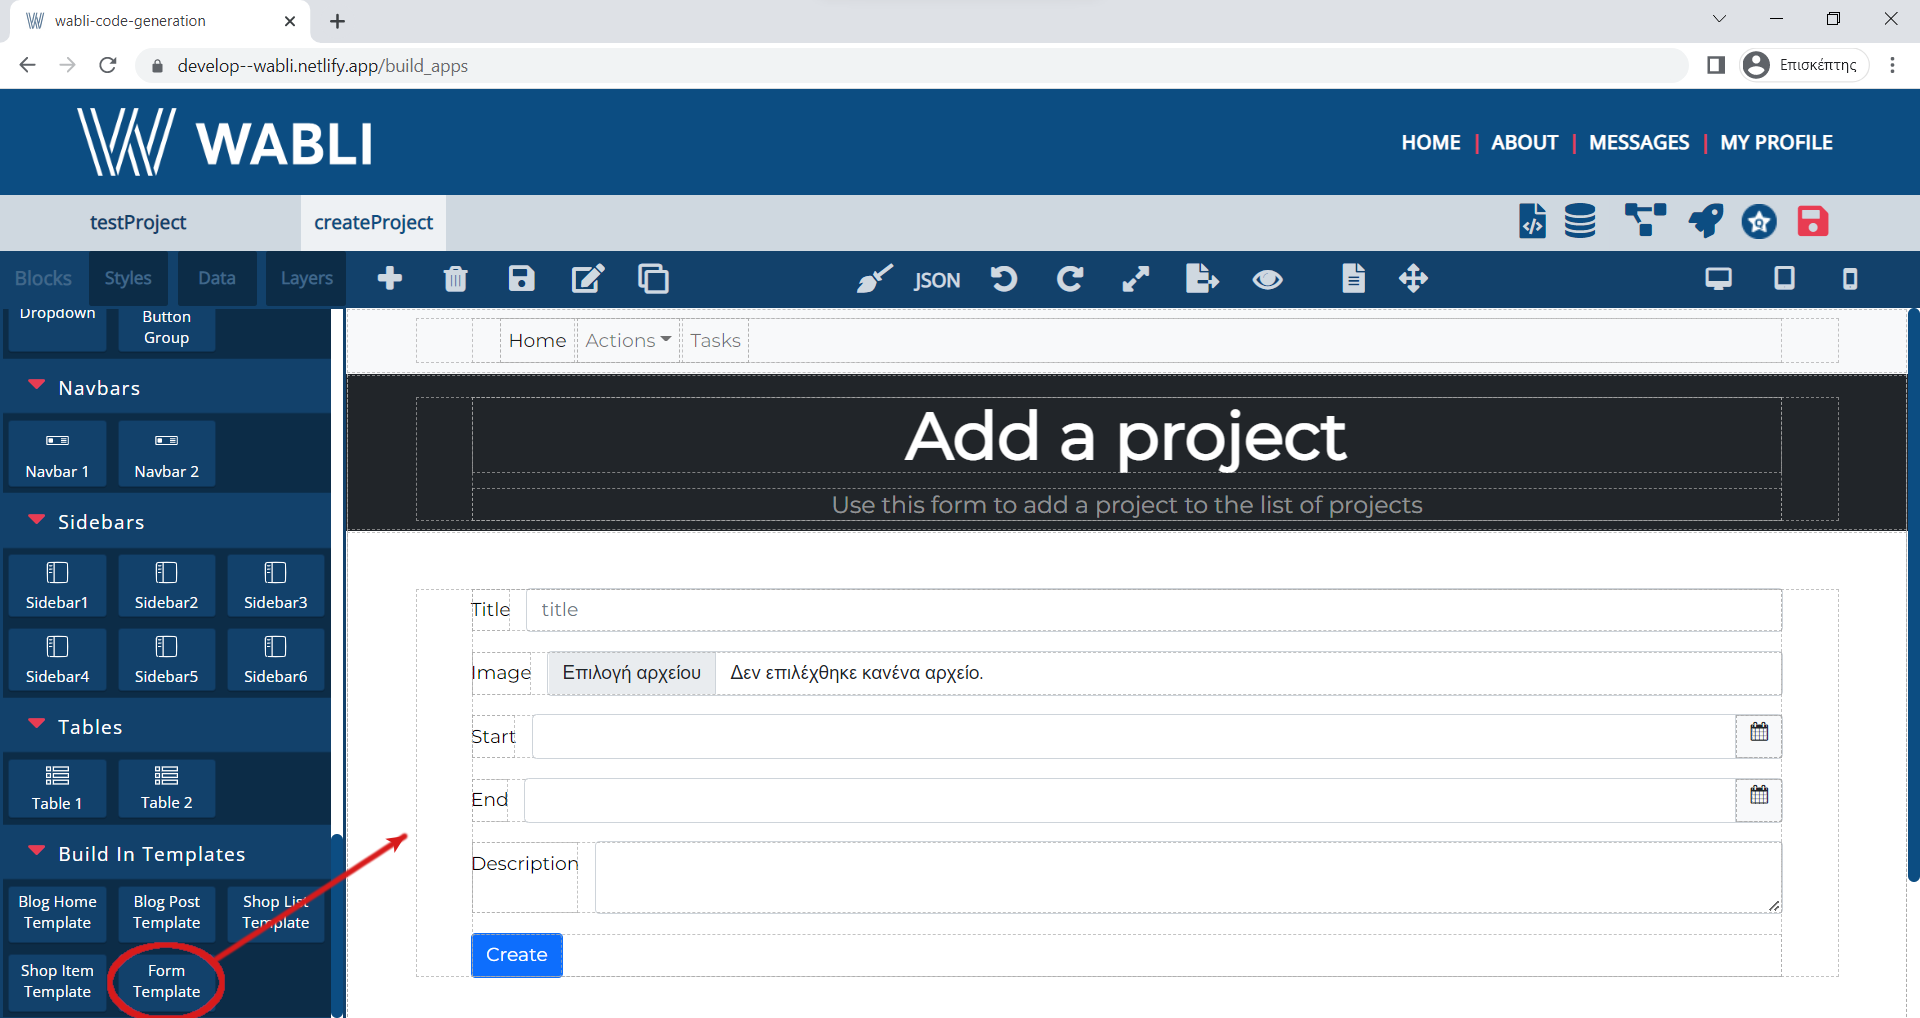
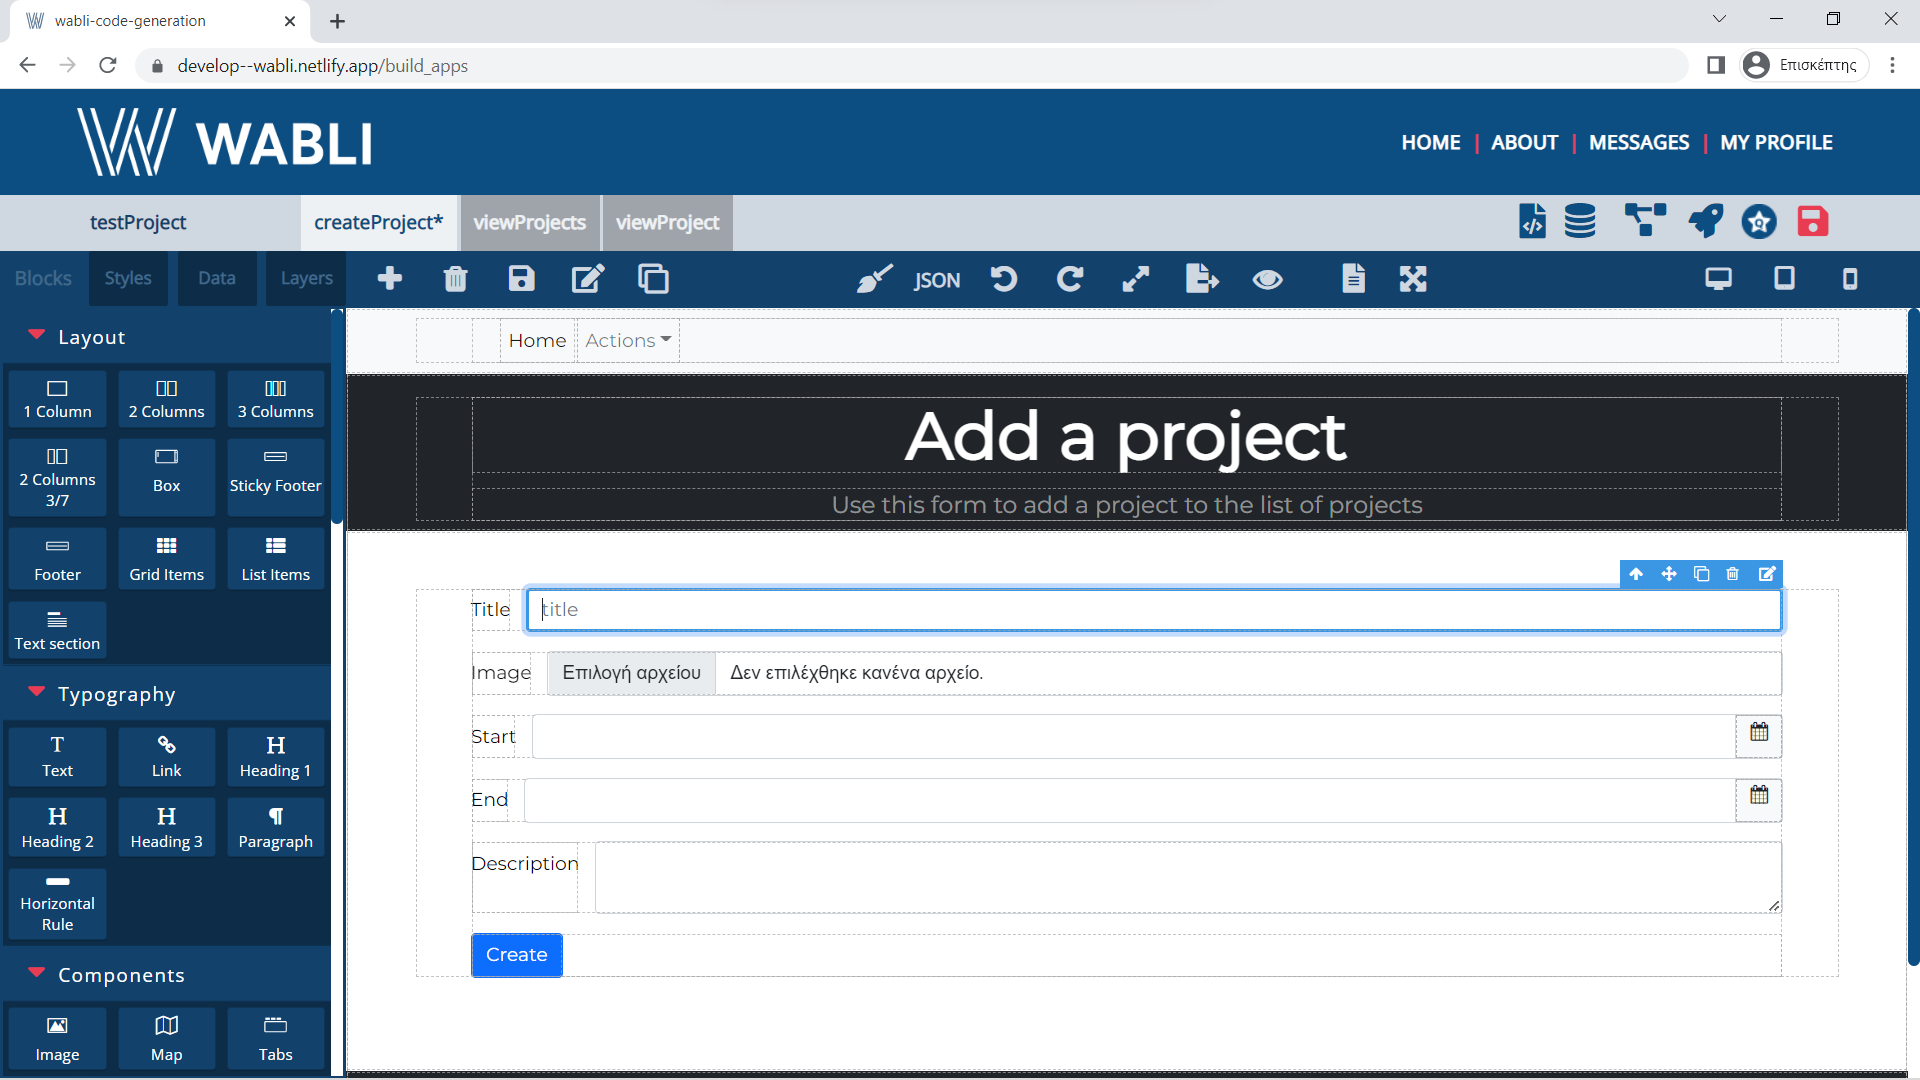
You can now start designing your project using the block elements on the left side of your screen.
Drag and drop a Form Template inside your first page.
Name your second page and click "Create" button.
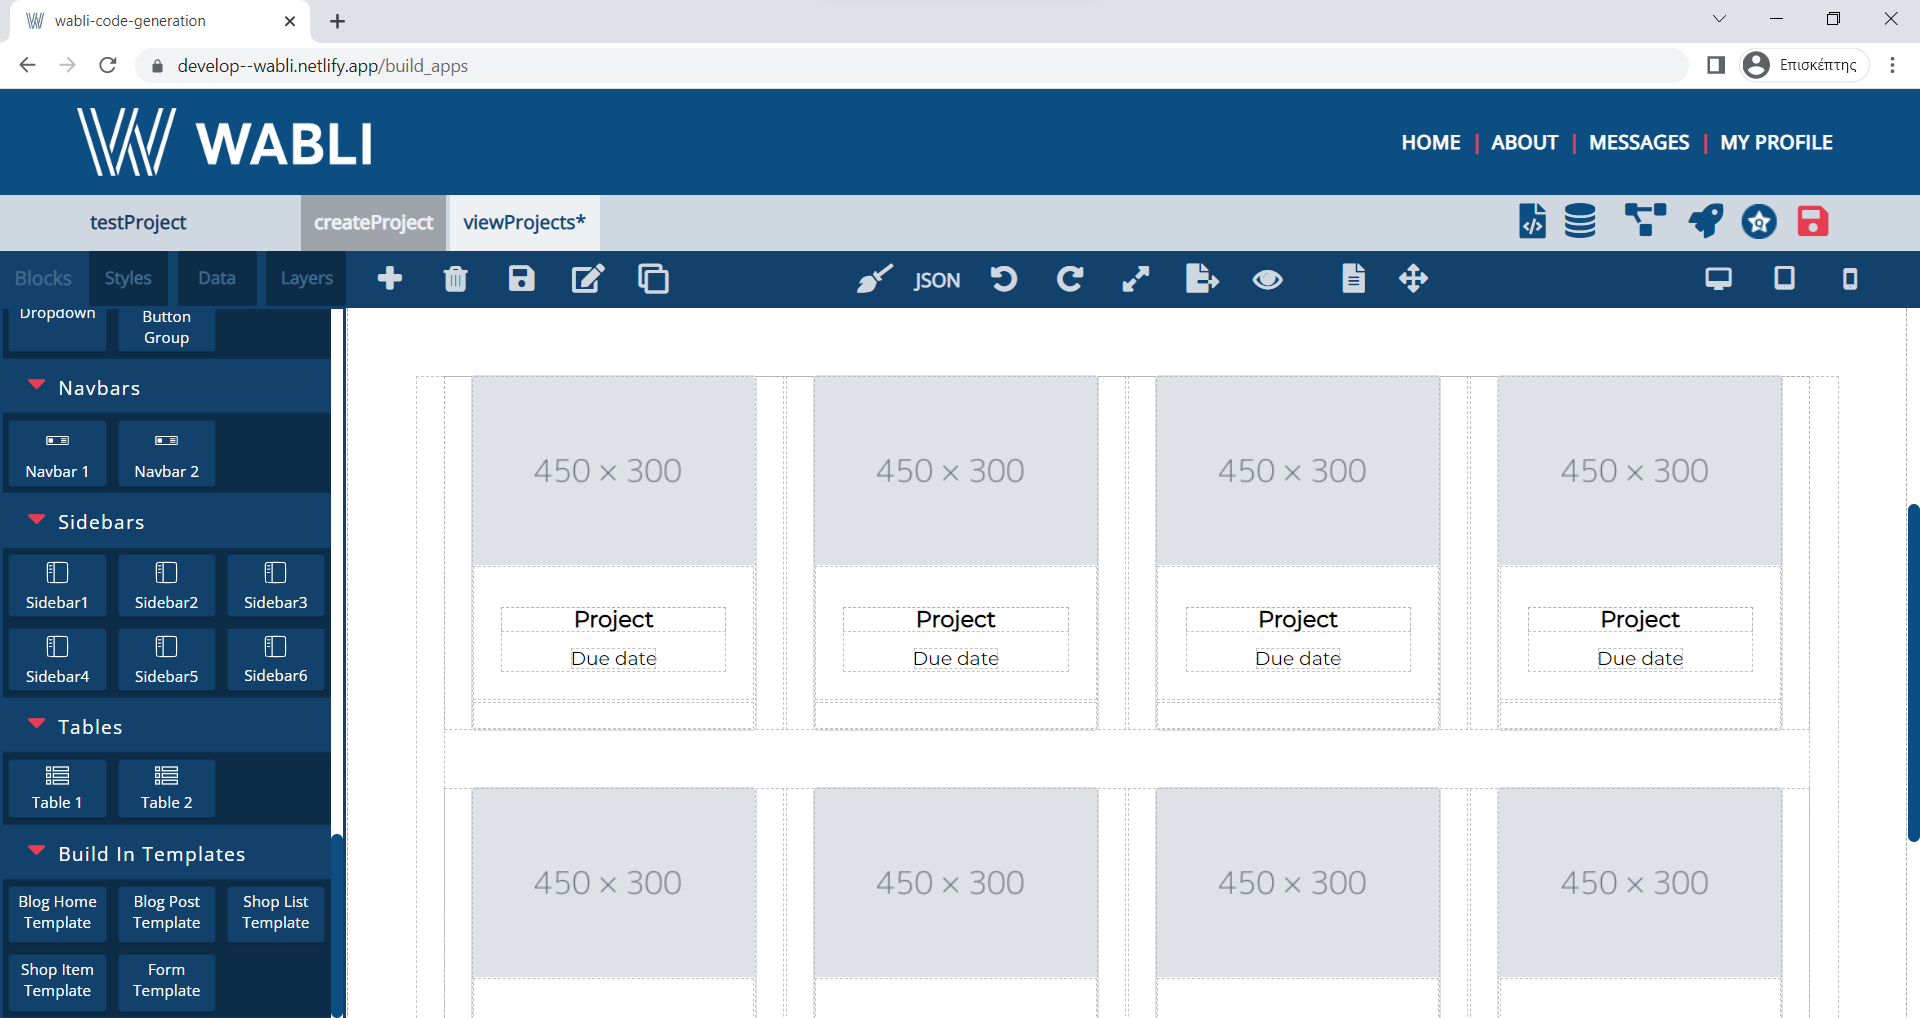
Drag and drop a Shop List Template block inside your second page.
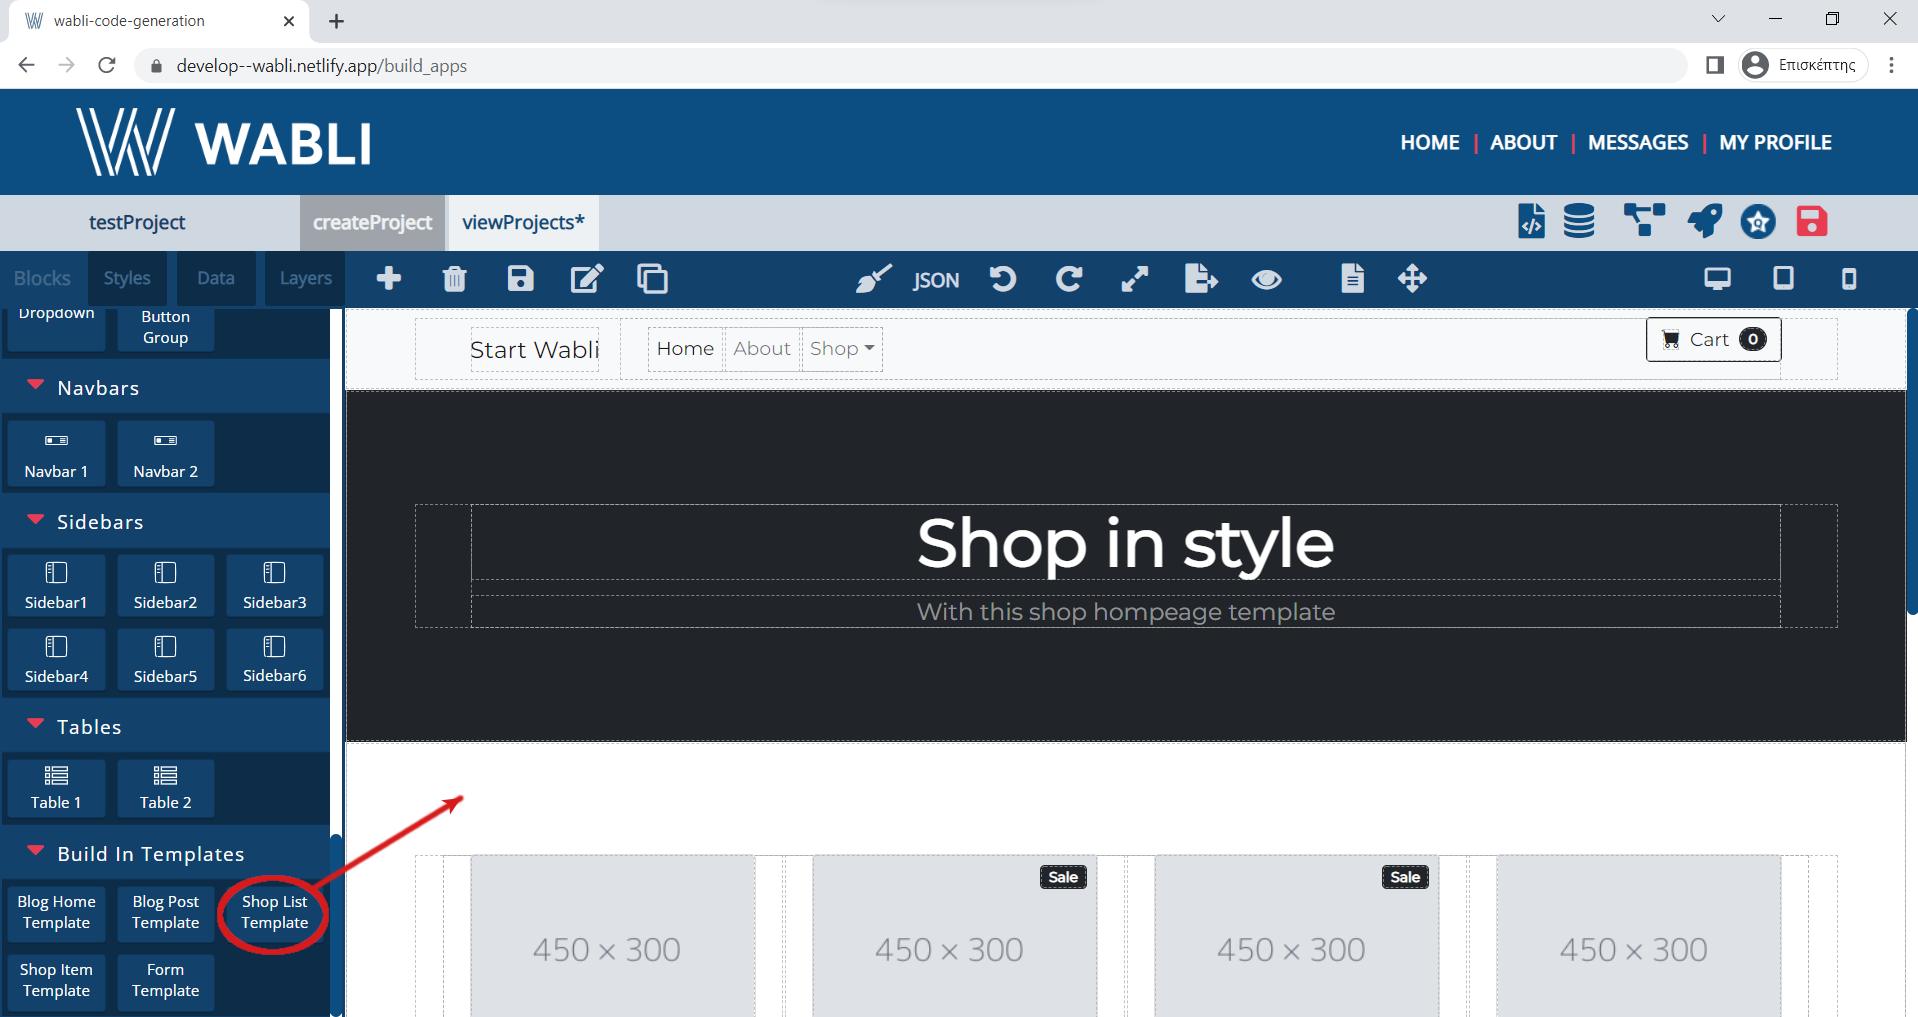
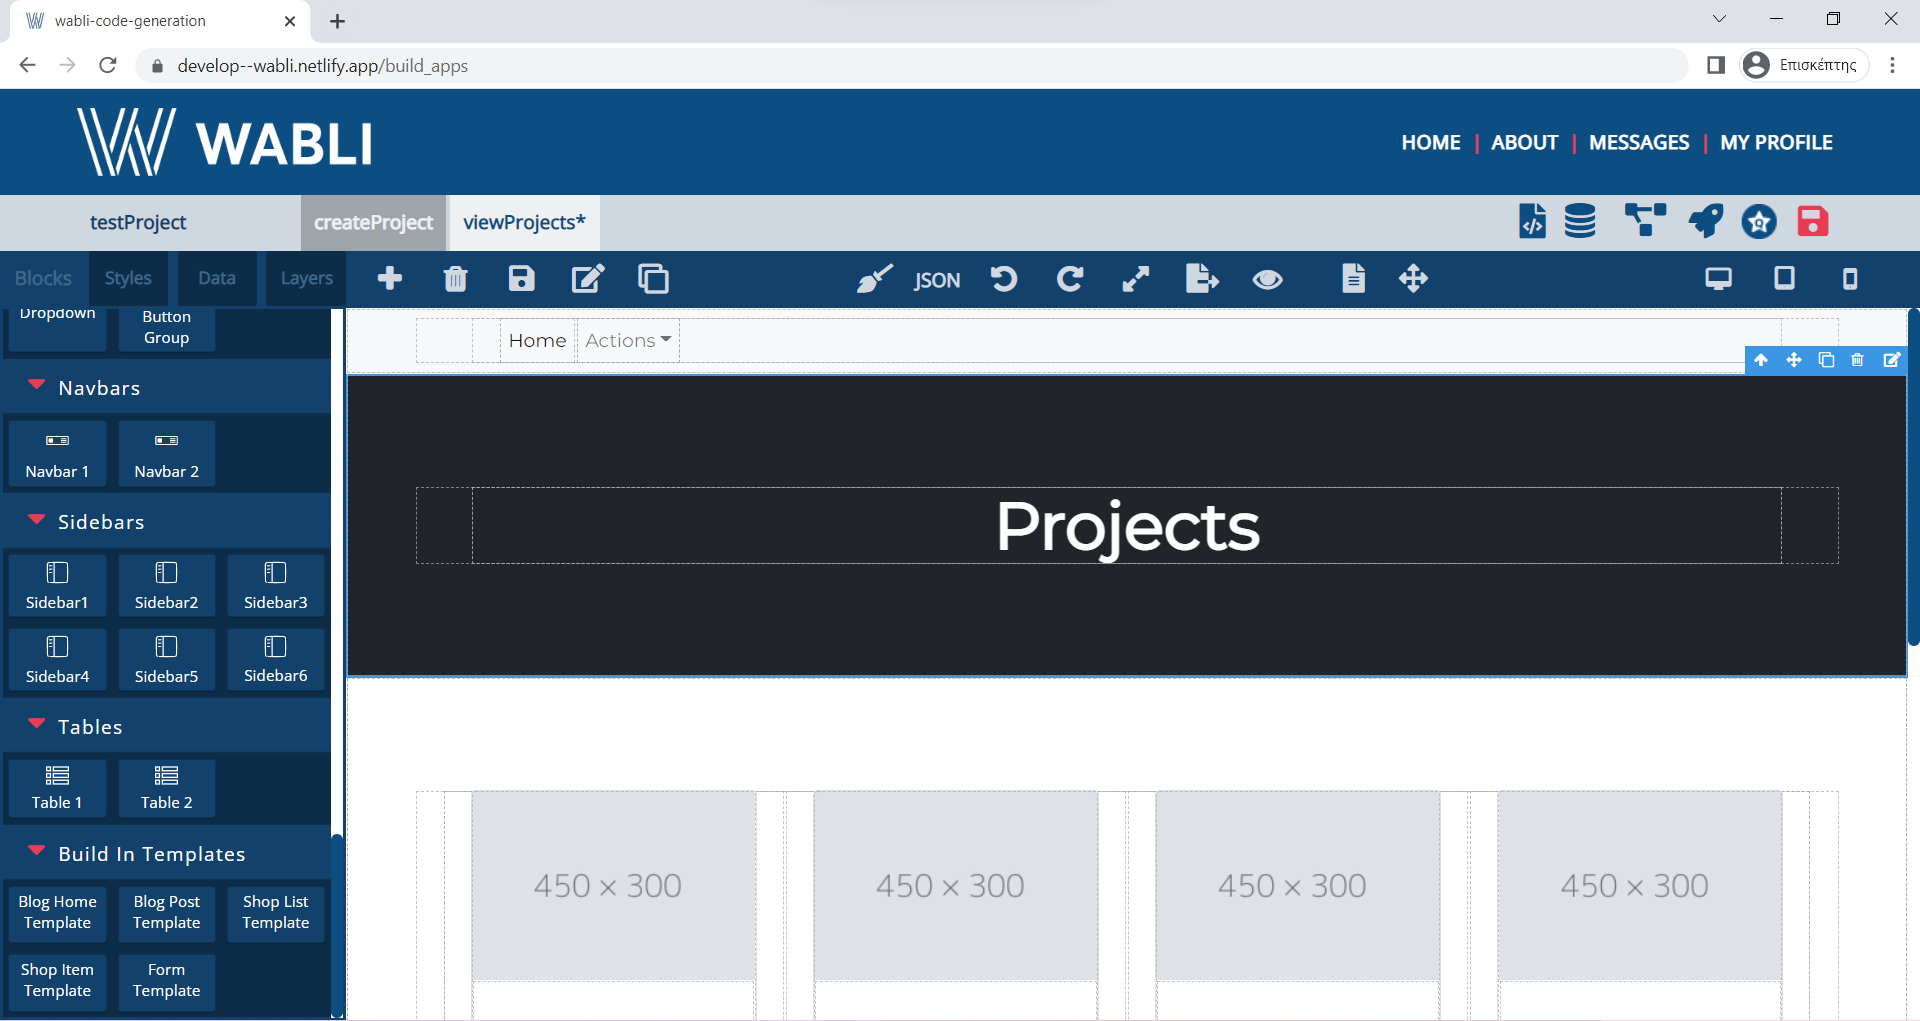
Edit the content of this page e.g. you can delete the top right Cart button, delete the unecessary buttons of the appbar, edit the main text label and edit the content of the cards.
Name your third page and click "Create" button.
Drag and drop a "Shop Item Template" block inside your third page.
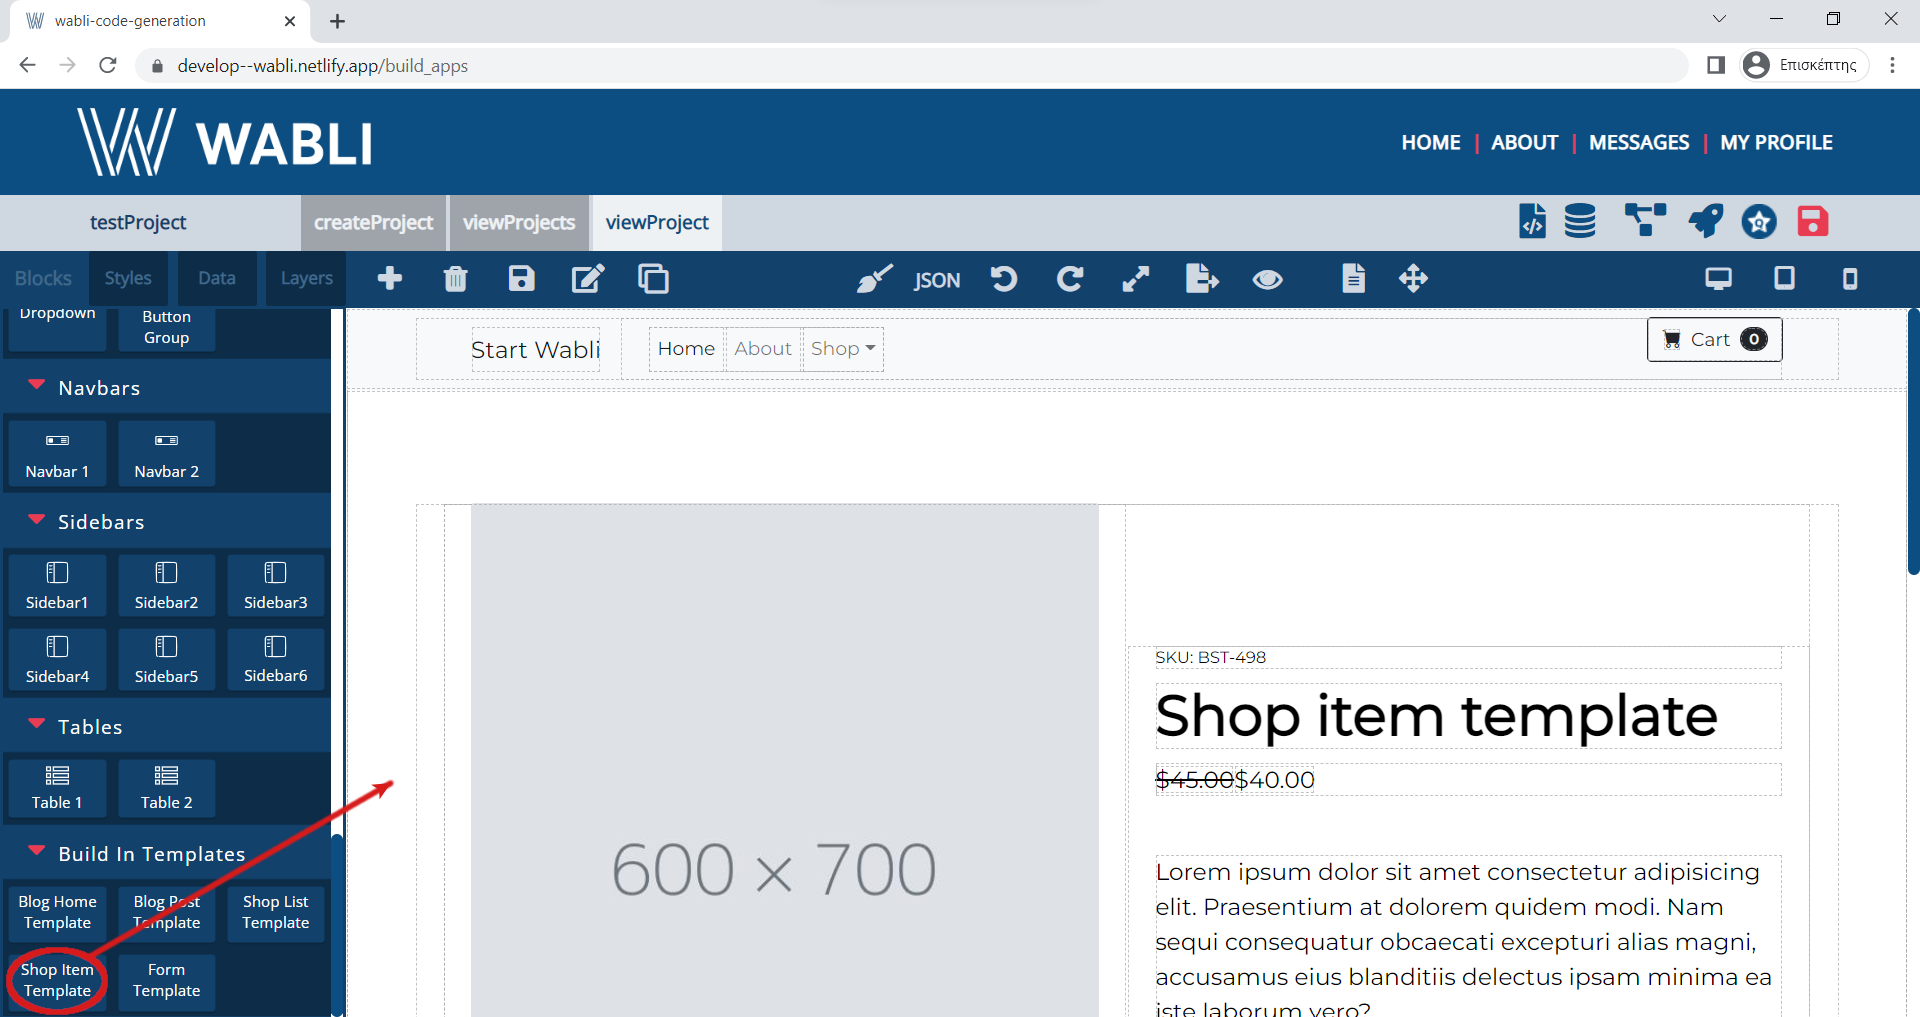
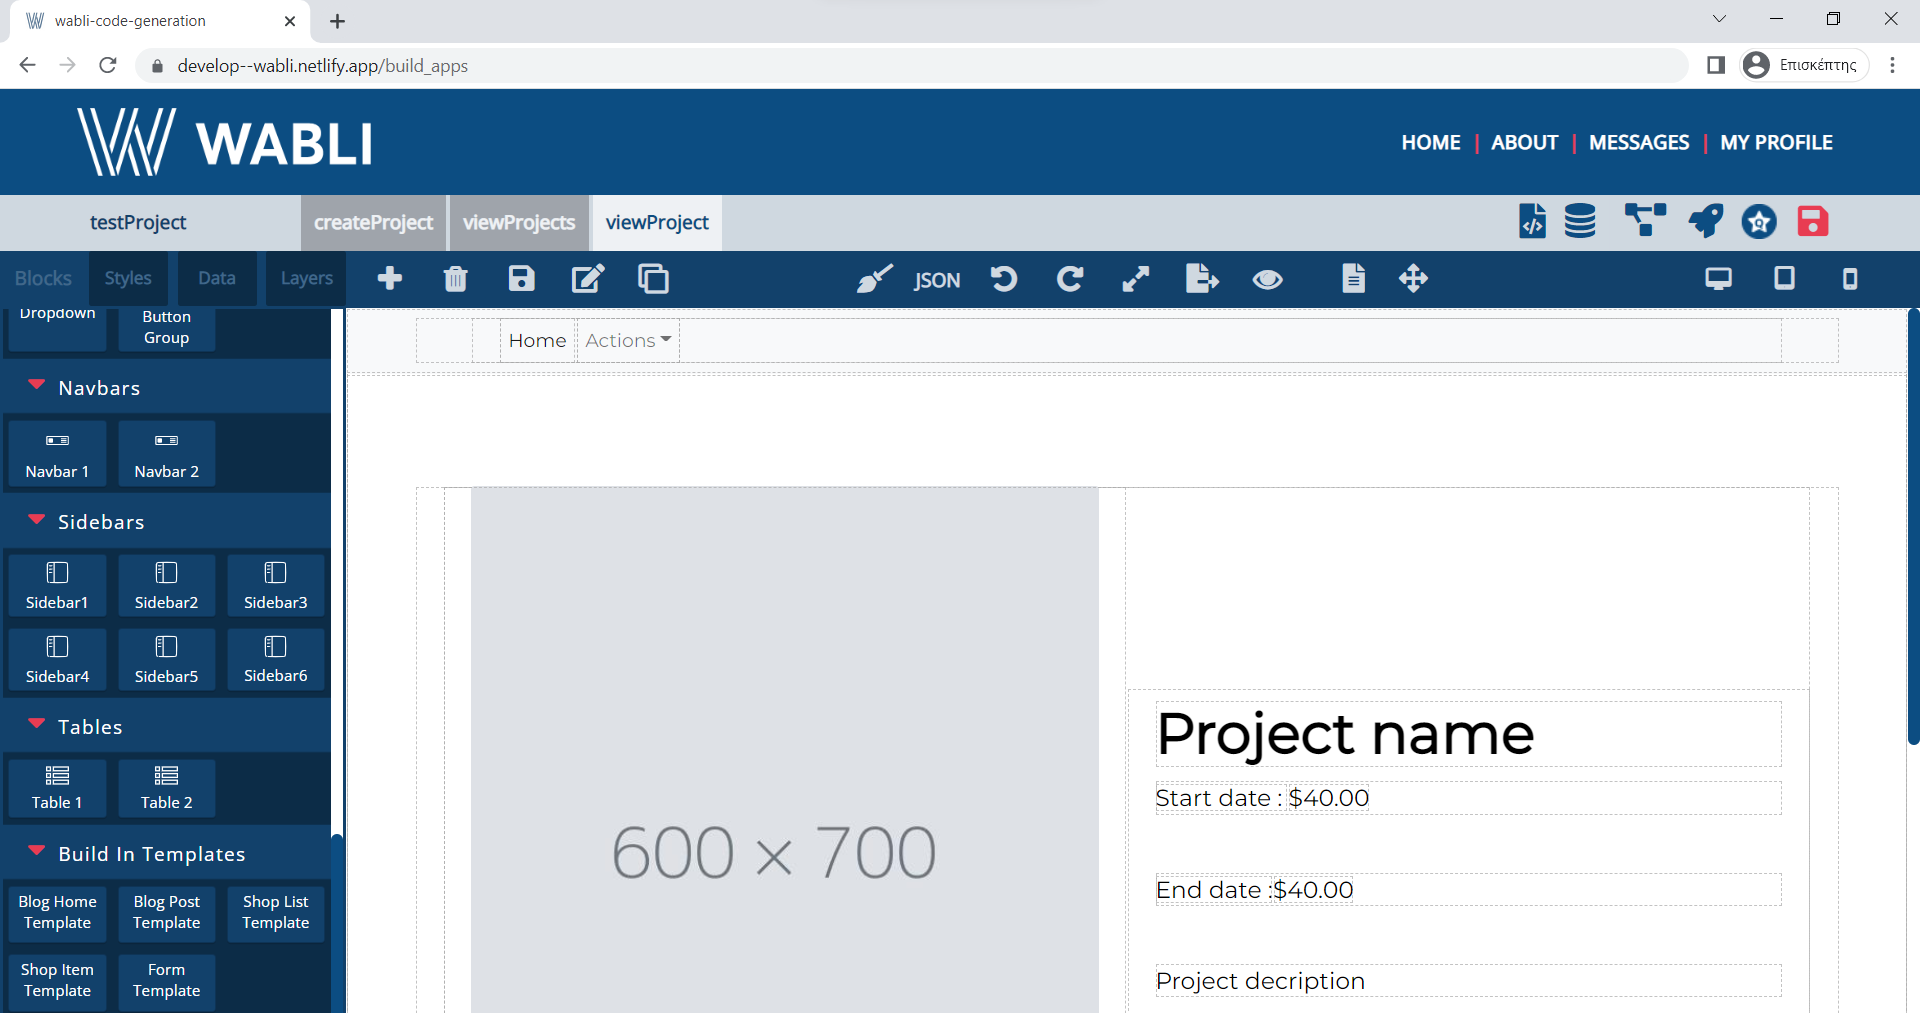
Edit the content of this page e.g. delete the top right Cart button, delete the unecessary buttons of the appbar, delete bottom section and edit the main labels
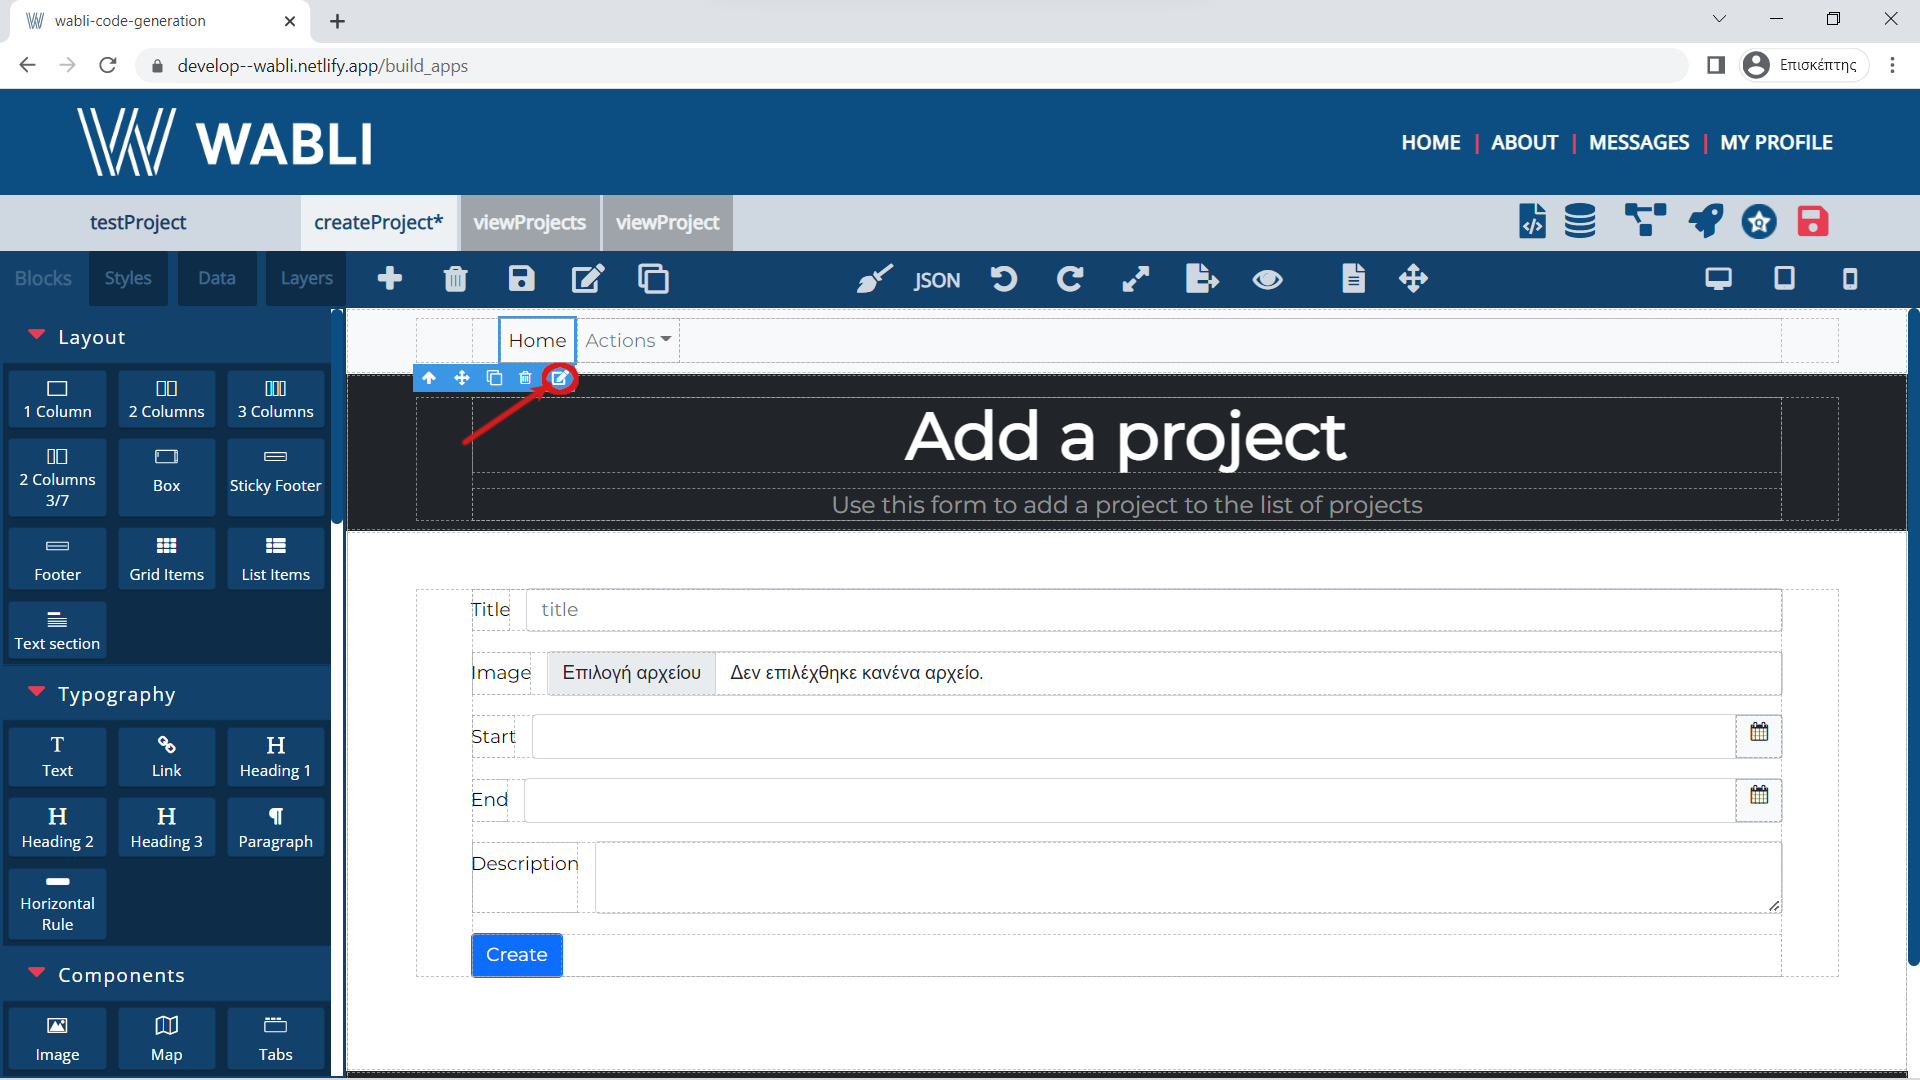
You can add links between your pages. To do so, please select an item that you want to link and click on the Edit icon.
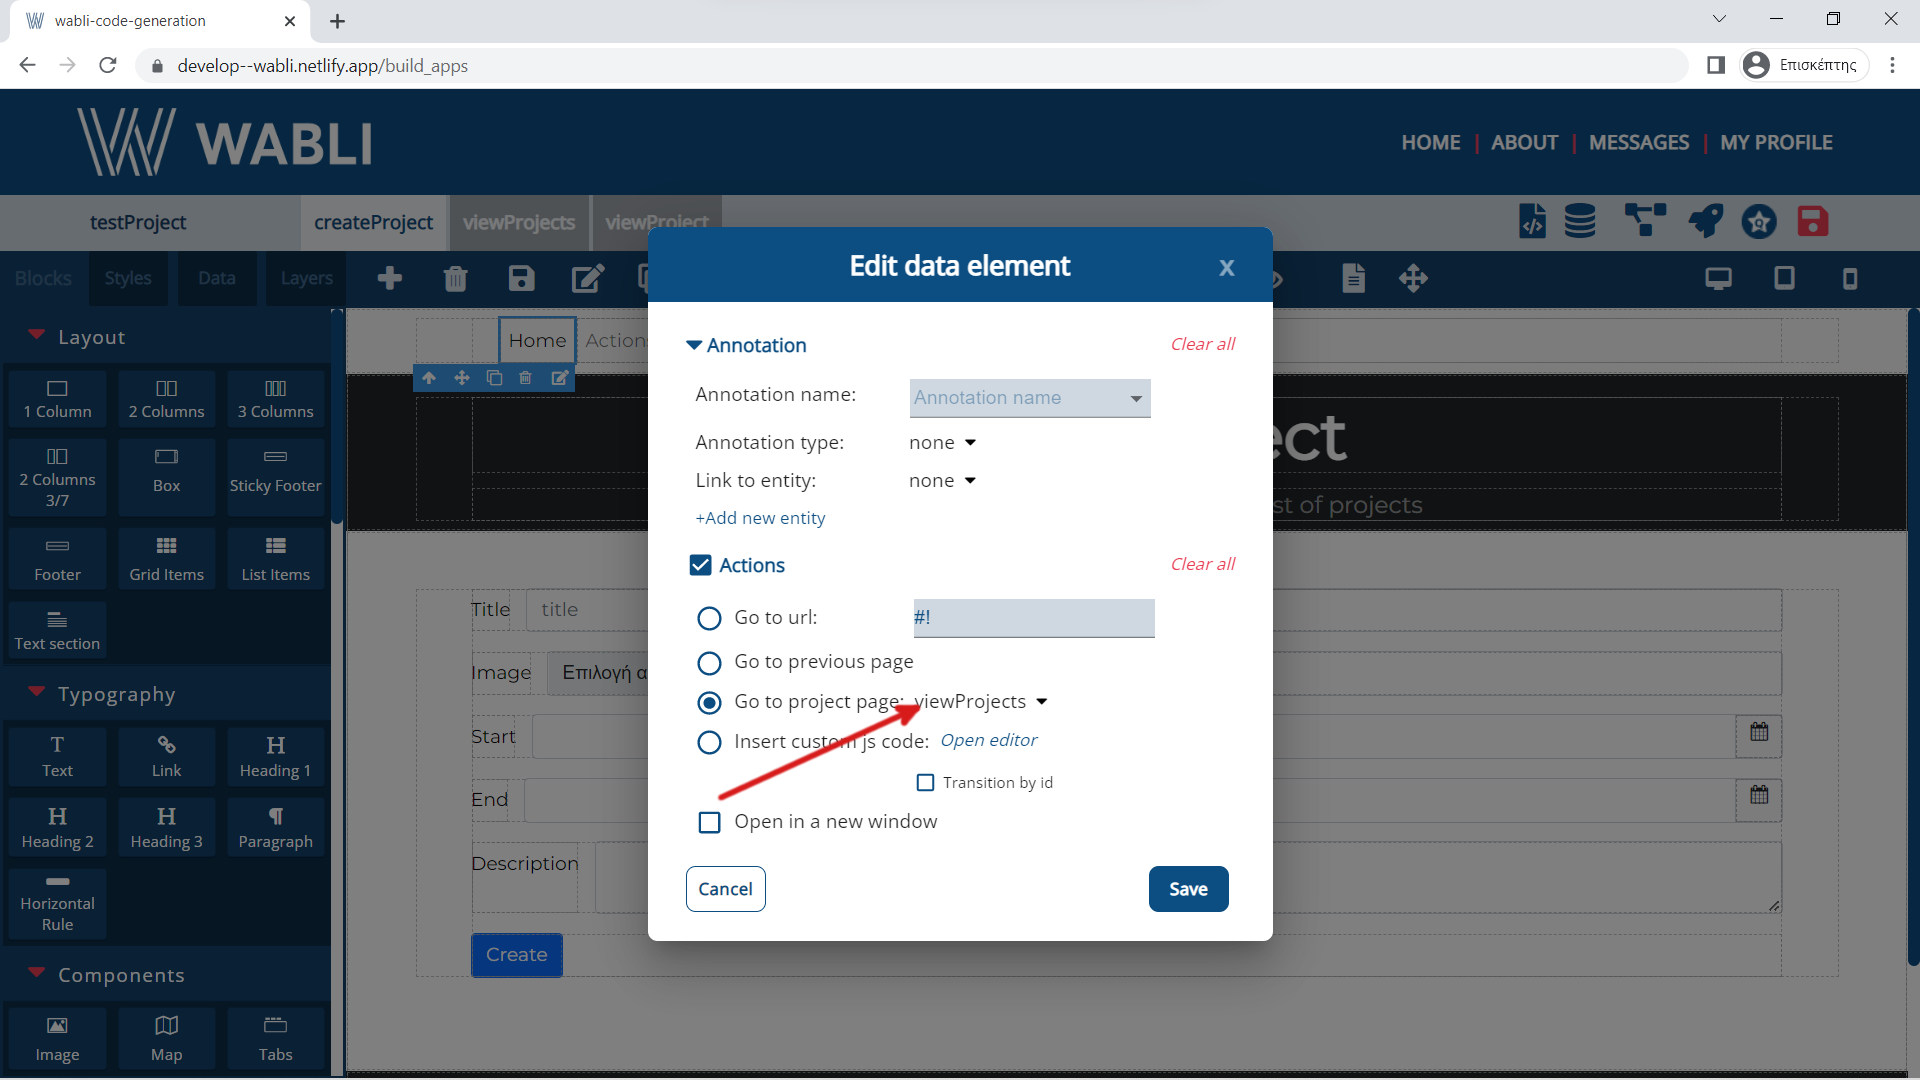
Select the "viewProjects" page from the "Go to project page" section.
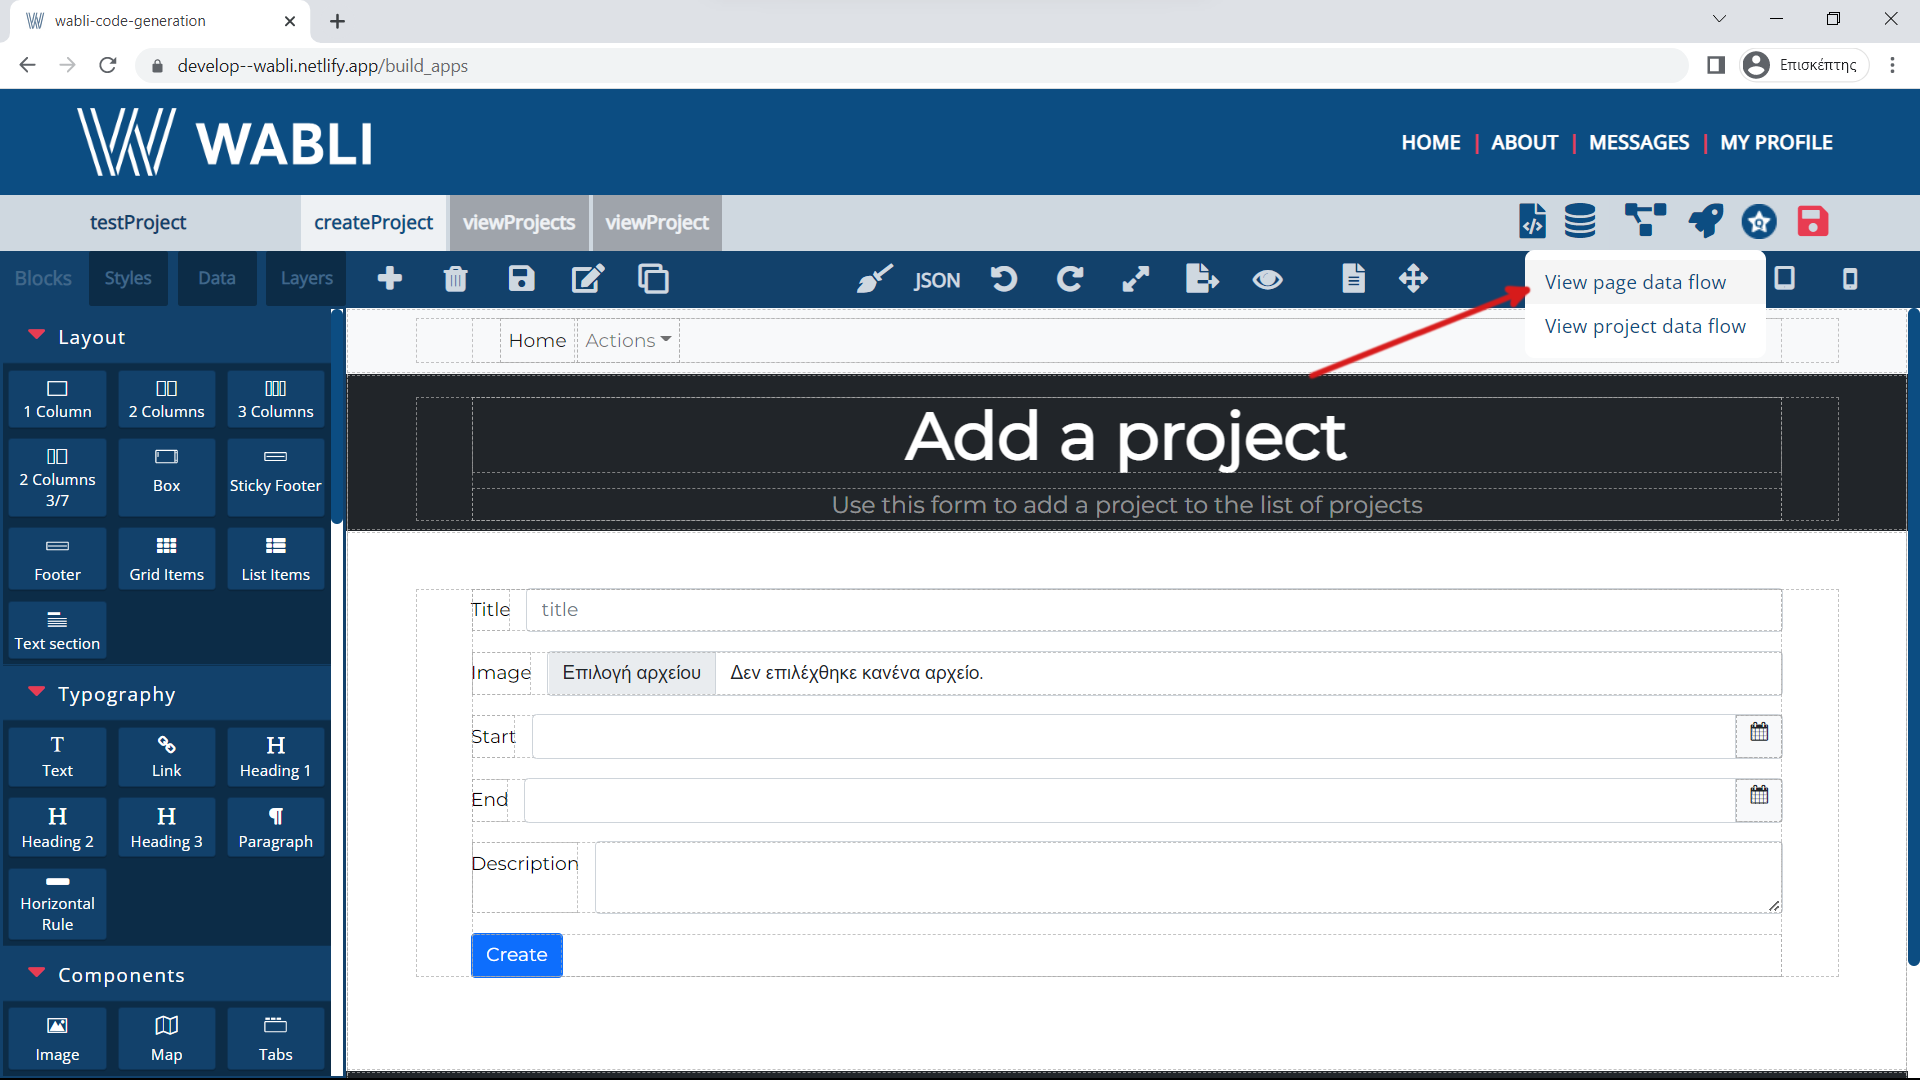
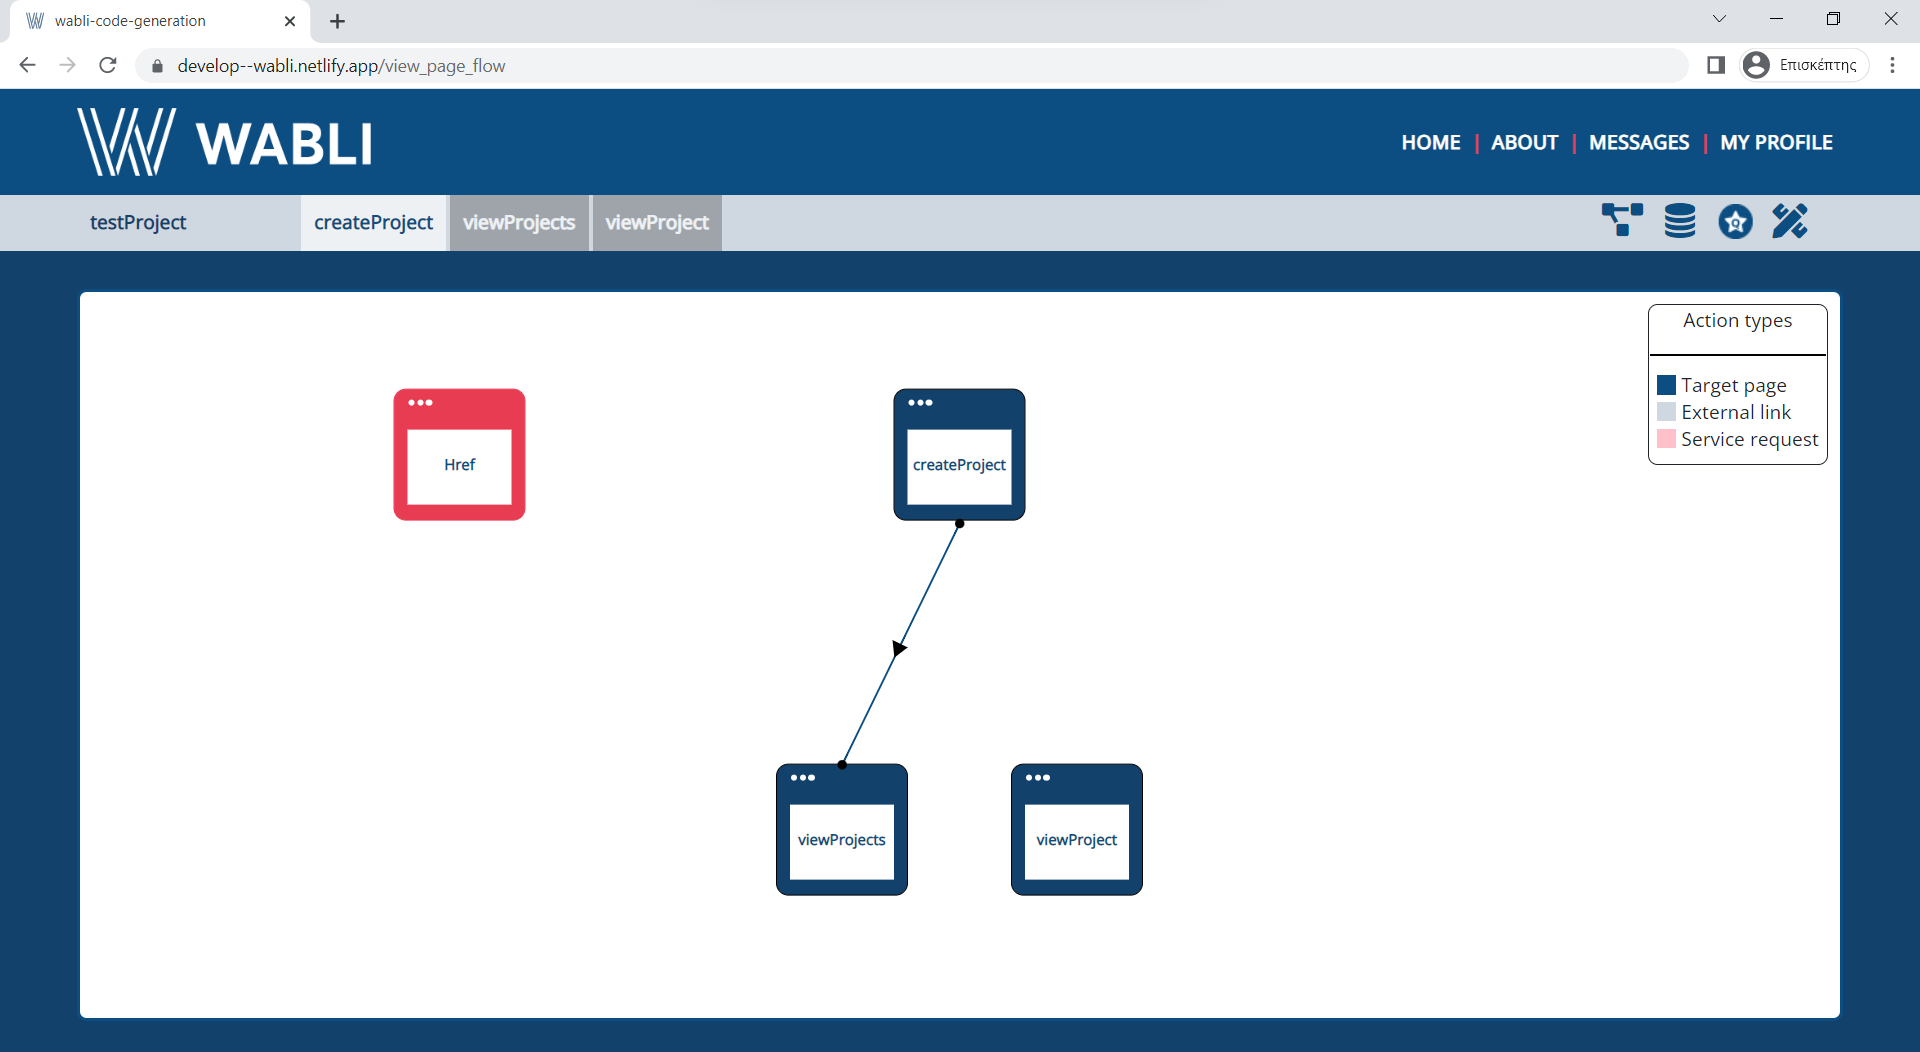
You have now created the link and you can view the page flow by selecting the "View page data flow" from the top right menu.
You can now see the flow of your pages. Try adding new pages and creating links between those pages.
You can now create the data model for your project.
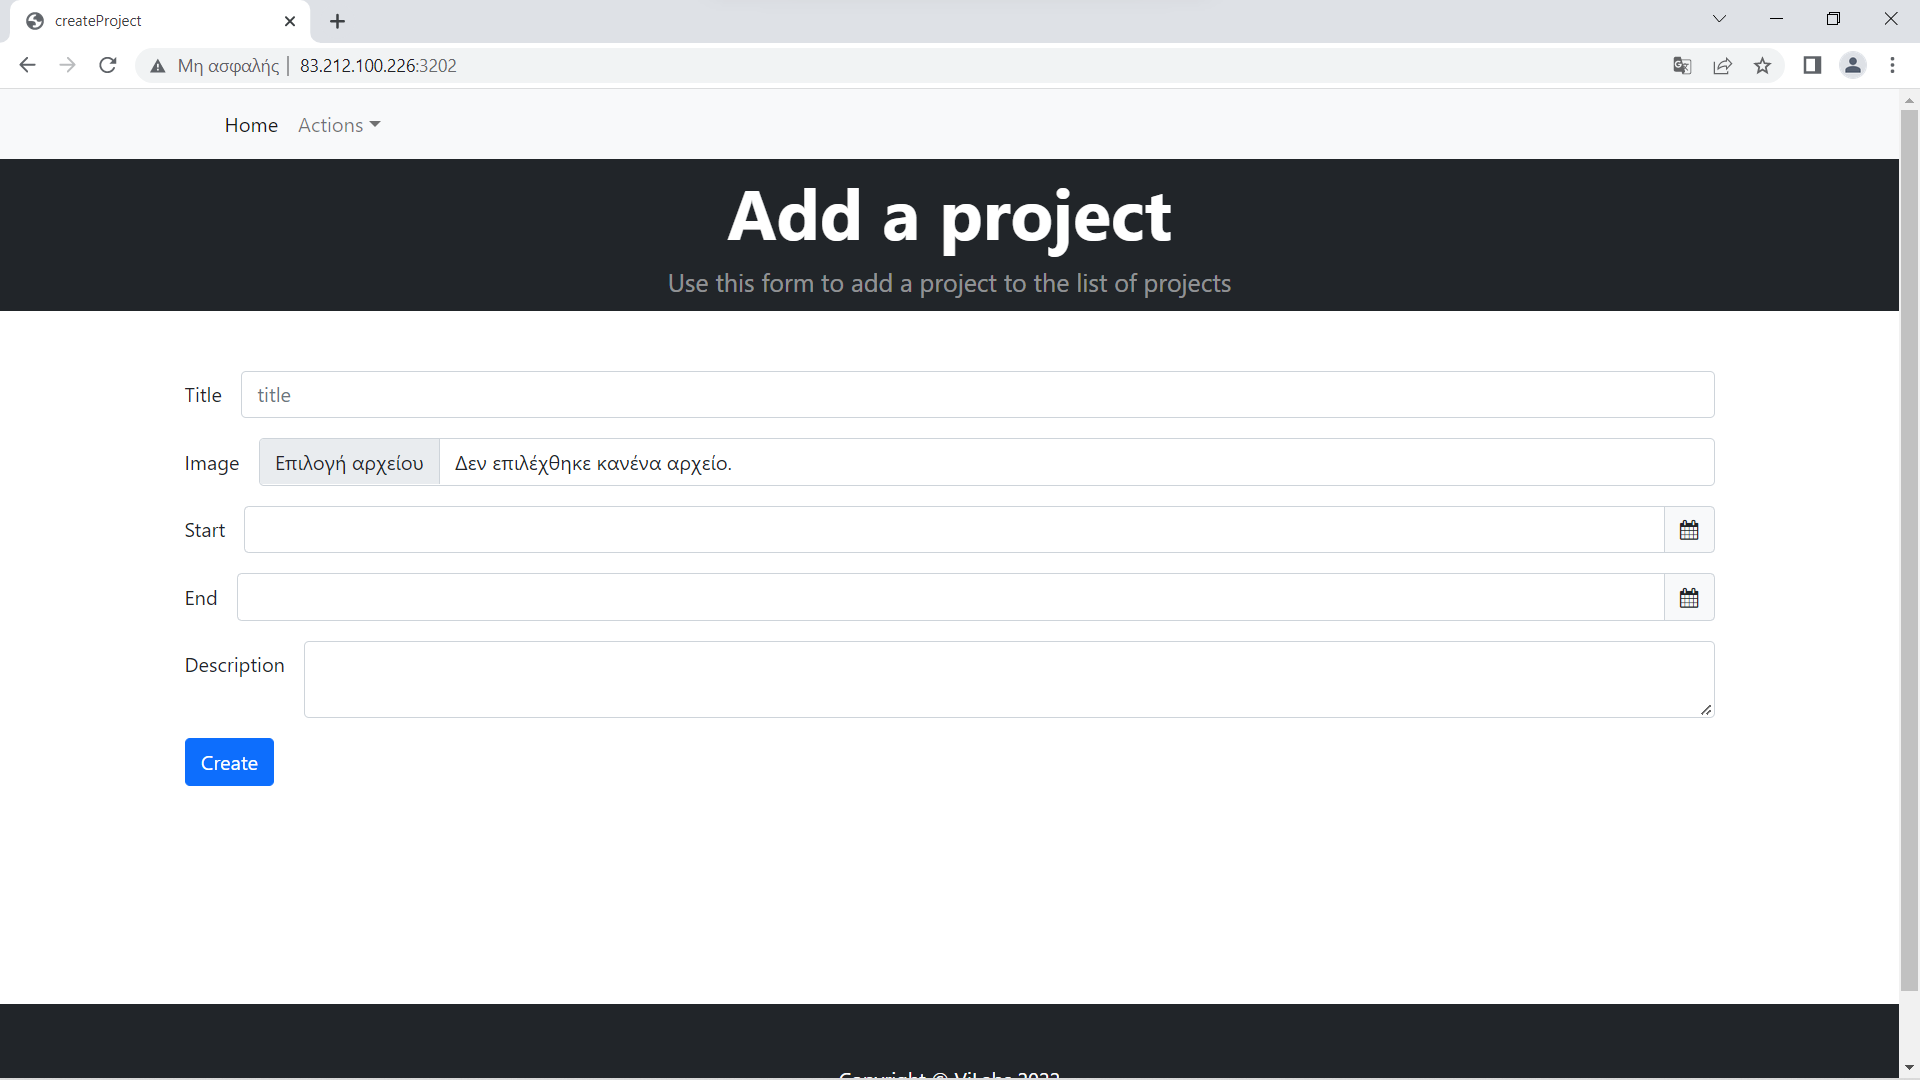
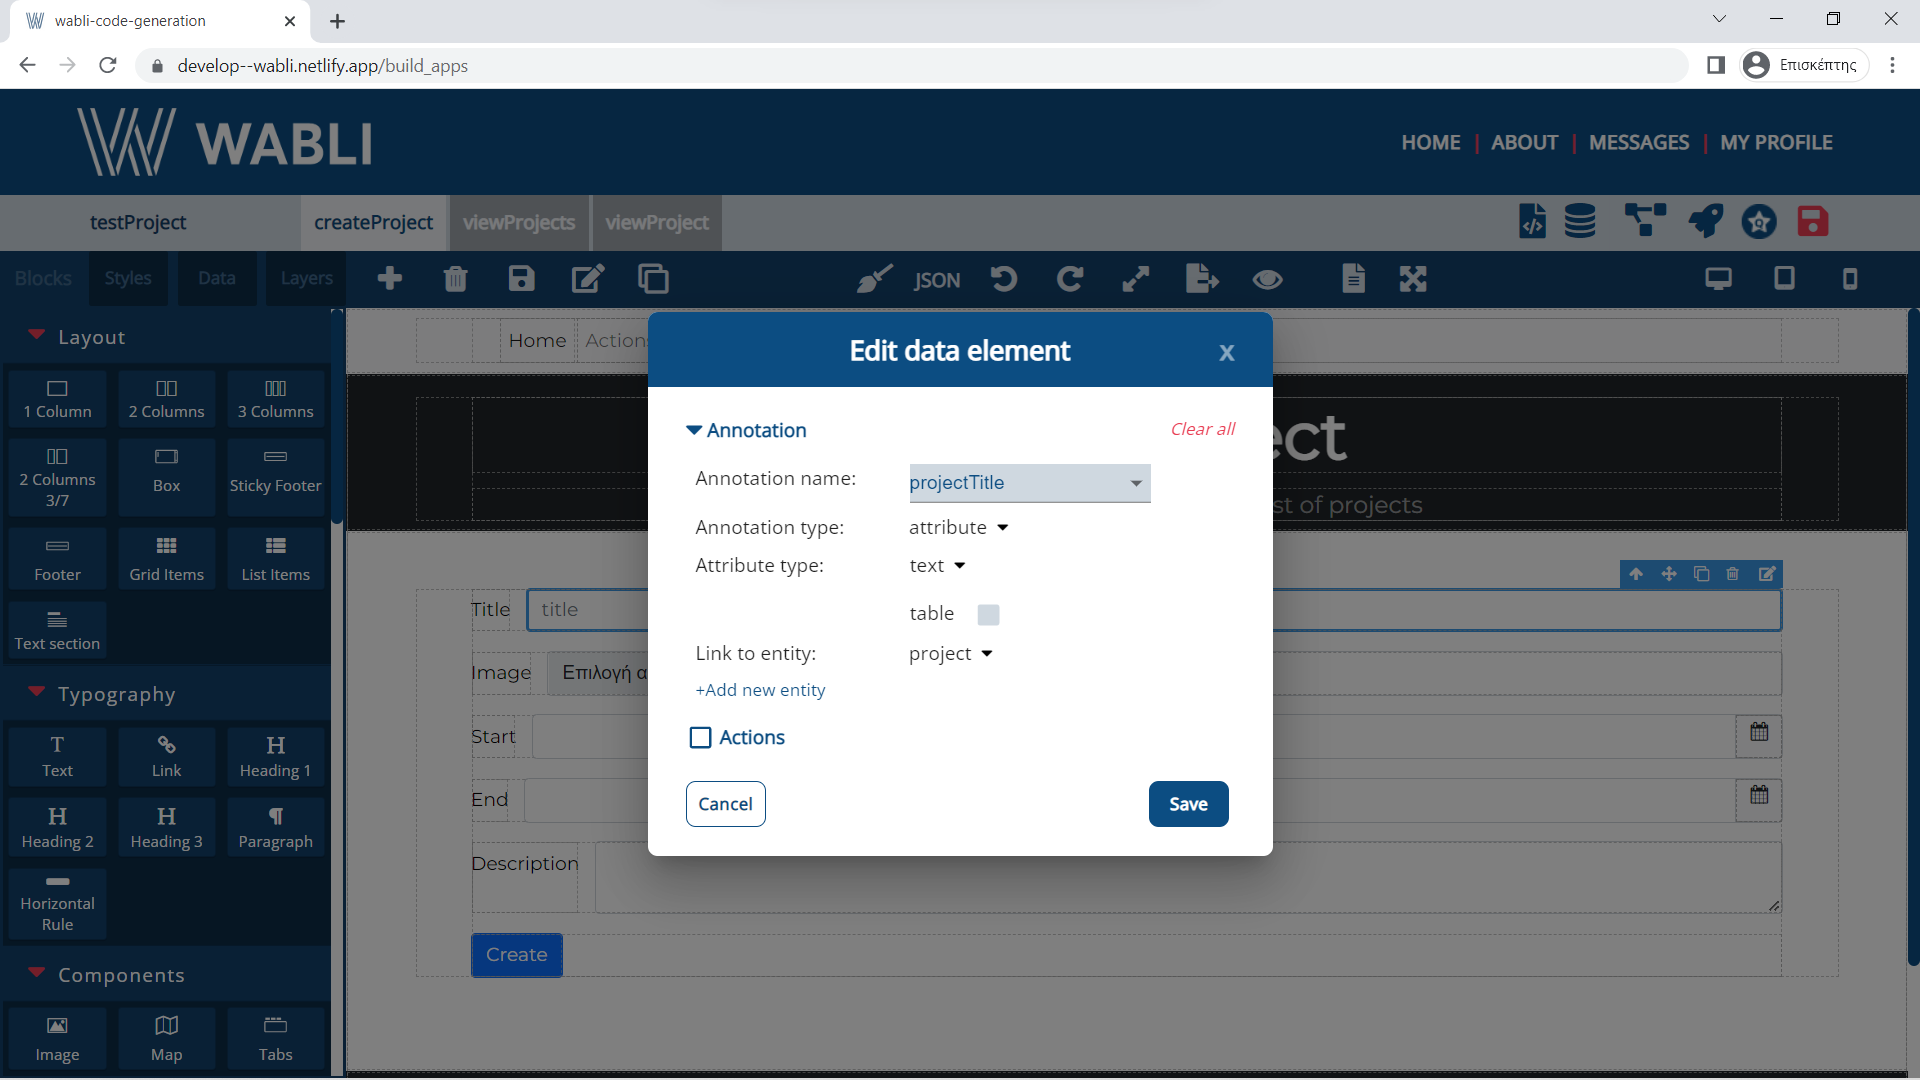
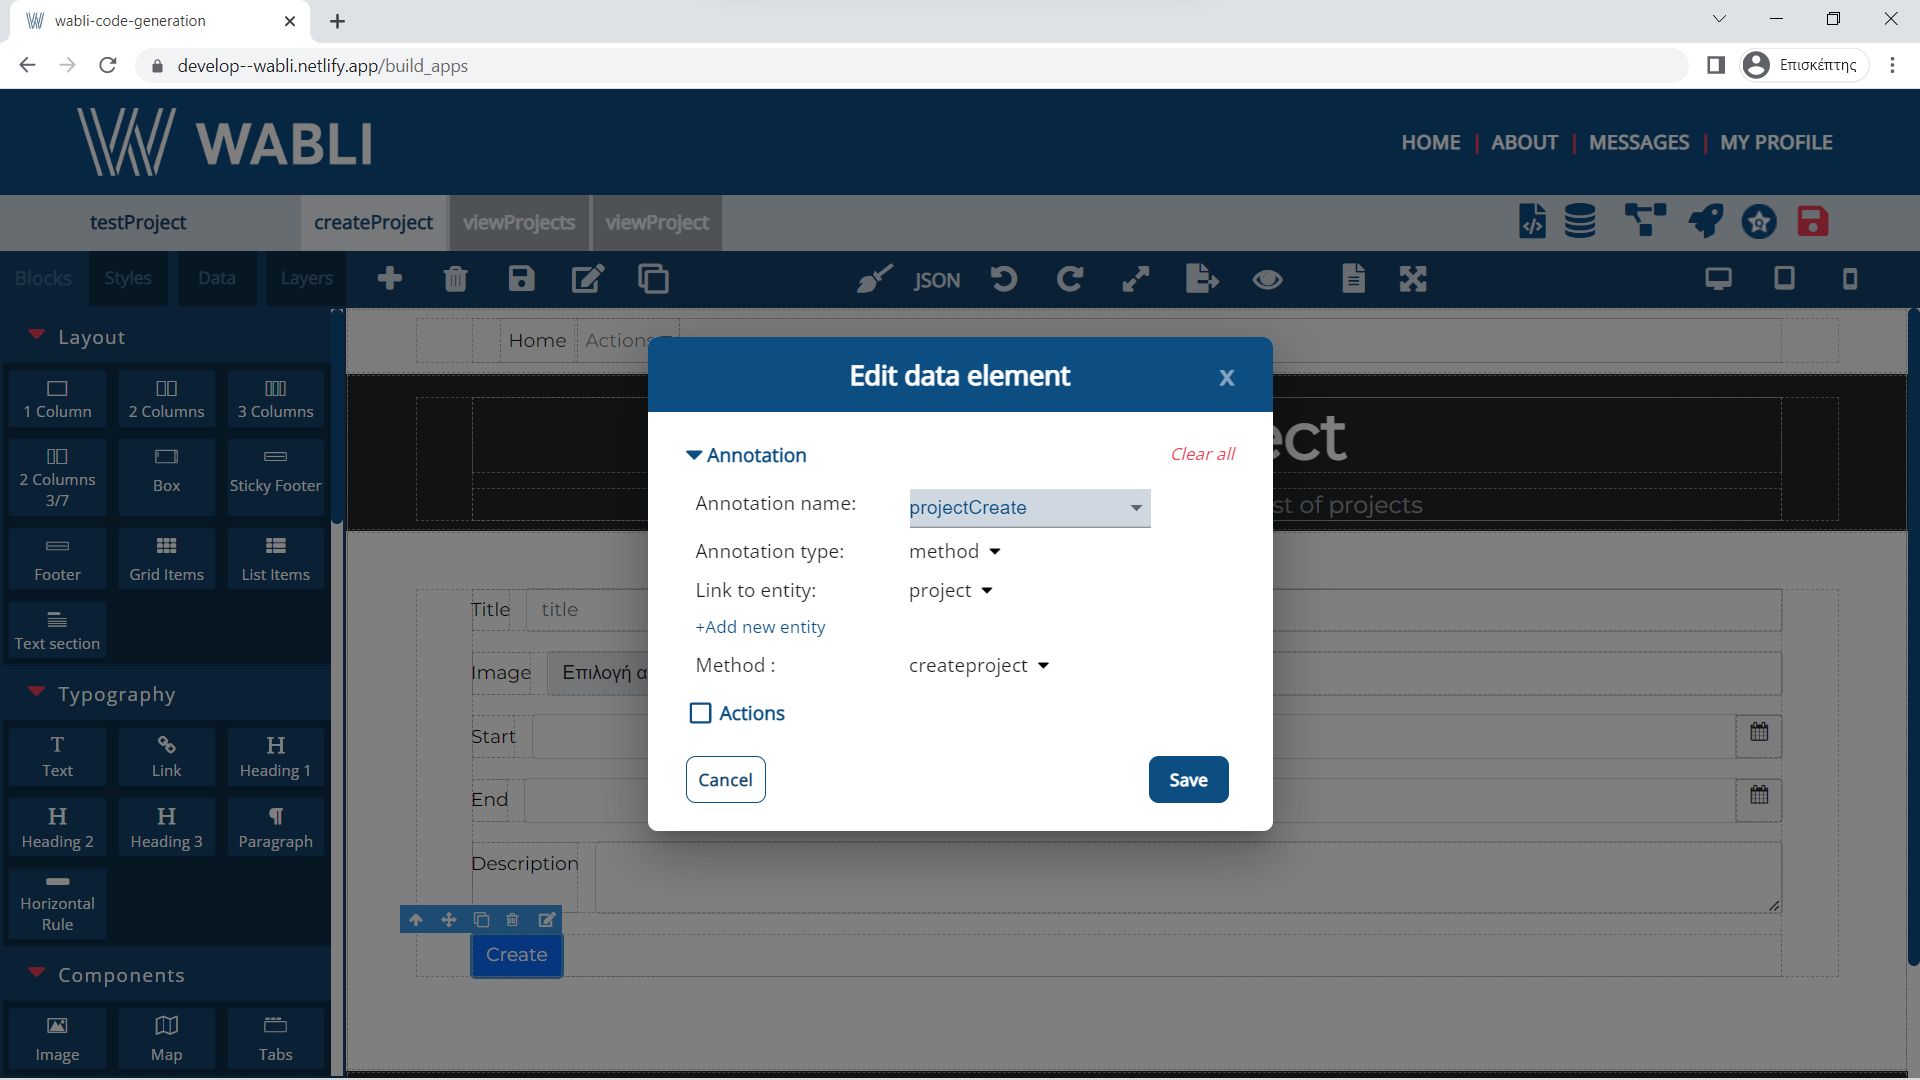
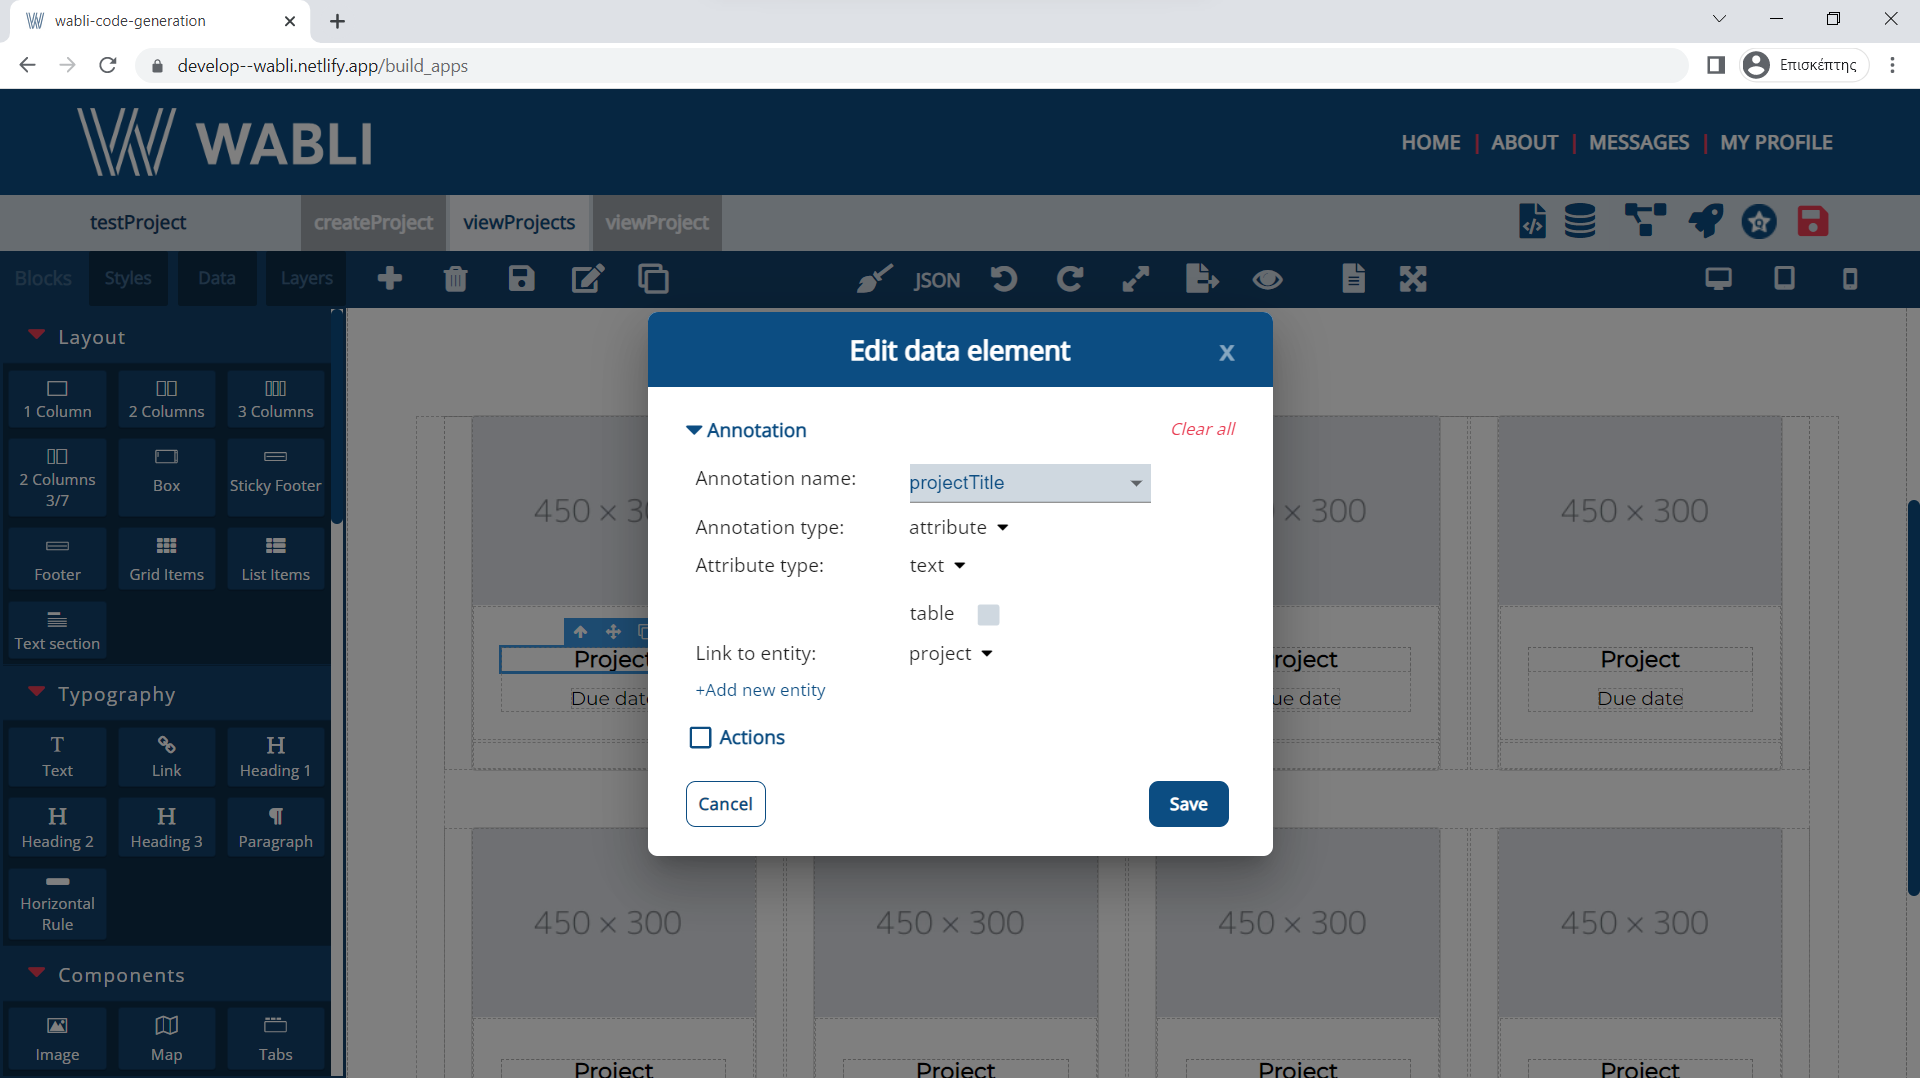
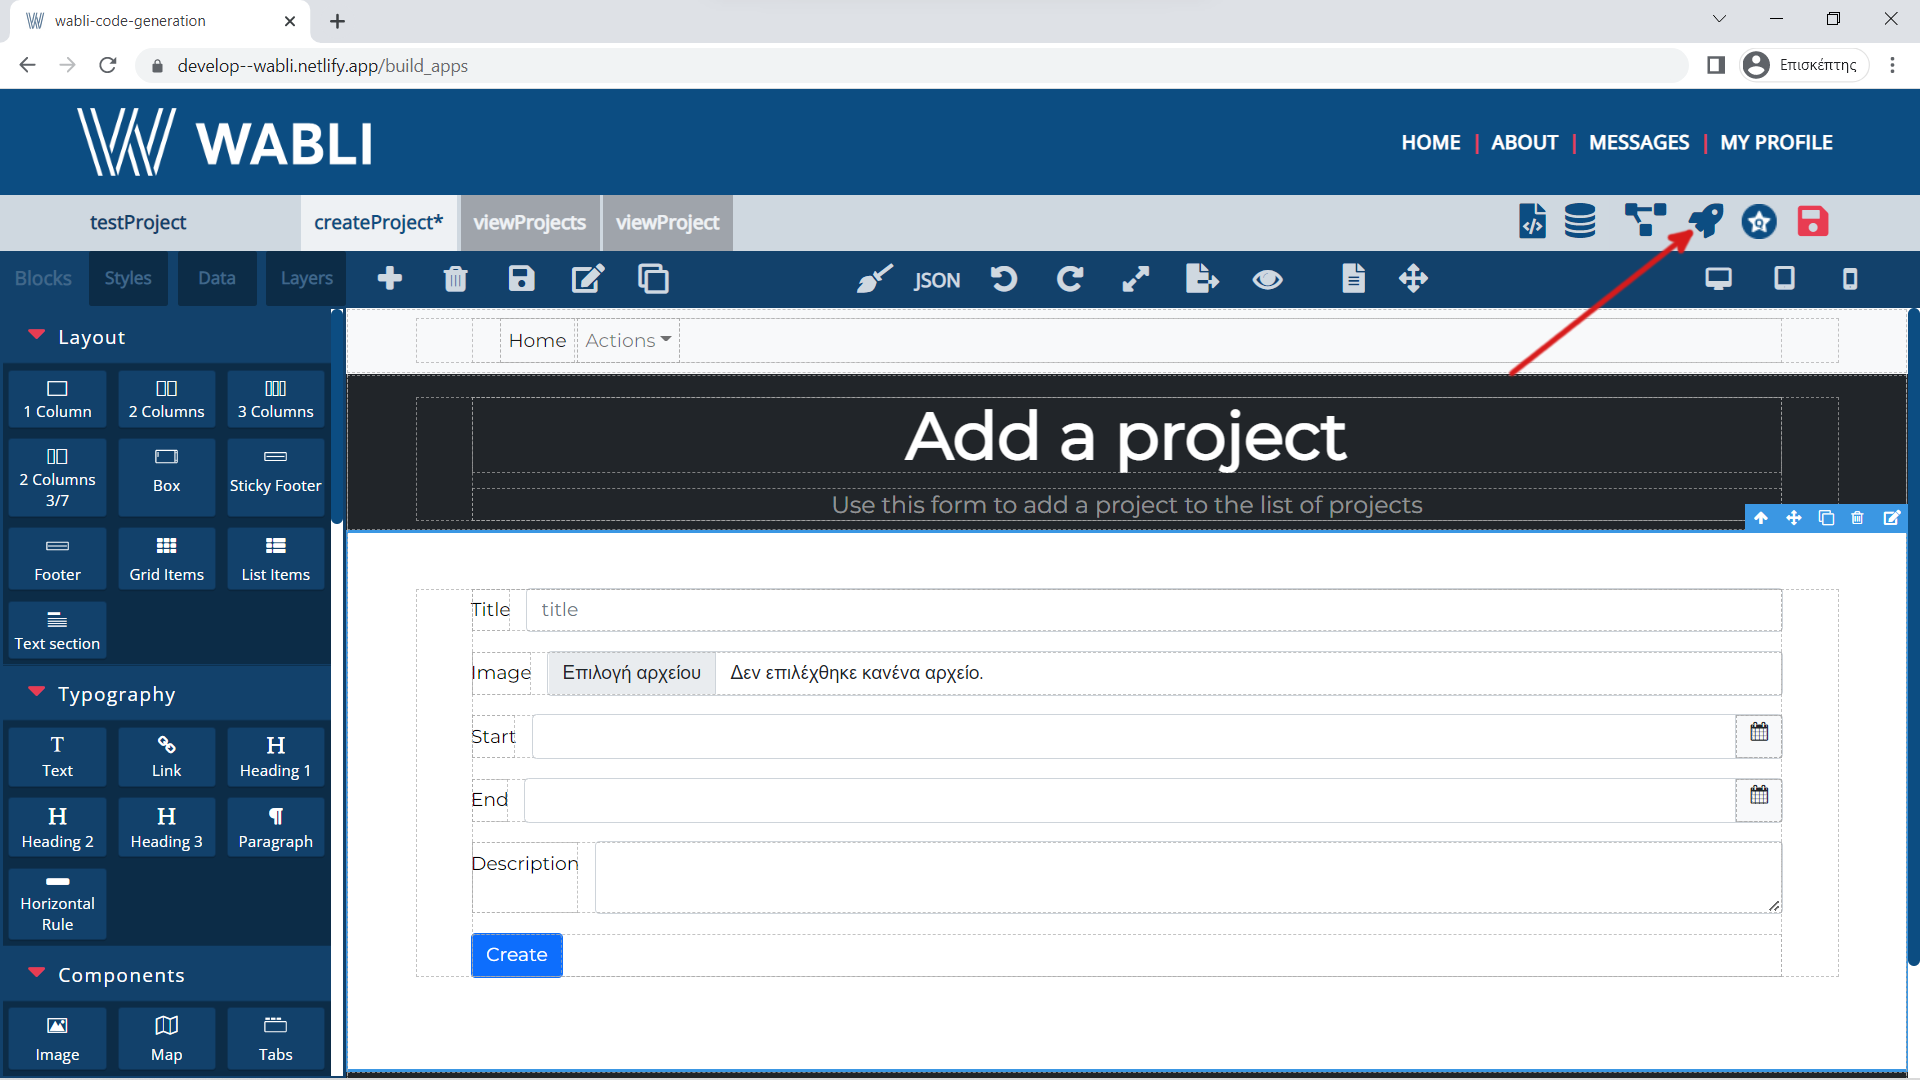
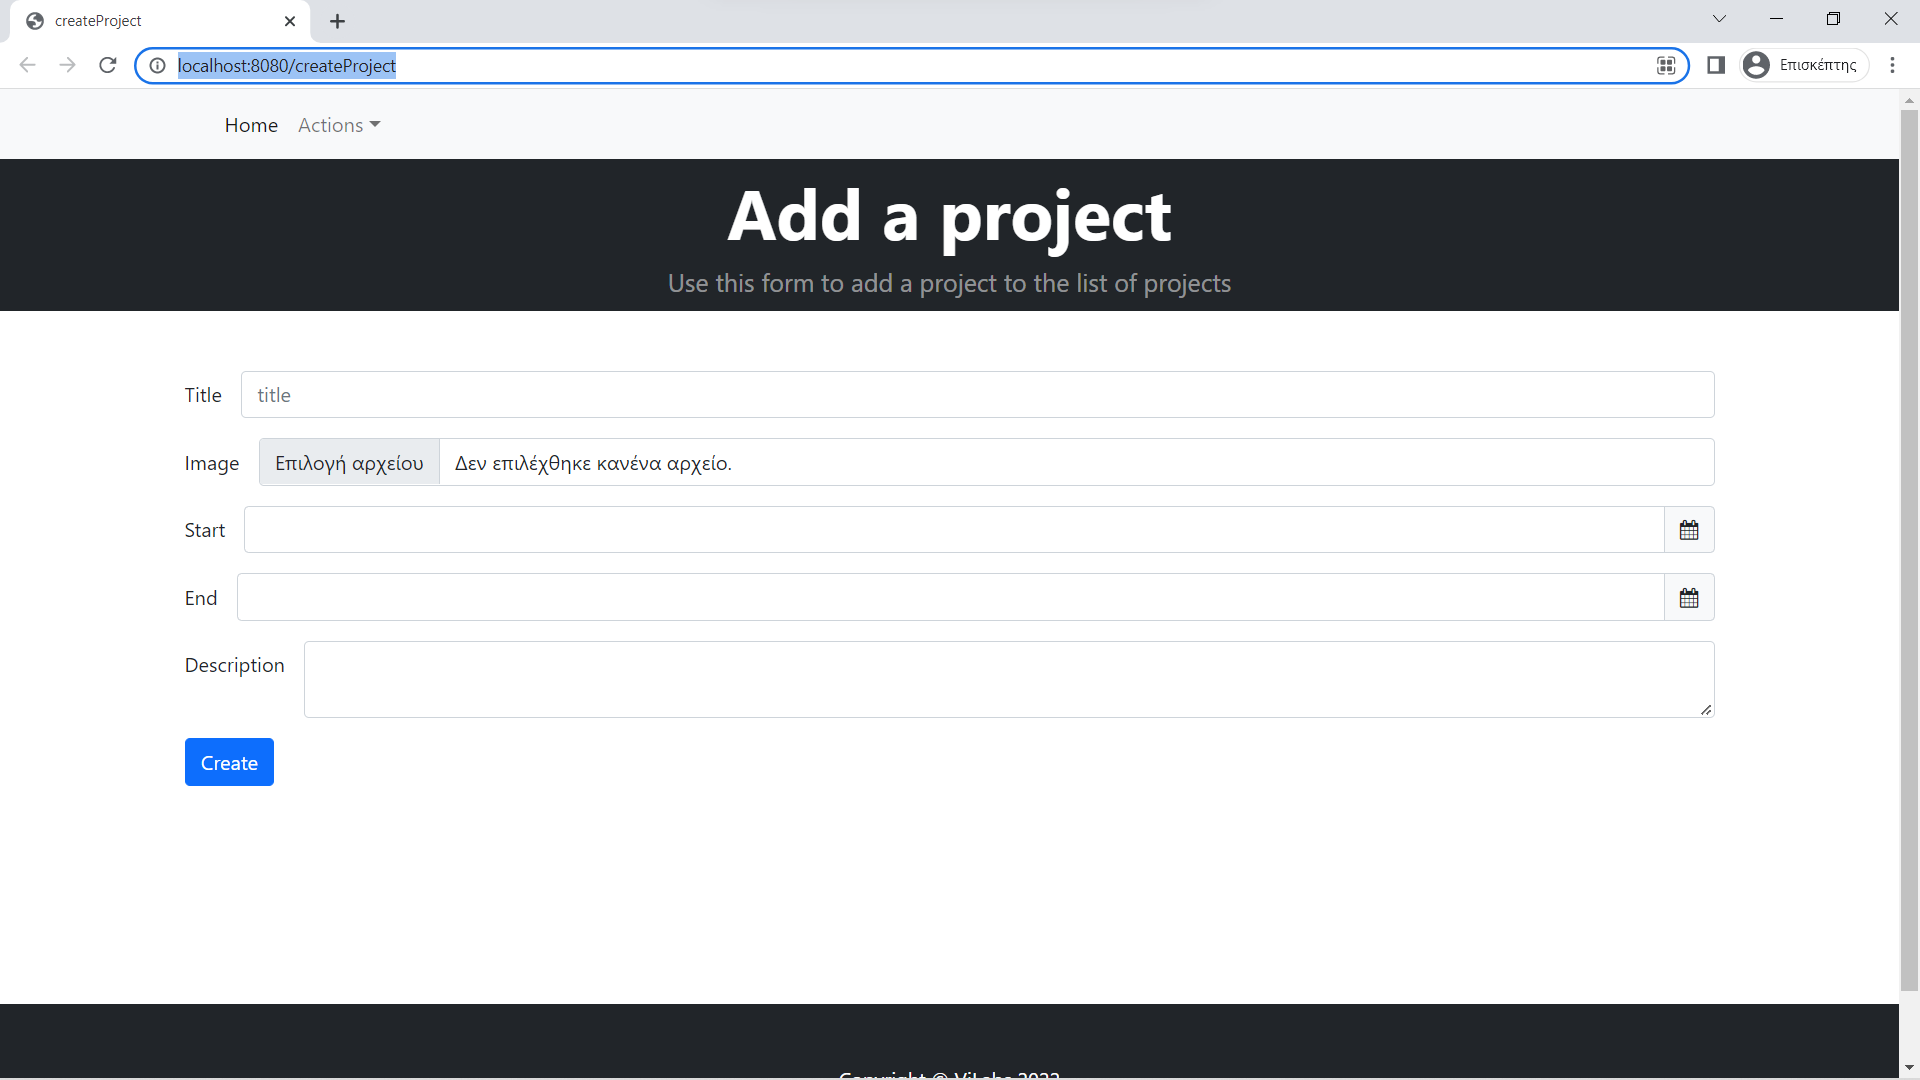
All the dynamic components of your pages need to be annotated e.g. go to page "createProject" and select the component you want to annotate.
See an example below of how you can annotate the title of a project.
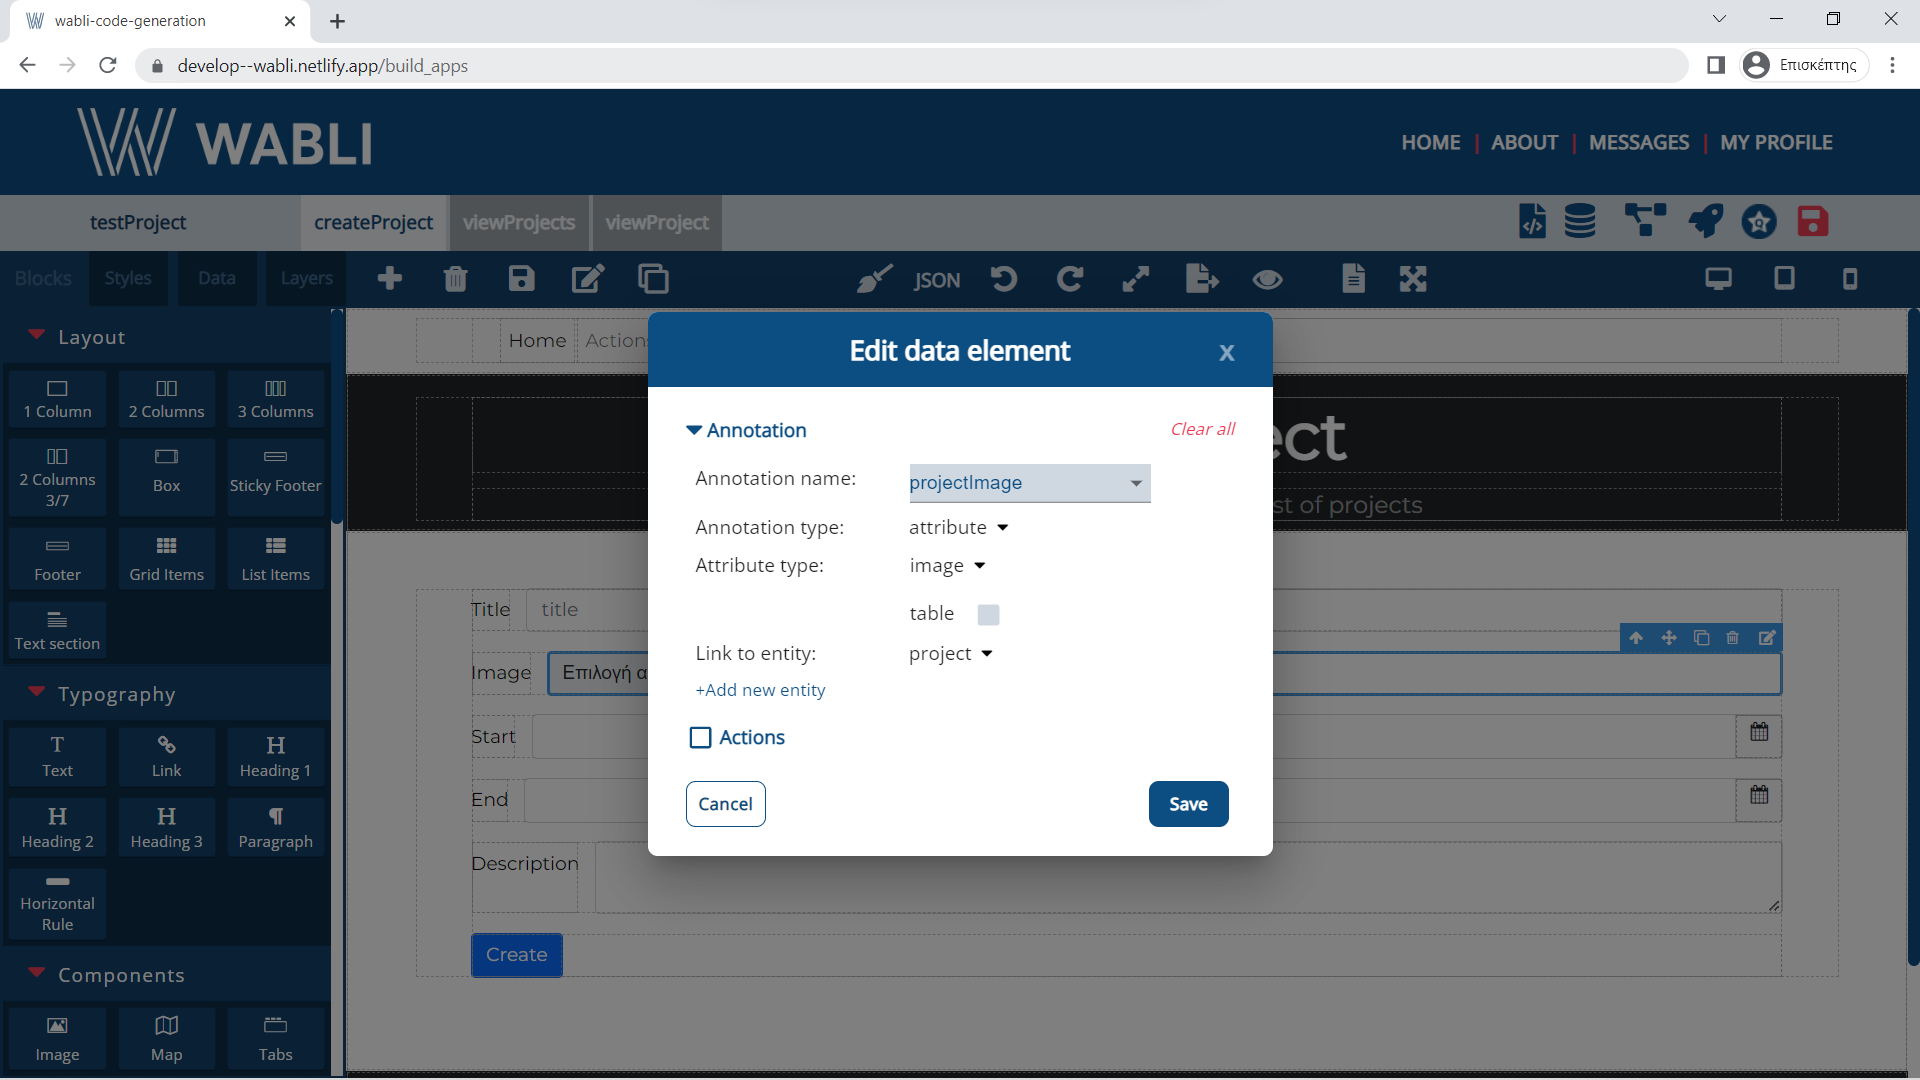
Do the same for the image.
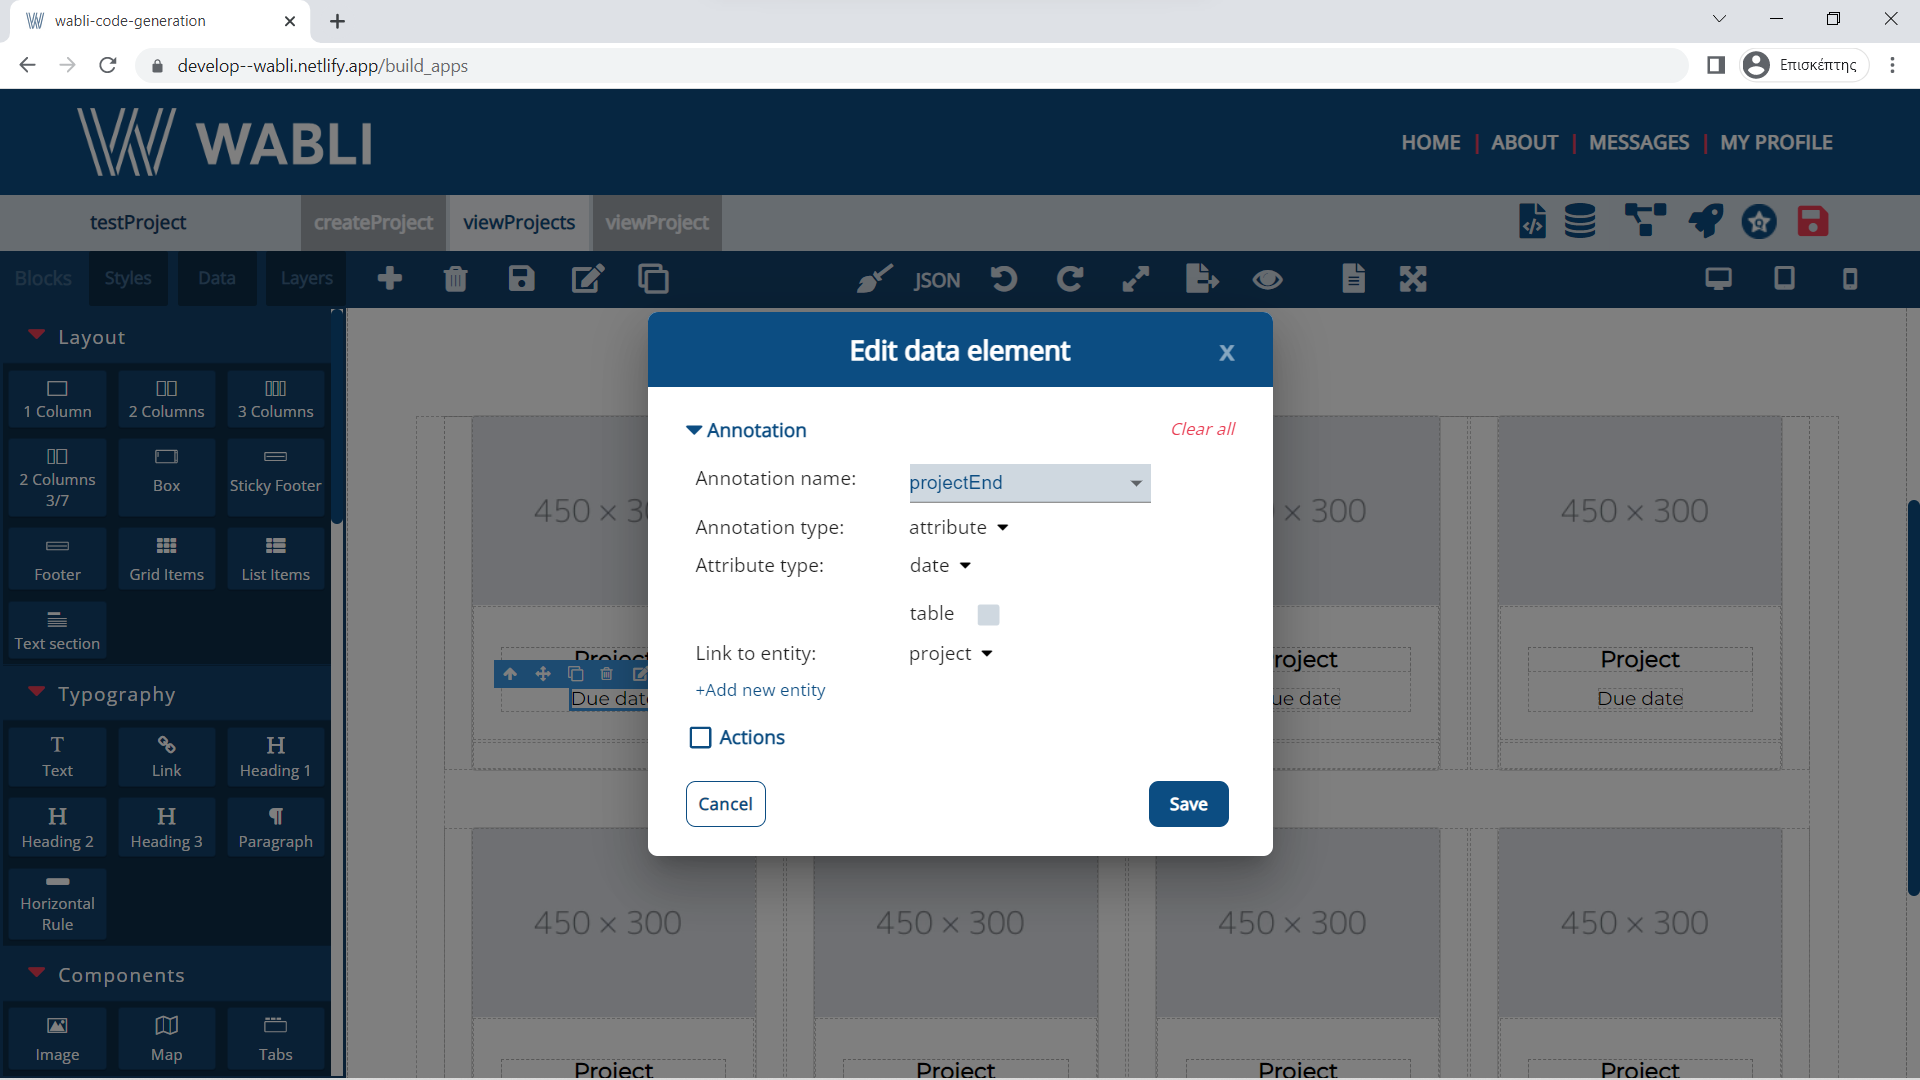
And for the date input.

And for the create button.
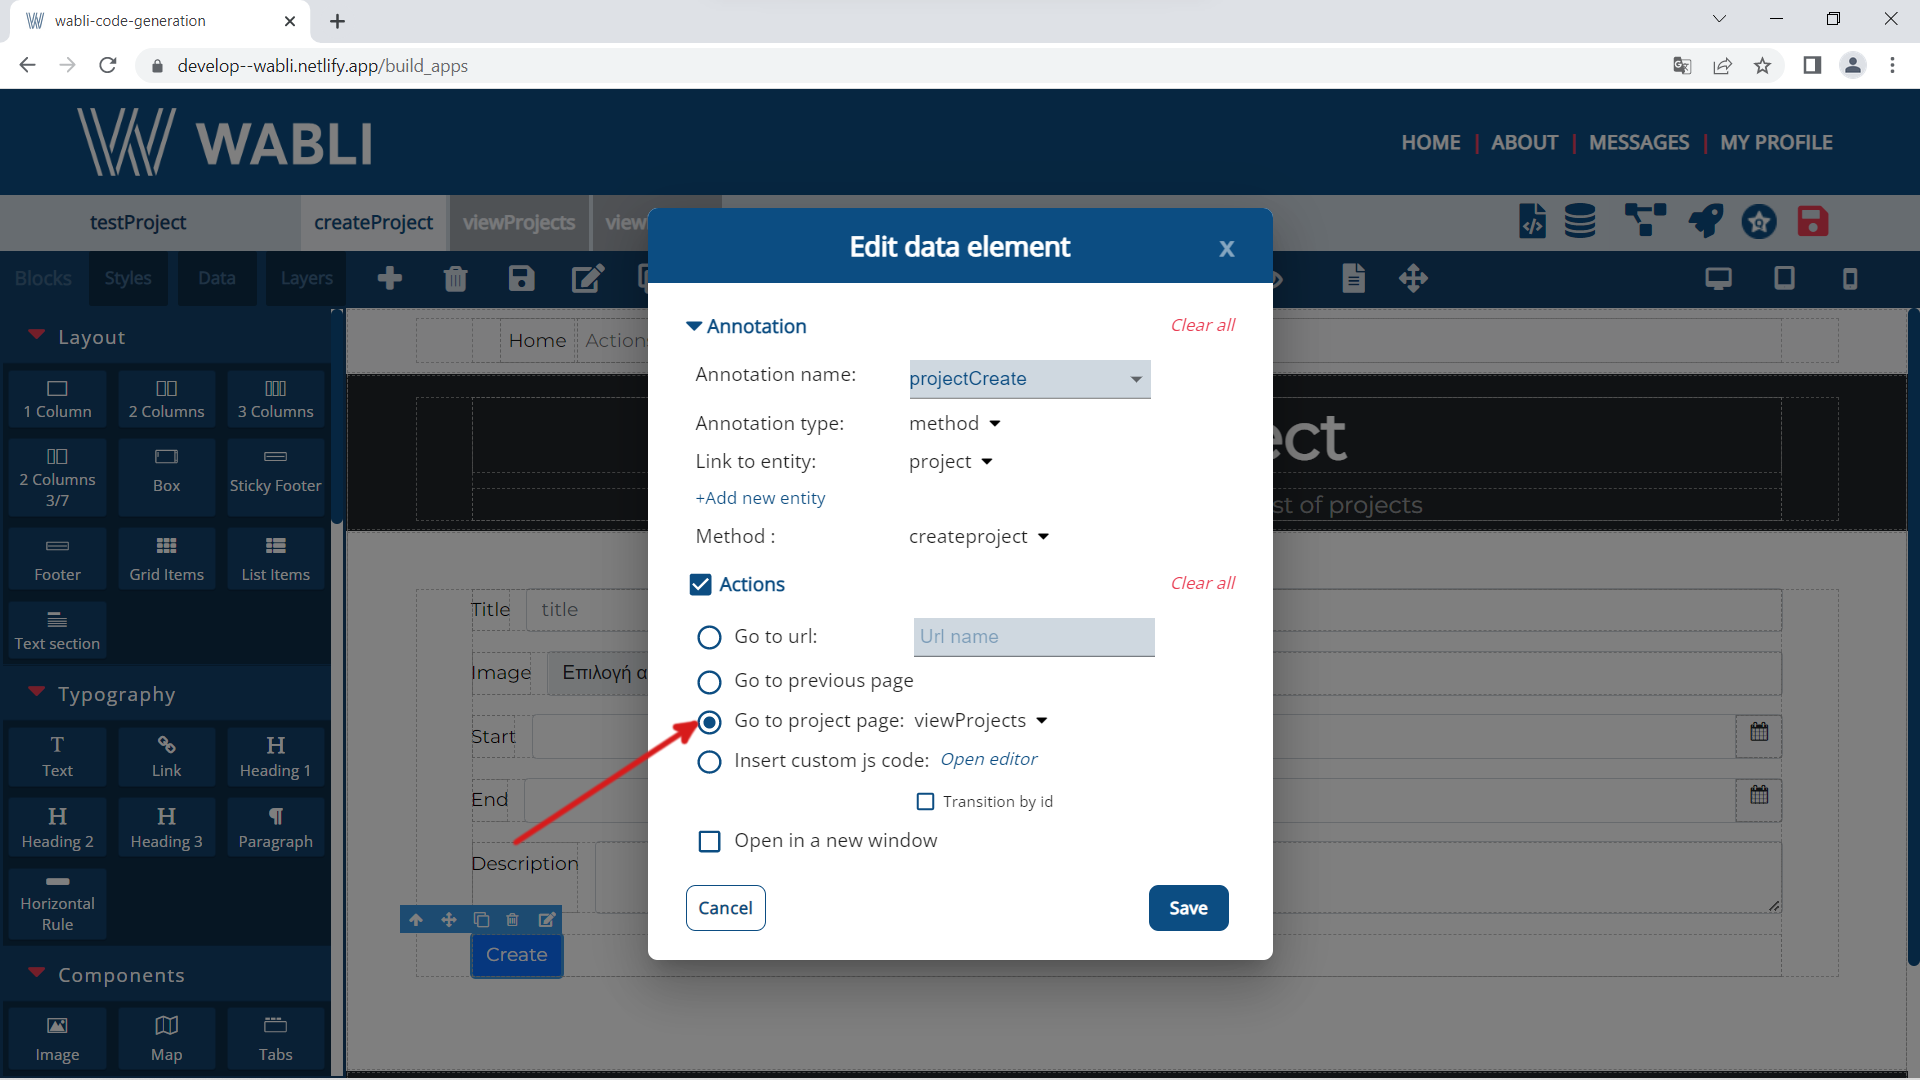
You can also add CRUD (create, delete, update, read) functions to a component e.g. add to the button the ability to "create" a new project and then navigate to page "viewProjects".
Similarly you can annotate all the other componenents that you want to include in your form.
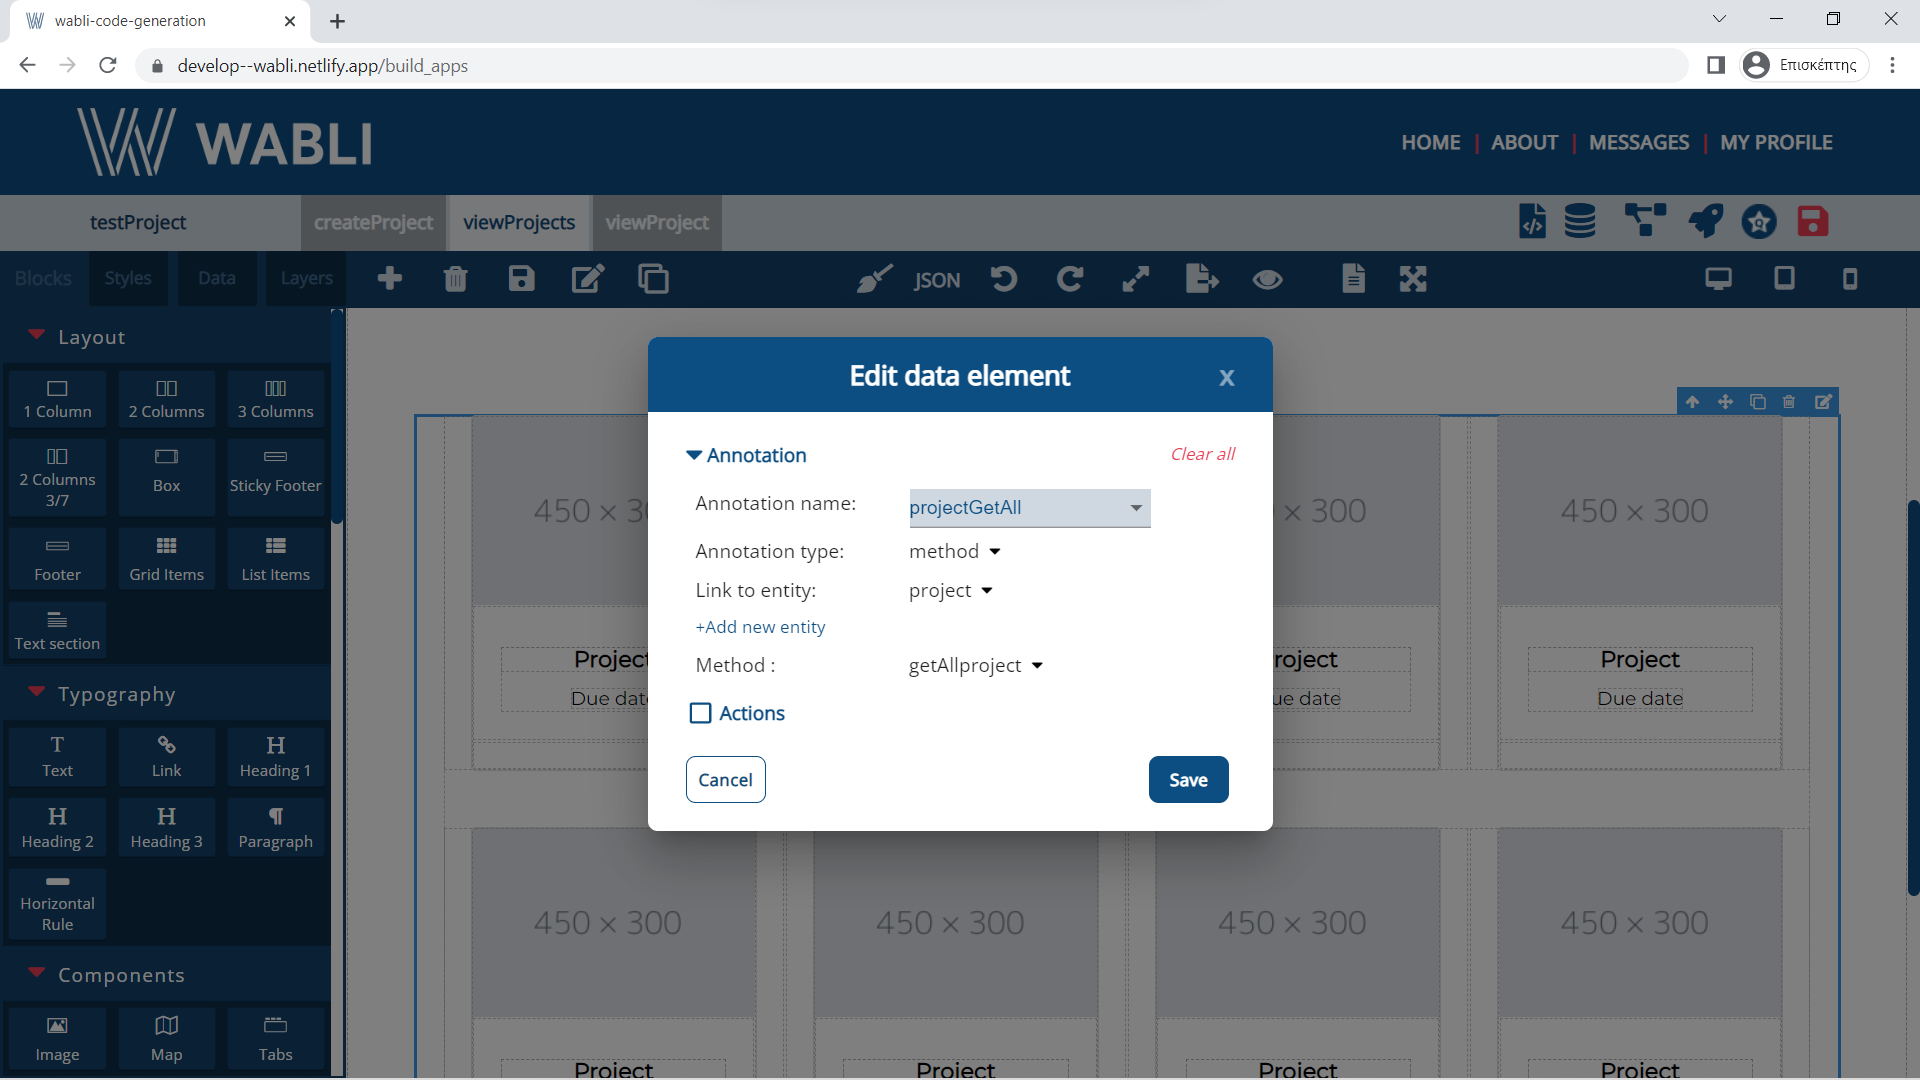
In WABLI we offer the possibility to use a function that can read all the values of an entity. This is the Get All method.
In order to assign a get all annotation method to your project first go to page viewProjects and select any component you want to annotate.
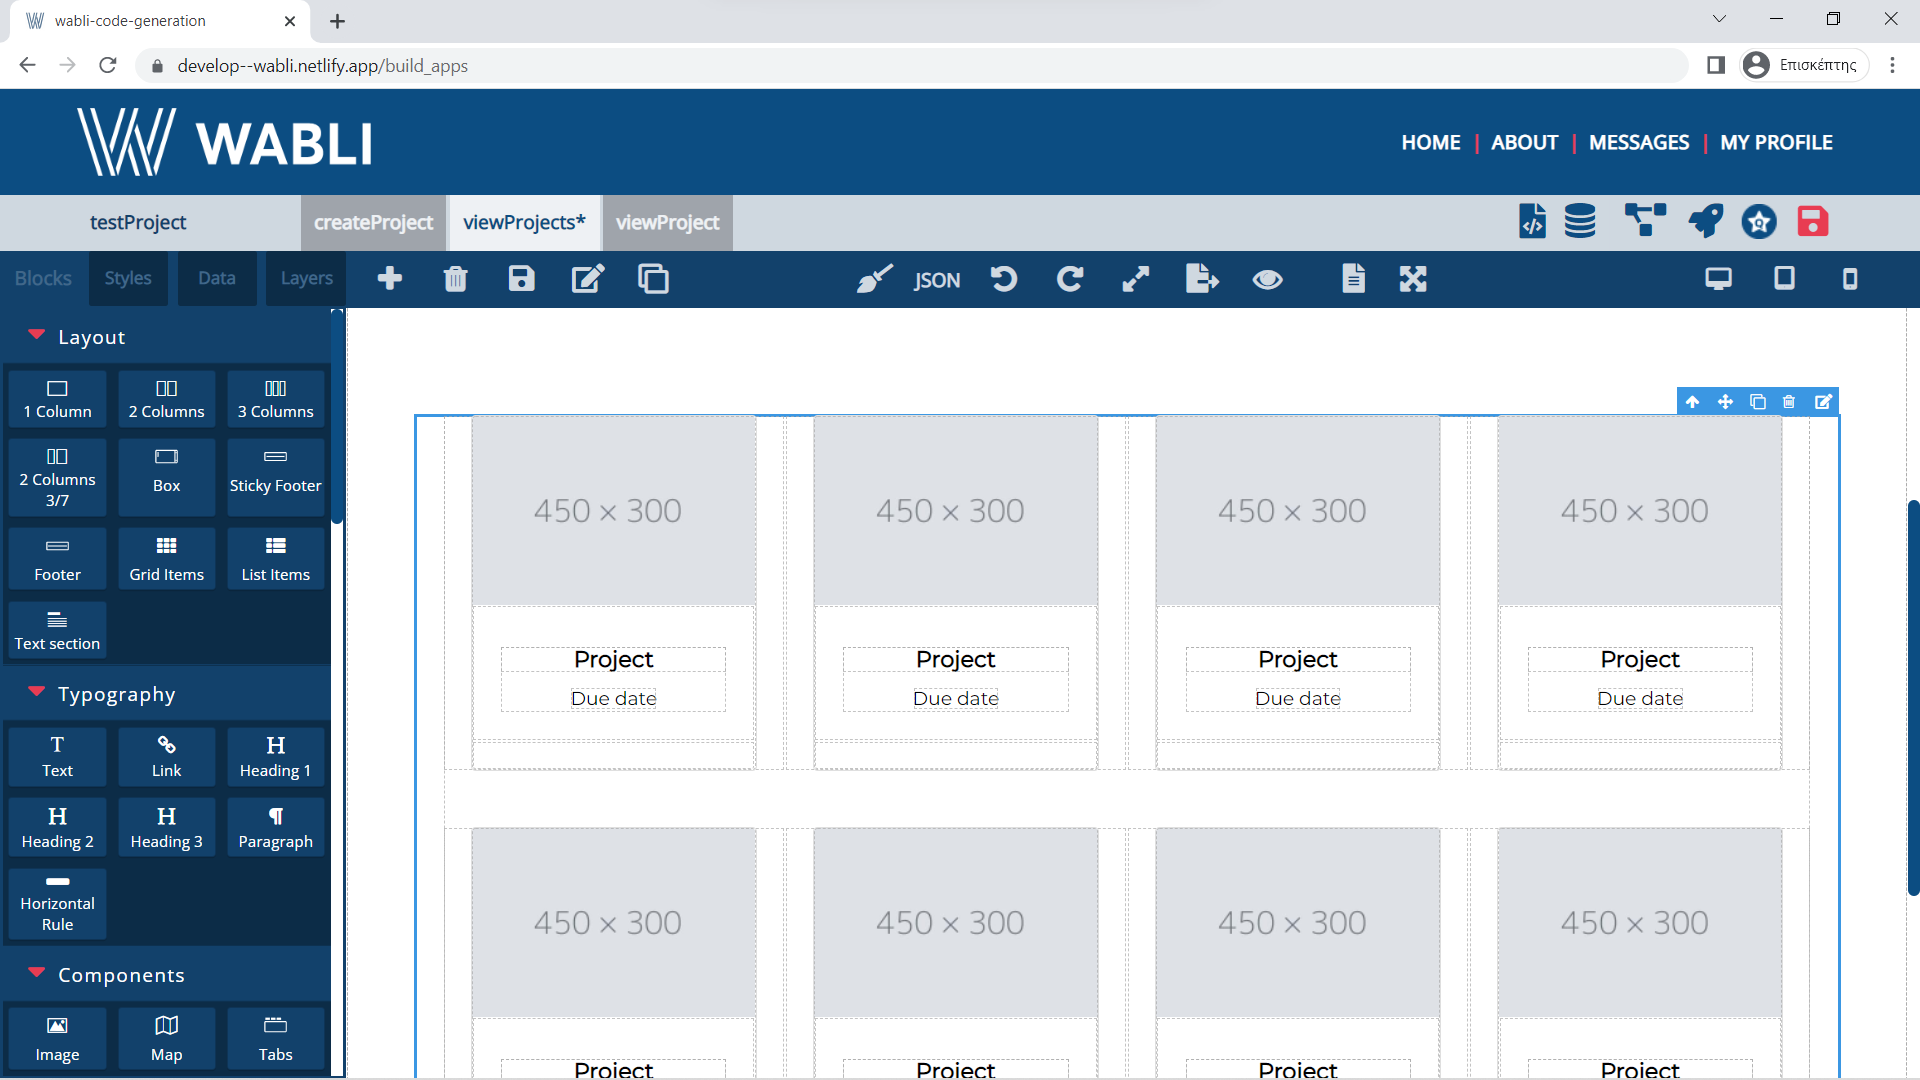
Select any box, that inside you want to render all the projects and annotate it.
For every inside card select where you want to render the info for the project. See how to render the titles of the project.
Annotate all the images.

Annotate all the due dates.
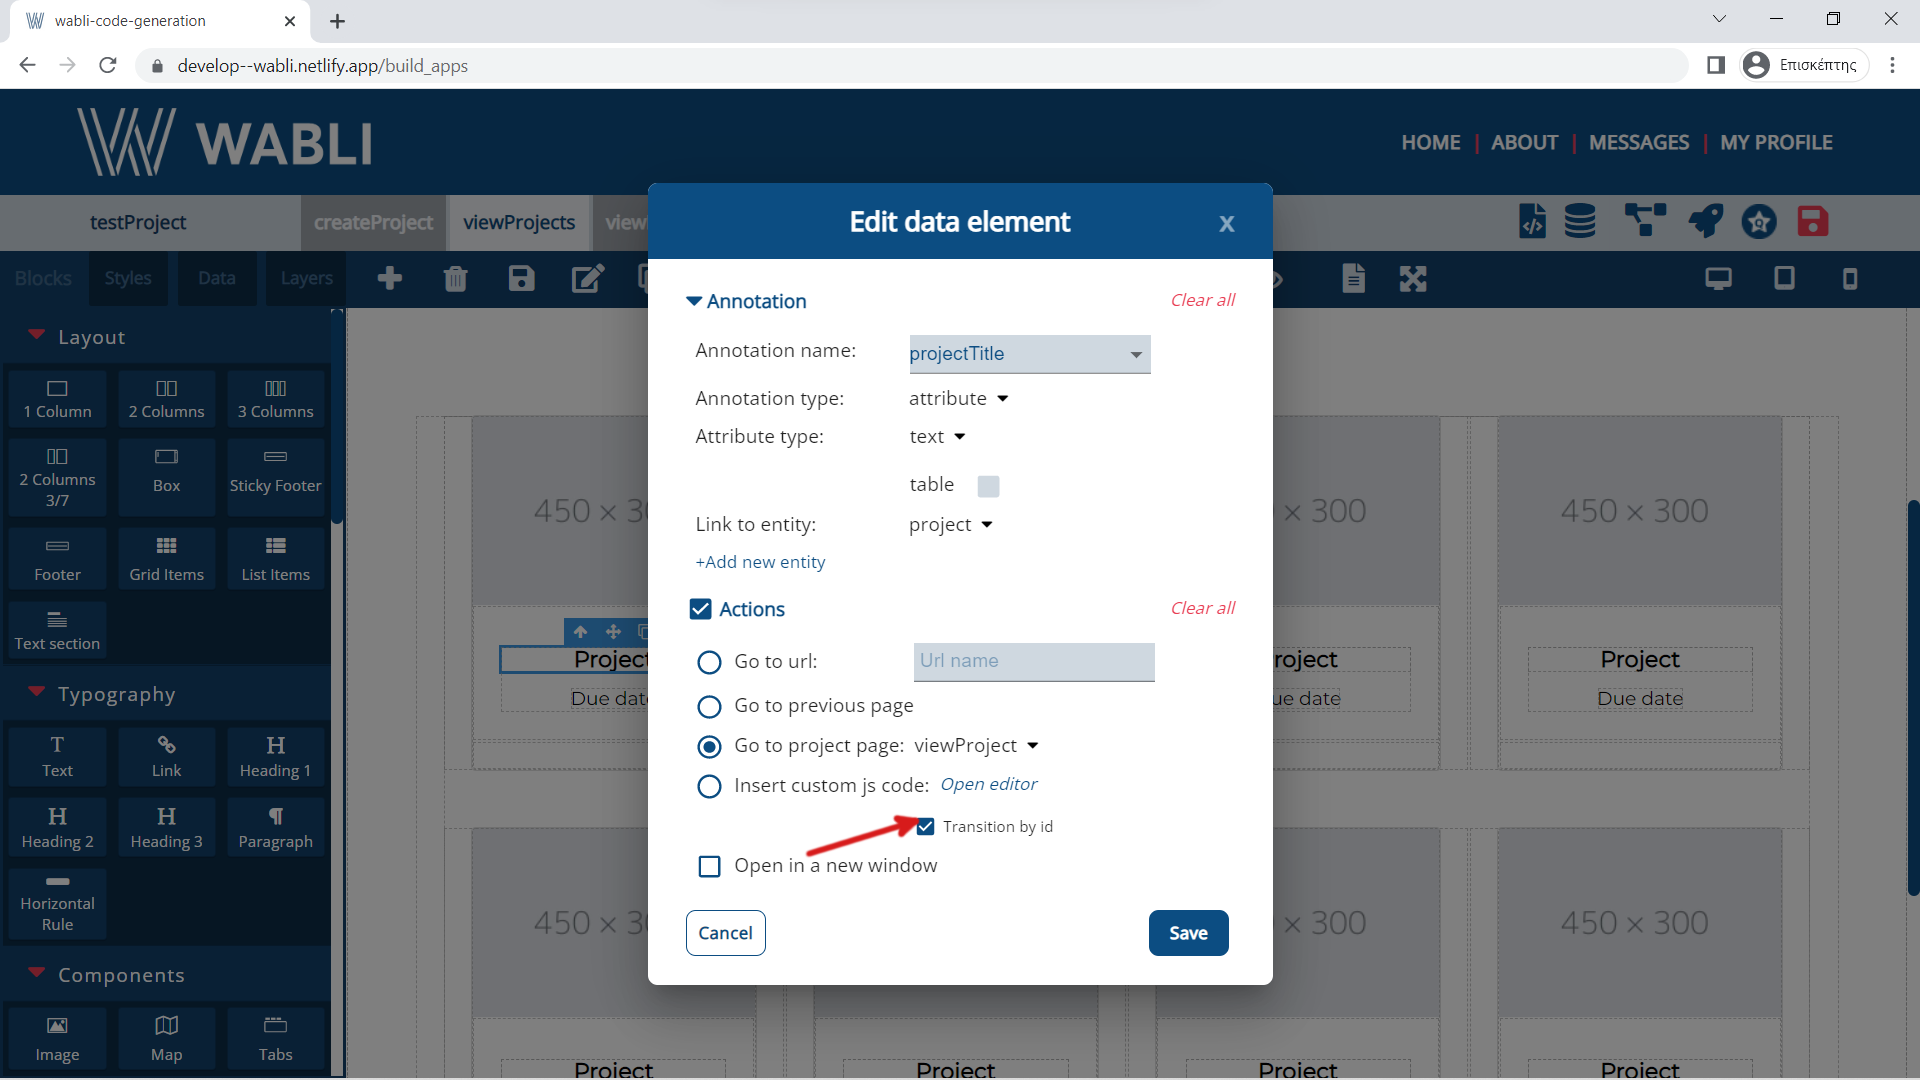
If you want when you press on the title of a project to enter in viewProject add a transition and click on transition by id checkbox.
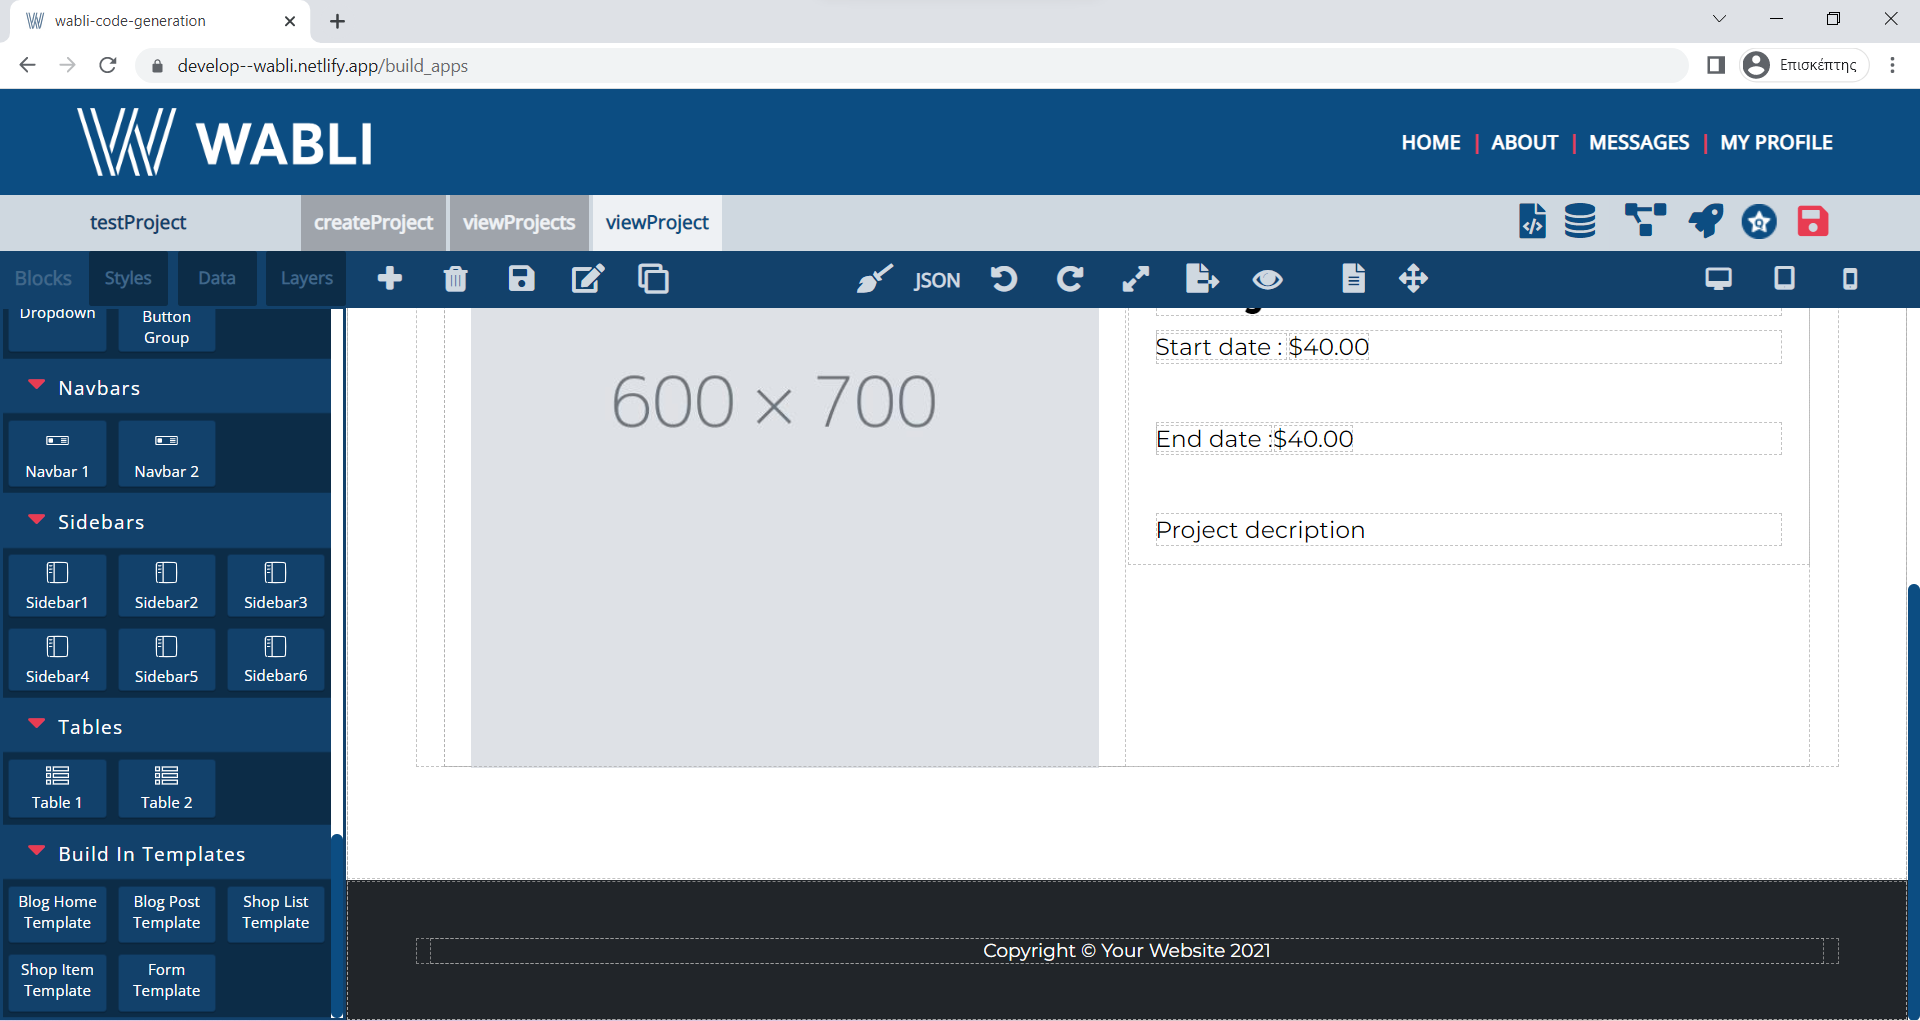
In order to assign a get annotation method to your project first go to page viewProject and select any component you want to annotate.
Select any box, that inside you want to render all the data for the project and annotate it.
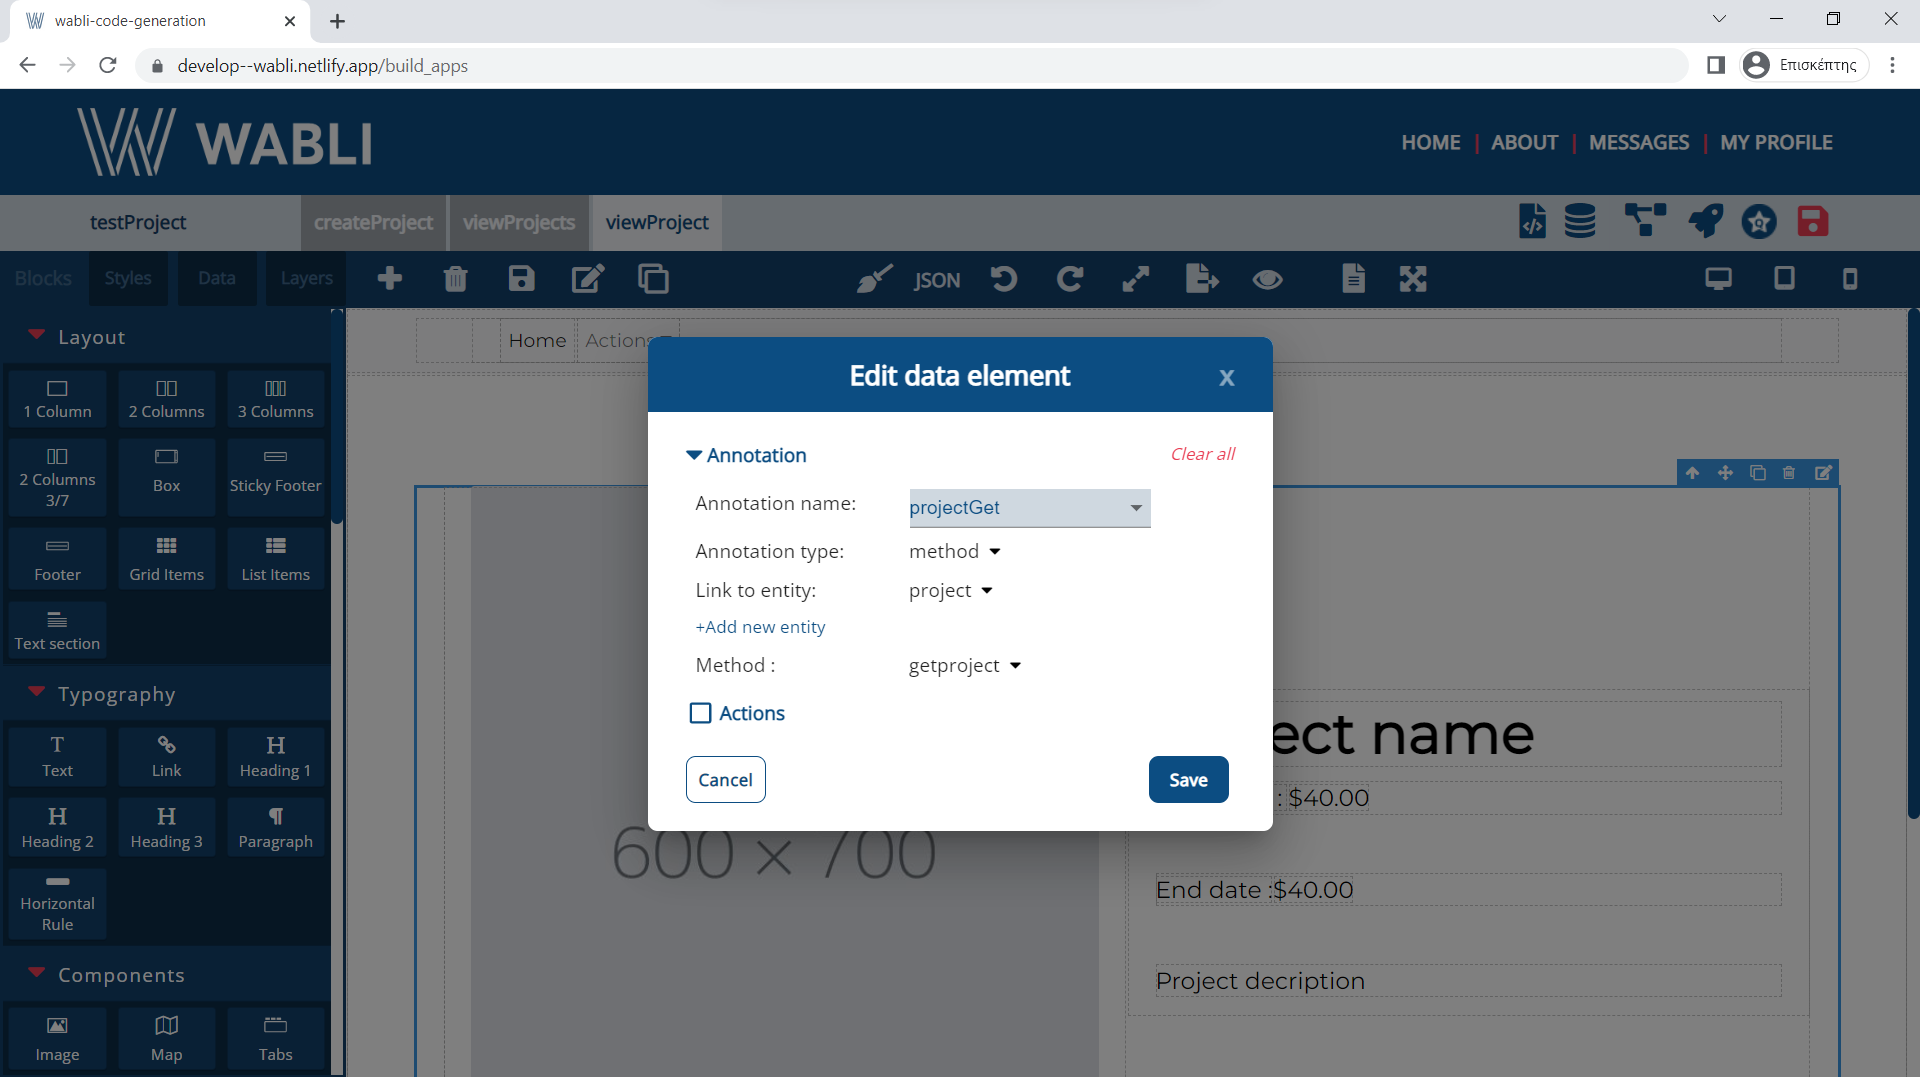
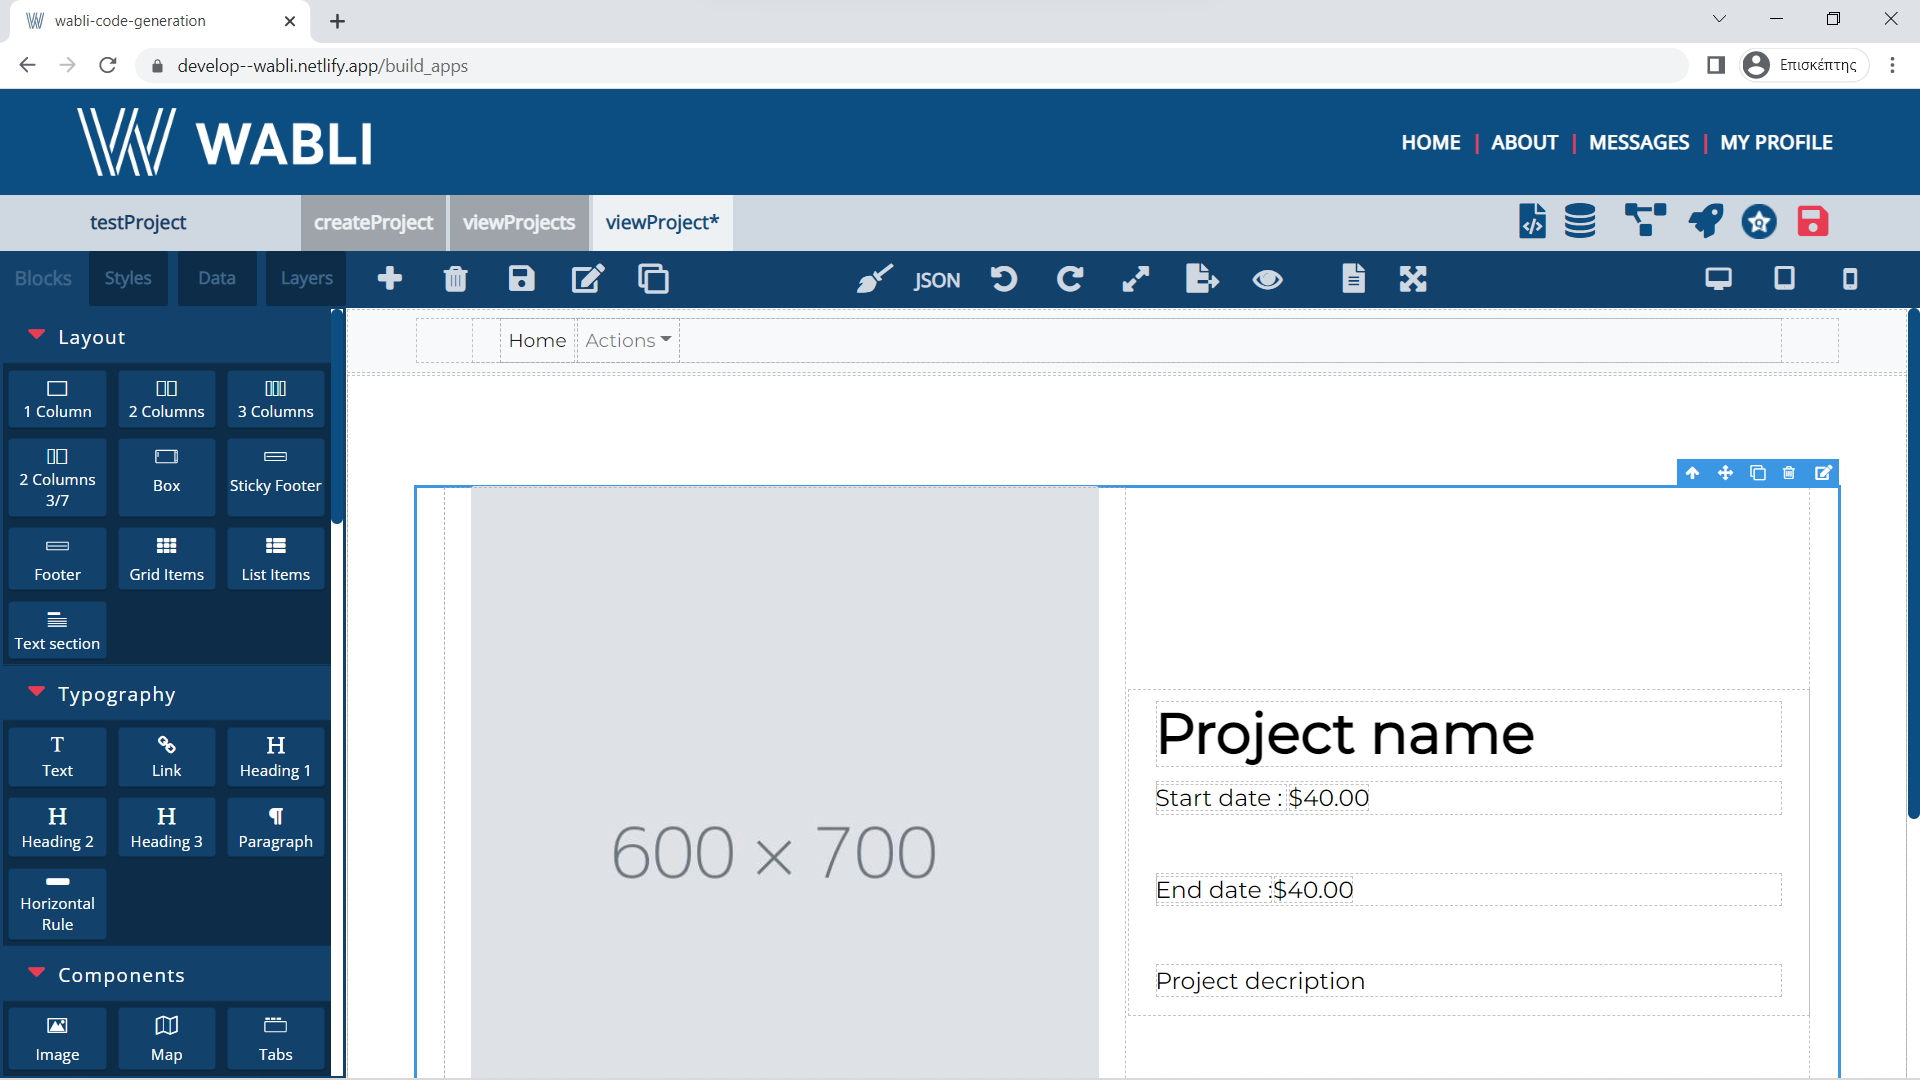
Select any component inside the general box where you want to render the title of the project and annotate it.
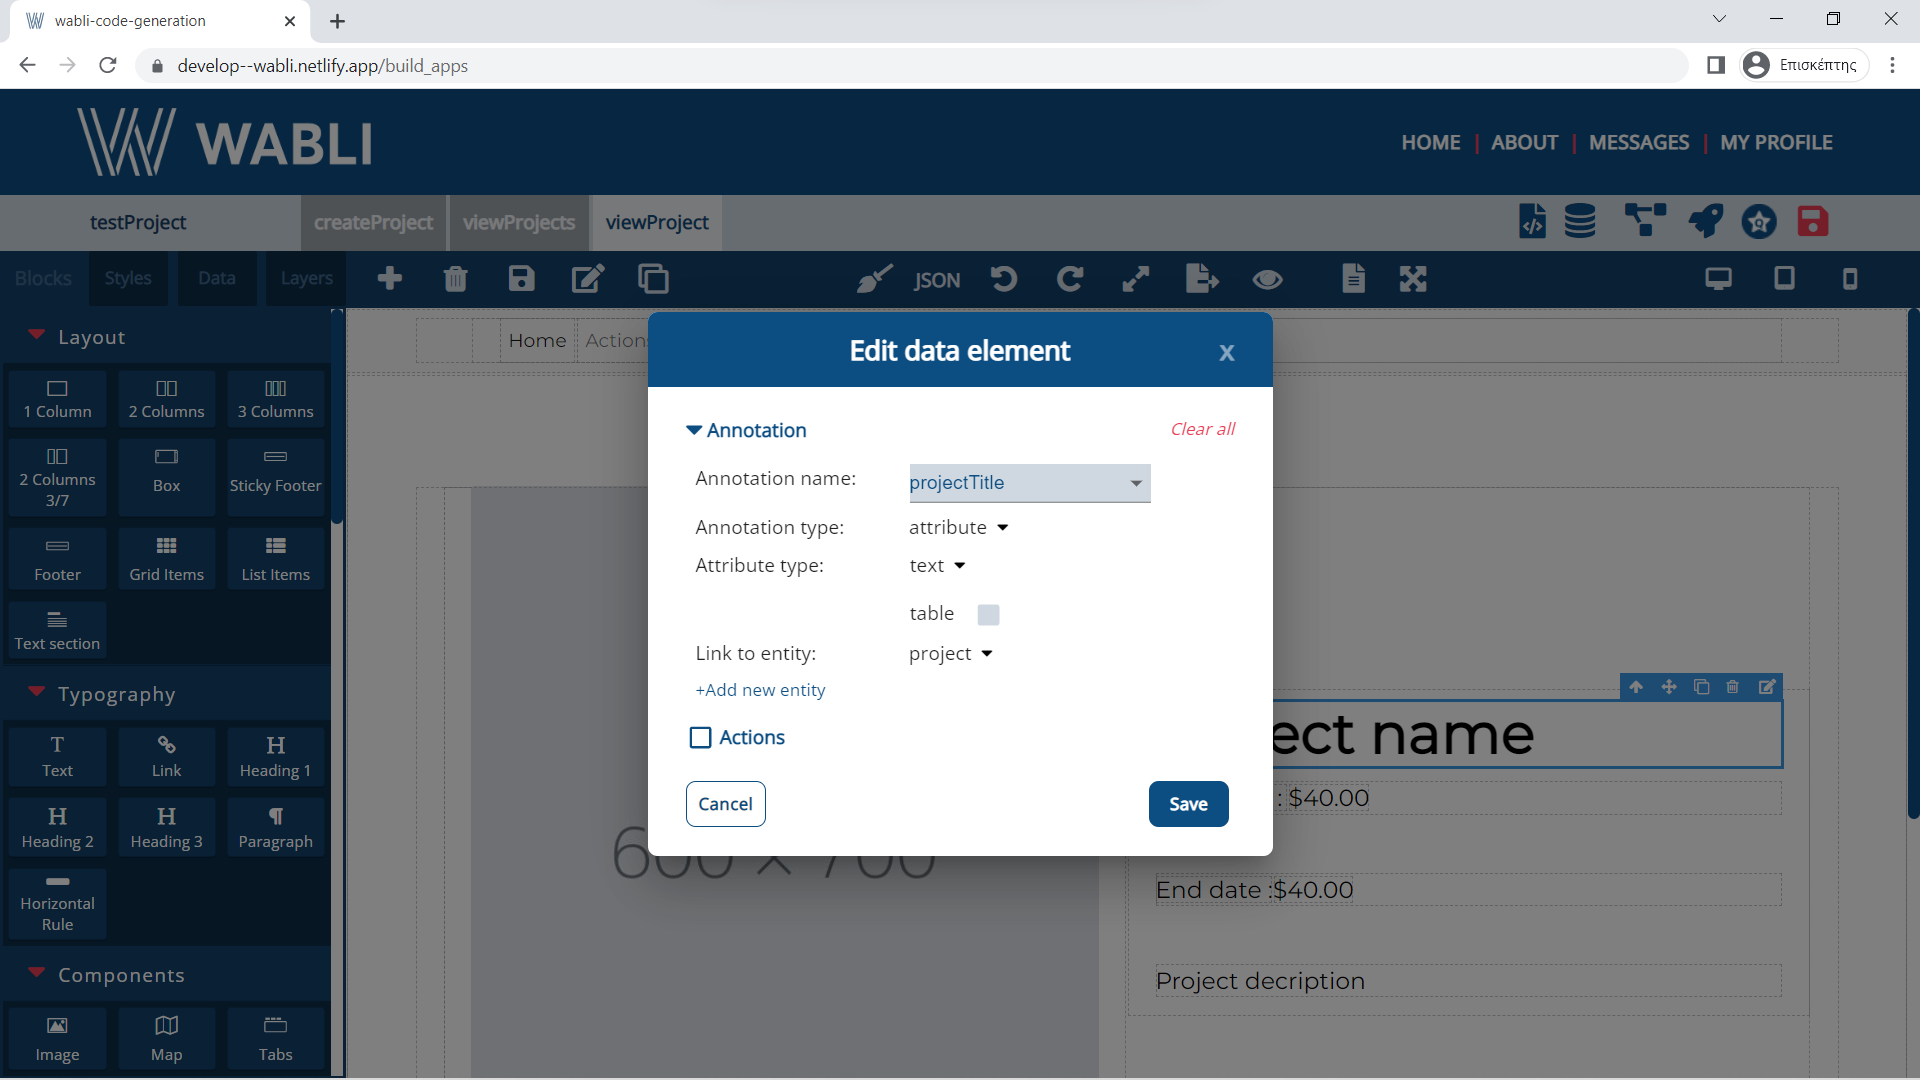
Do the same for the other attributes of the project.
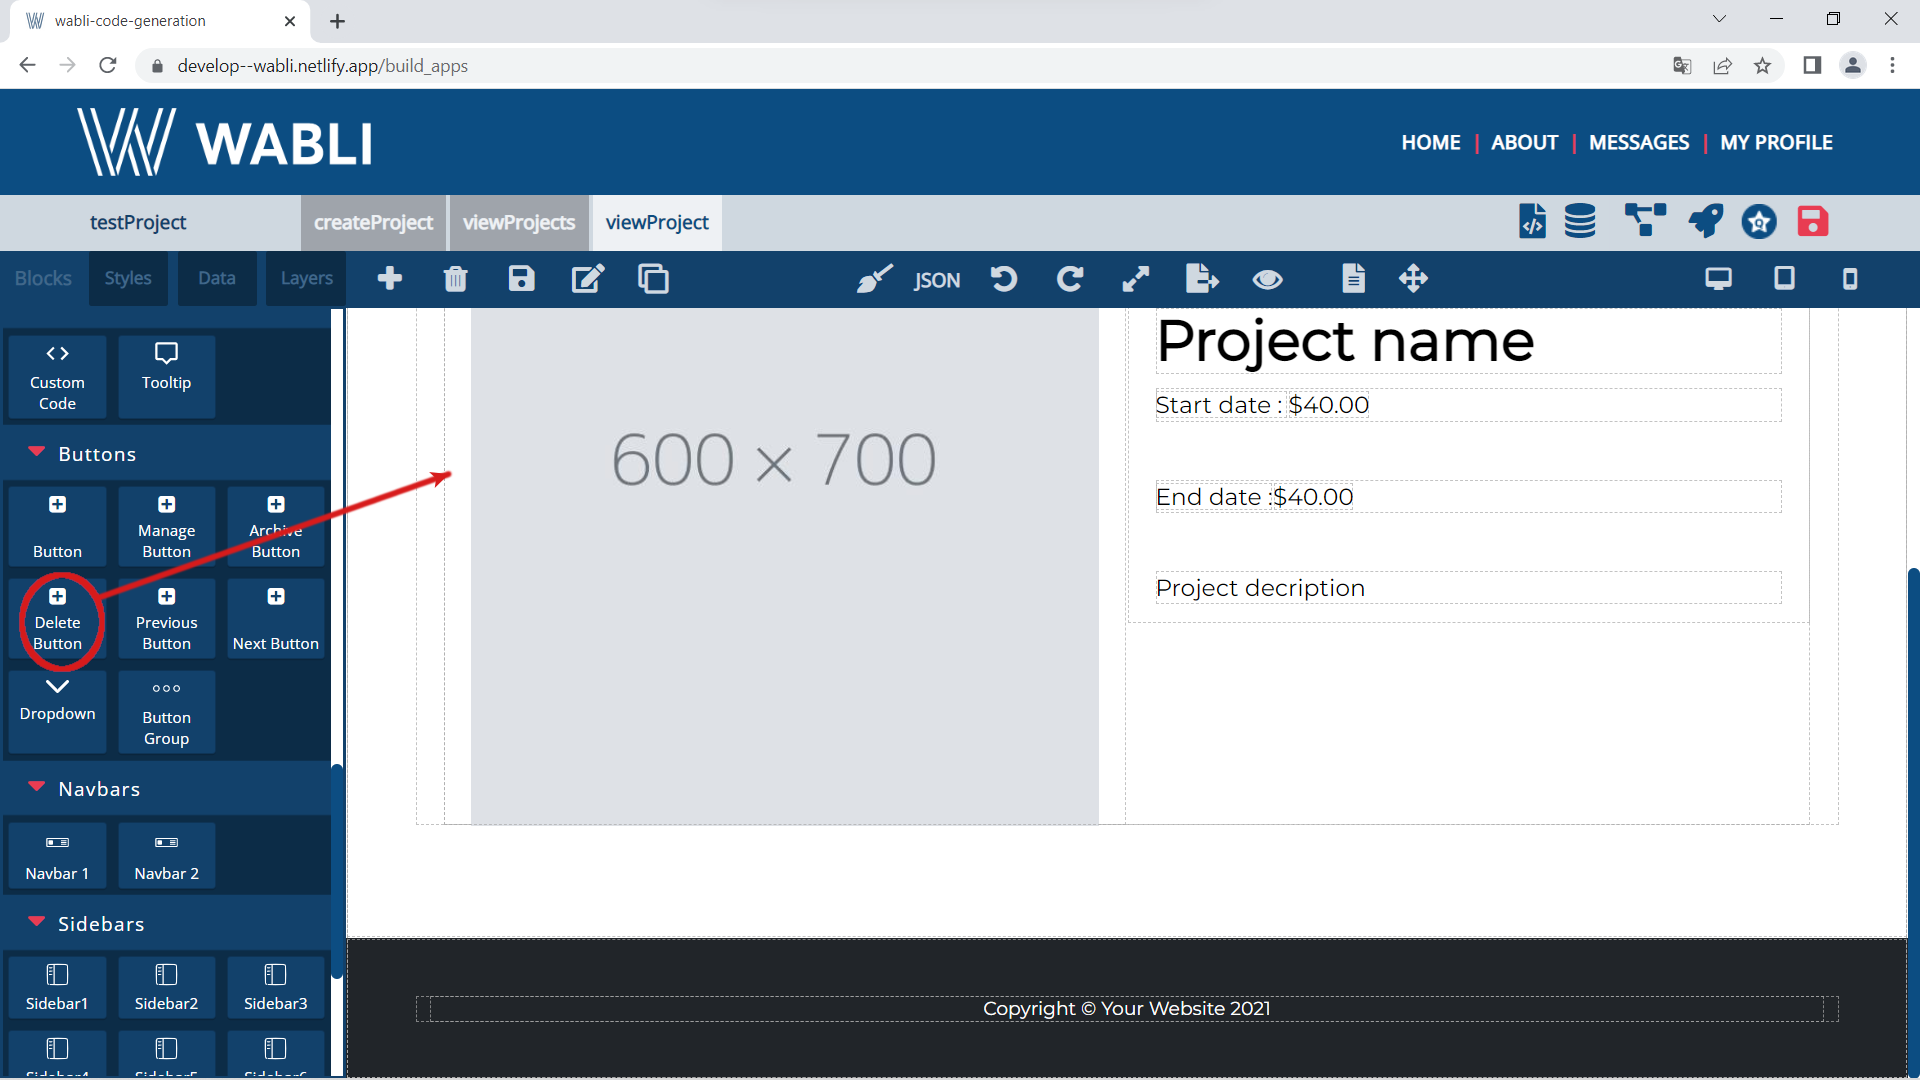
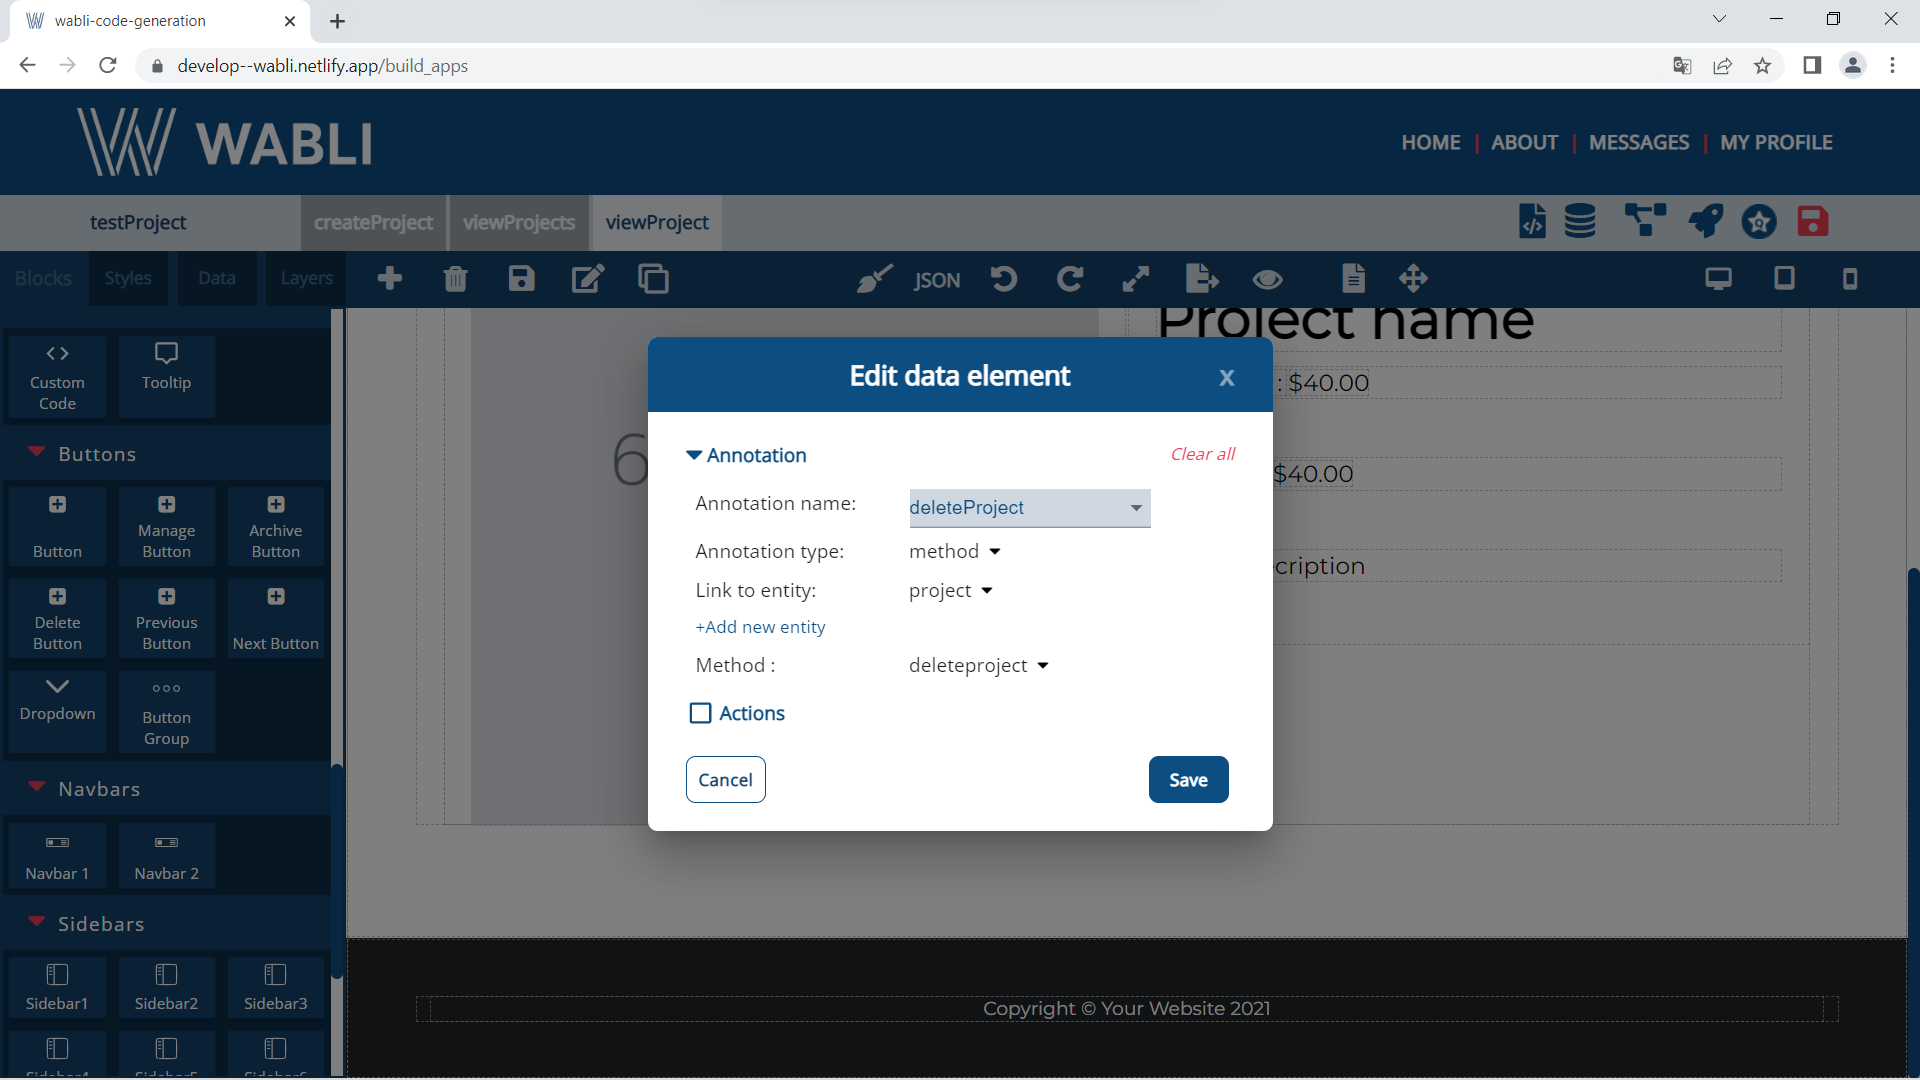
You can add a delete project button inside viewProject page.
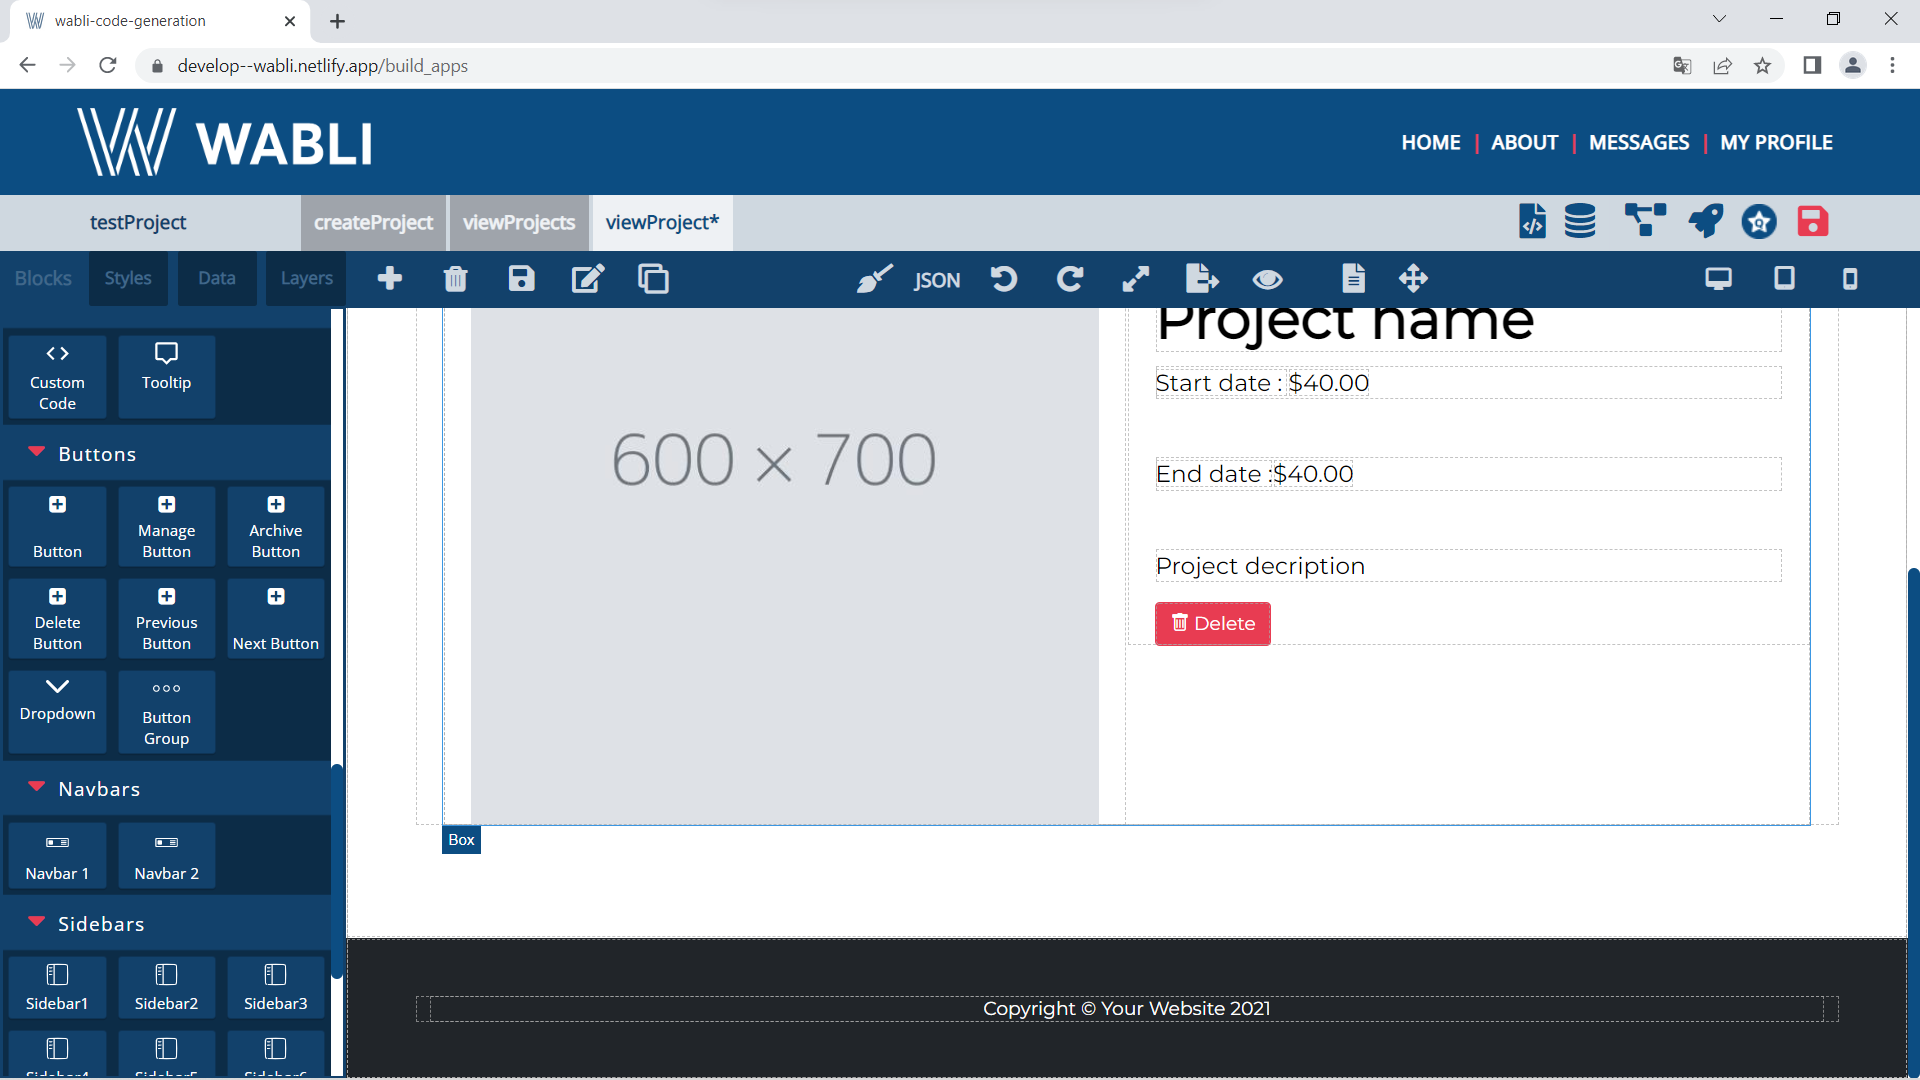
Below you can see how you can annotate this button.
If you want when you click delete project button to navigate to 'viewProjects' page then you have to select viewProjects page from 'Go to project page' section.

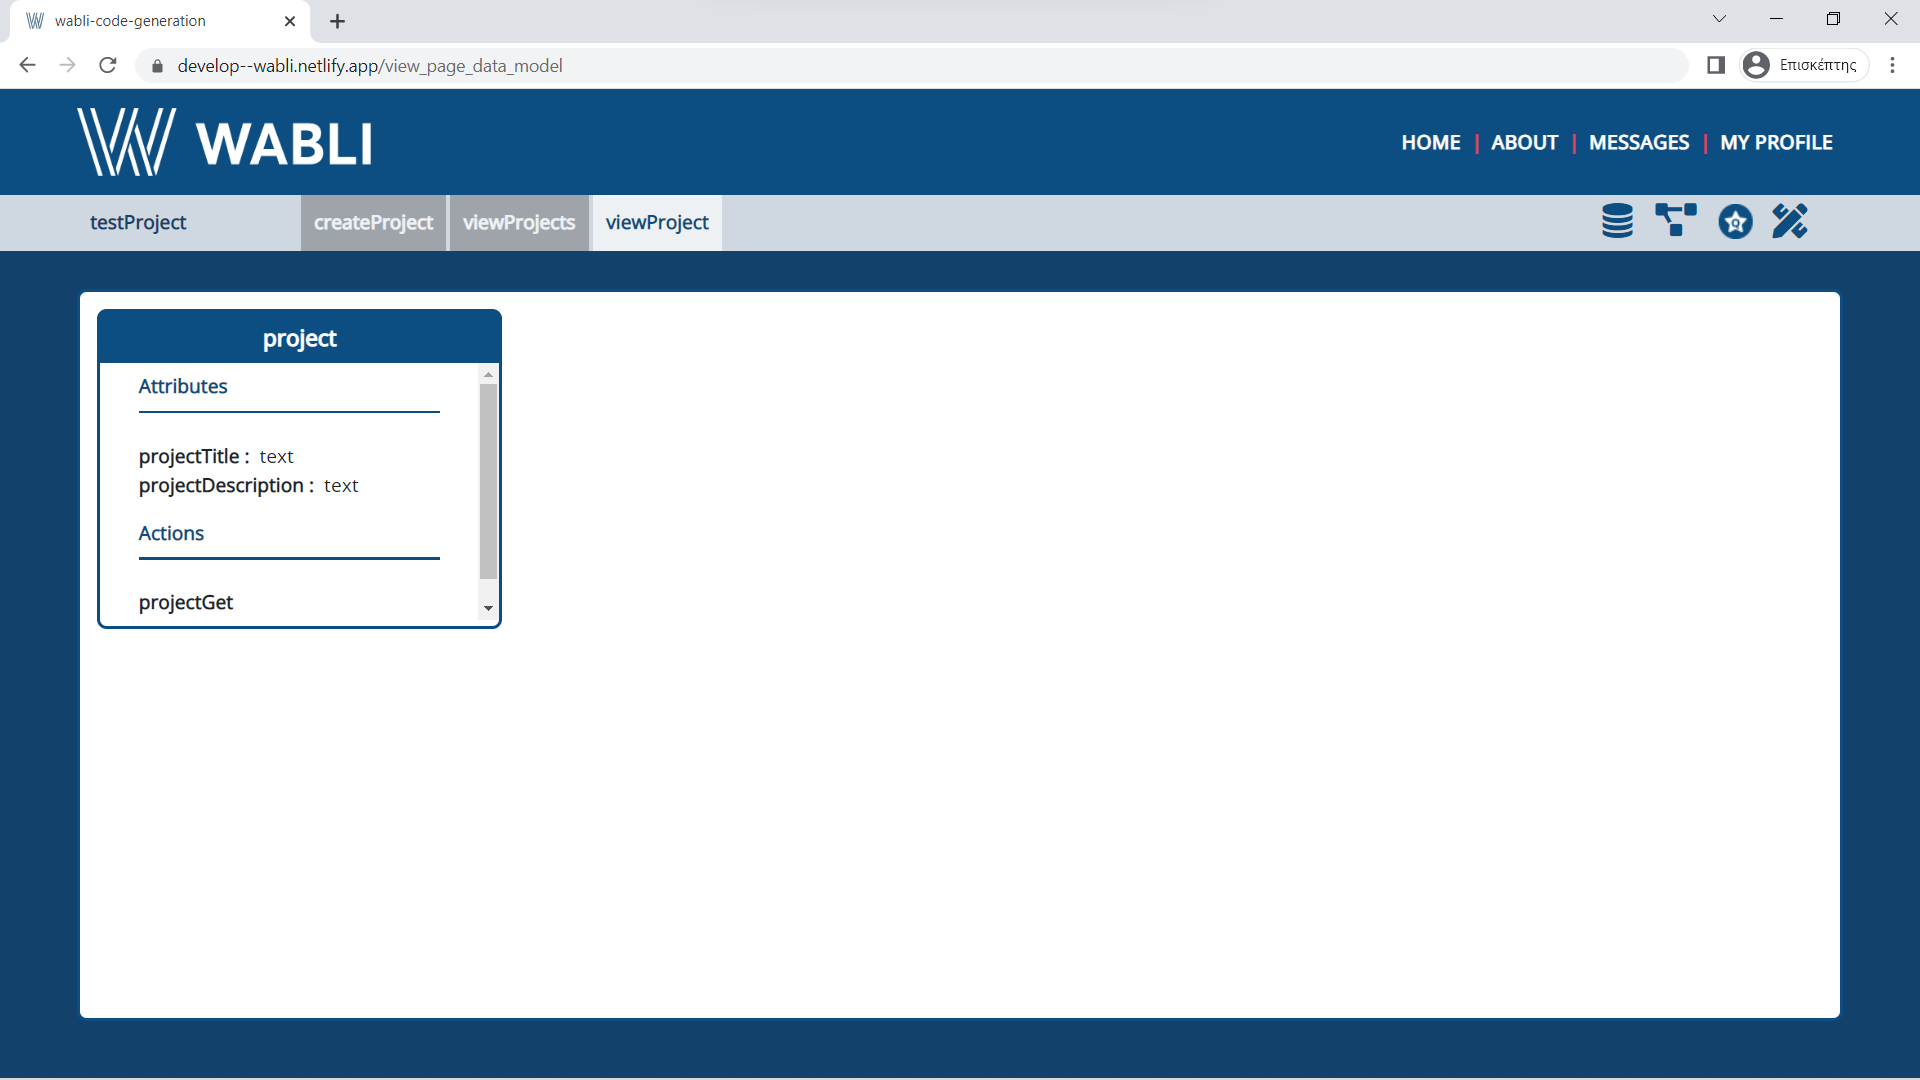
In order to view your page data model you can now click on the "View page data model" icon from the top right menu.
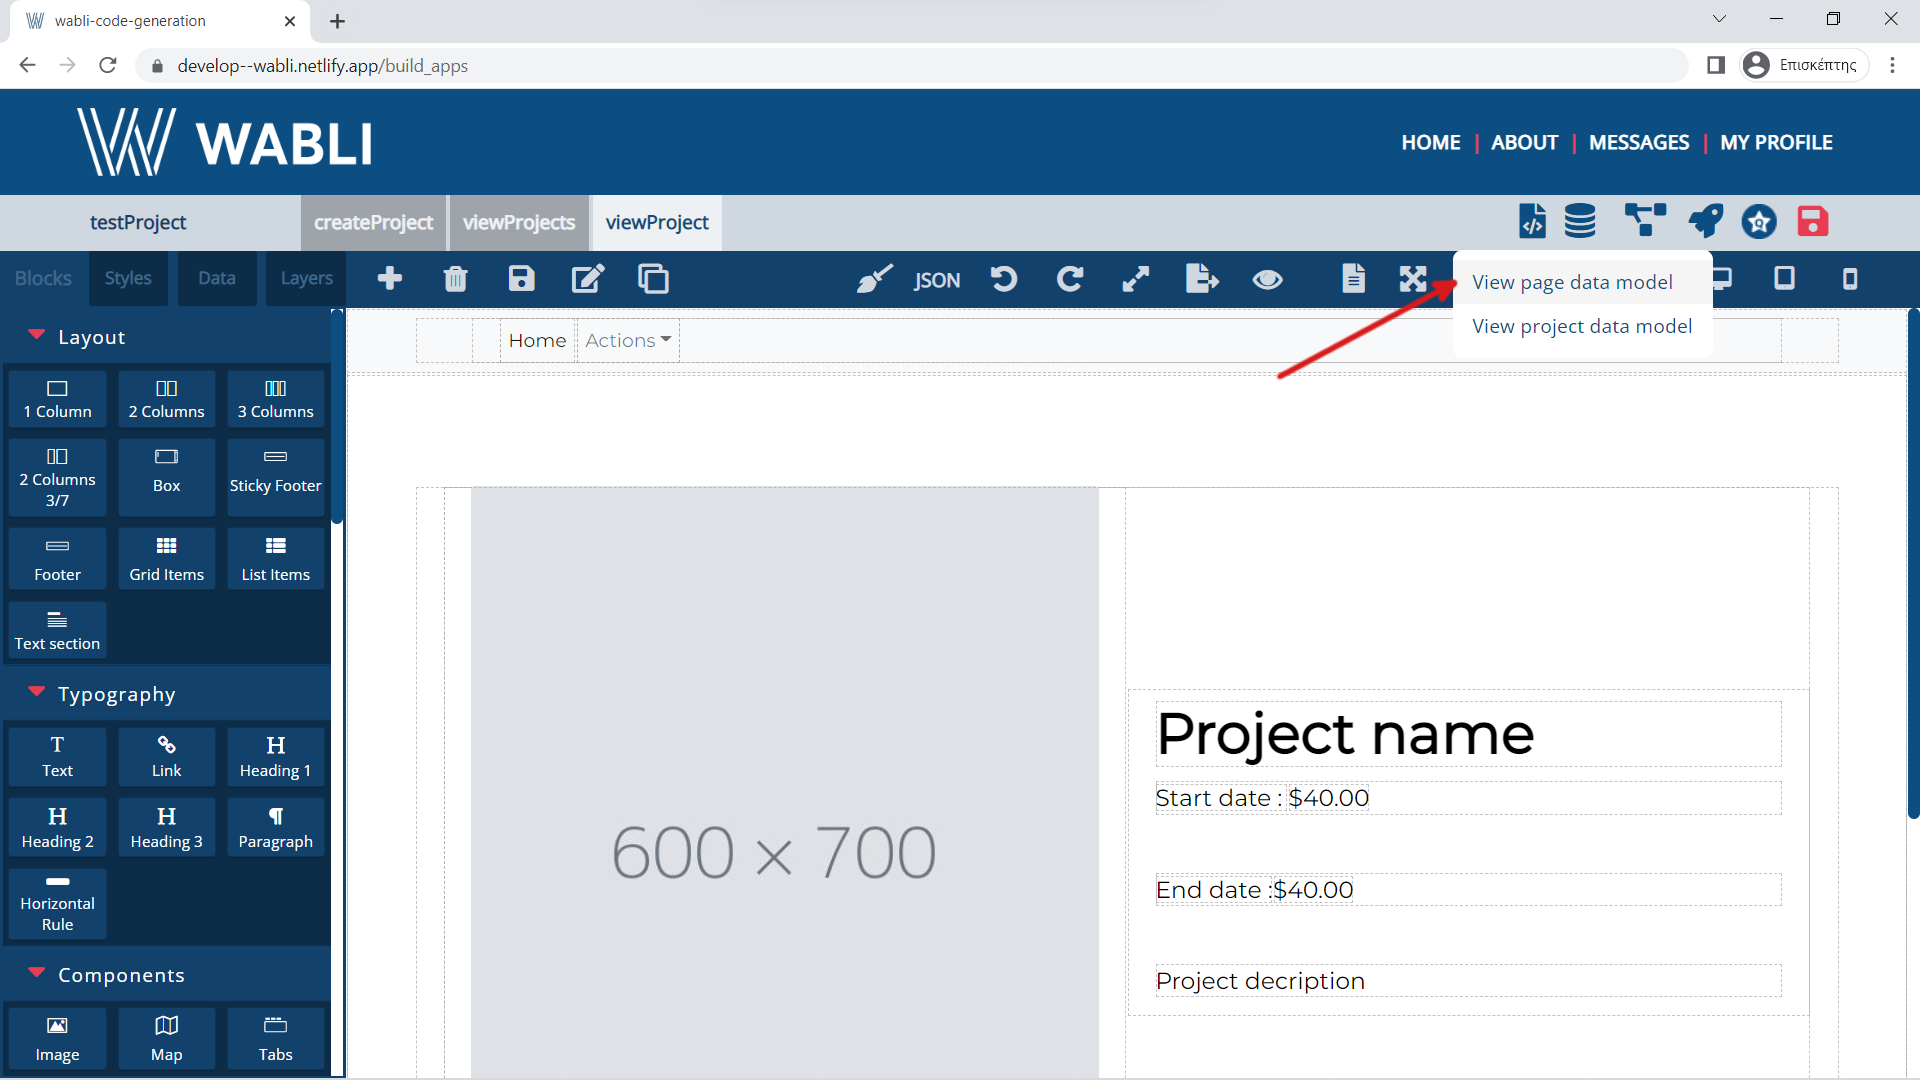
You can now view your page data model!
WABLI offers some deployment options.
You can view the deploment options if you click on the deploy icon.
There you can see WABLI offers two deployment options. First option, to deploy your project locally and second to deploy your project in a WABLI server. You should contact with WABLI admin in order to receive the second option.
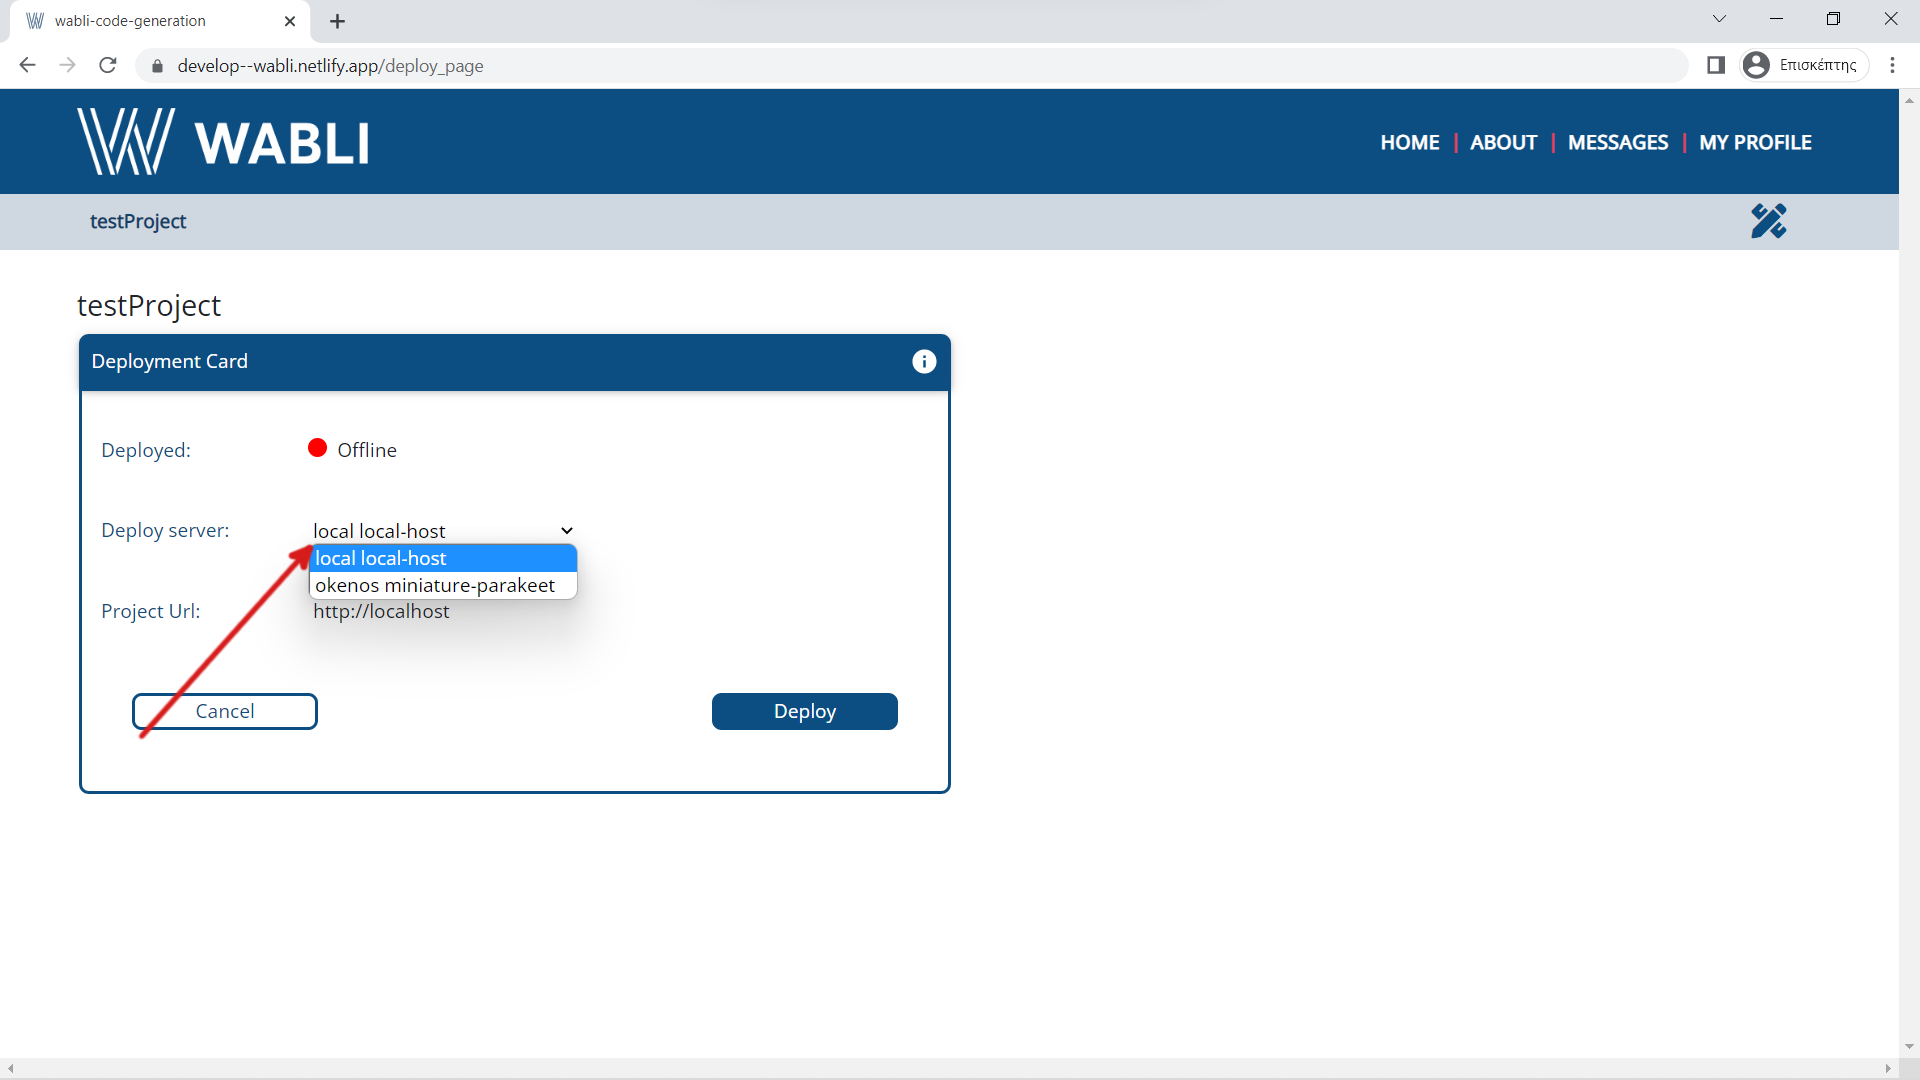
In order to deploy your project locally you should select the first option.
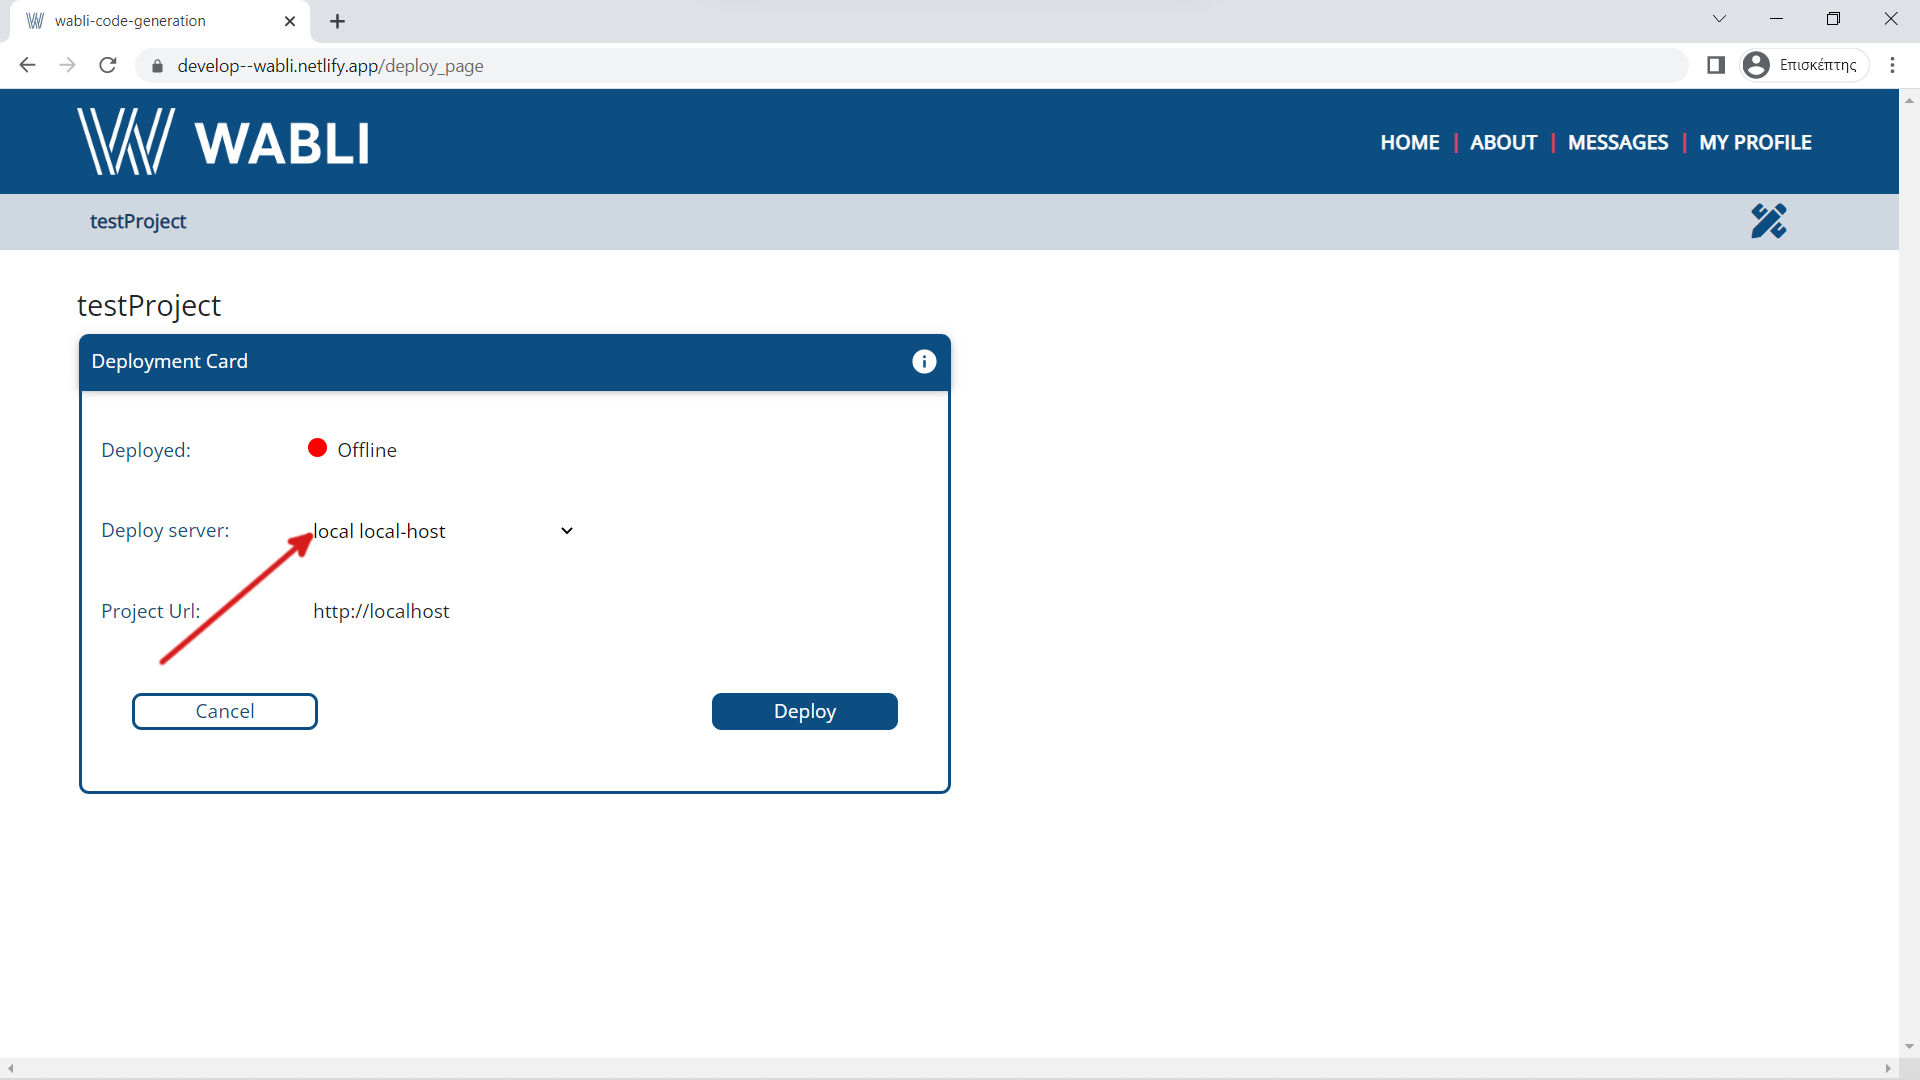
Then you should select deploy.

Then you should go back to build application page.

Then you should export the produced code of the project.

First export the front-sdk of the project.
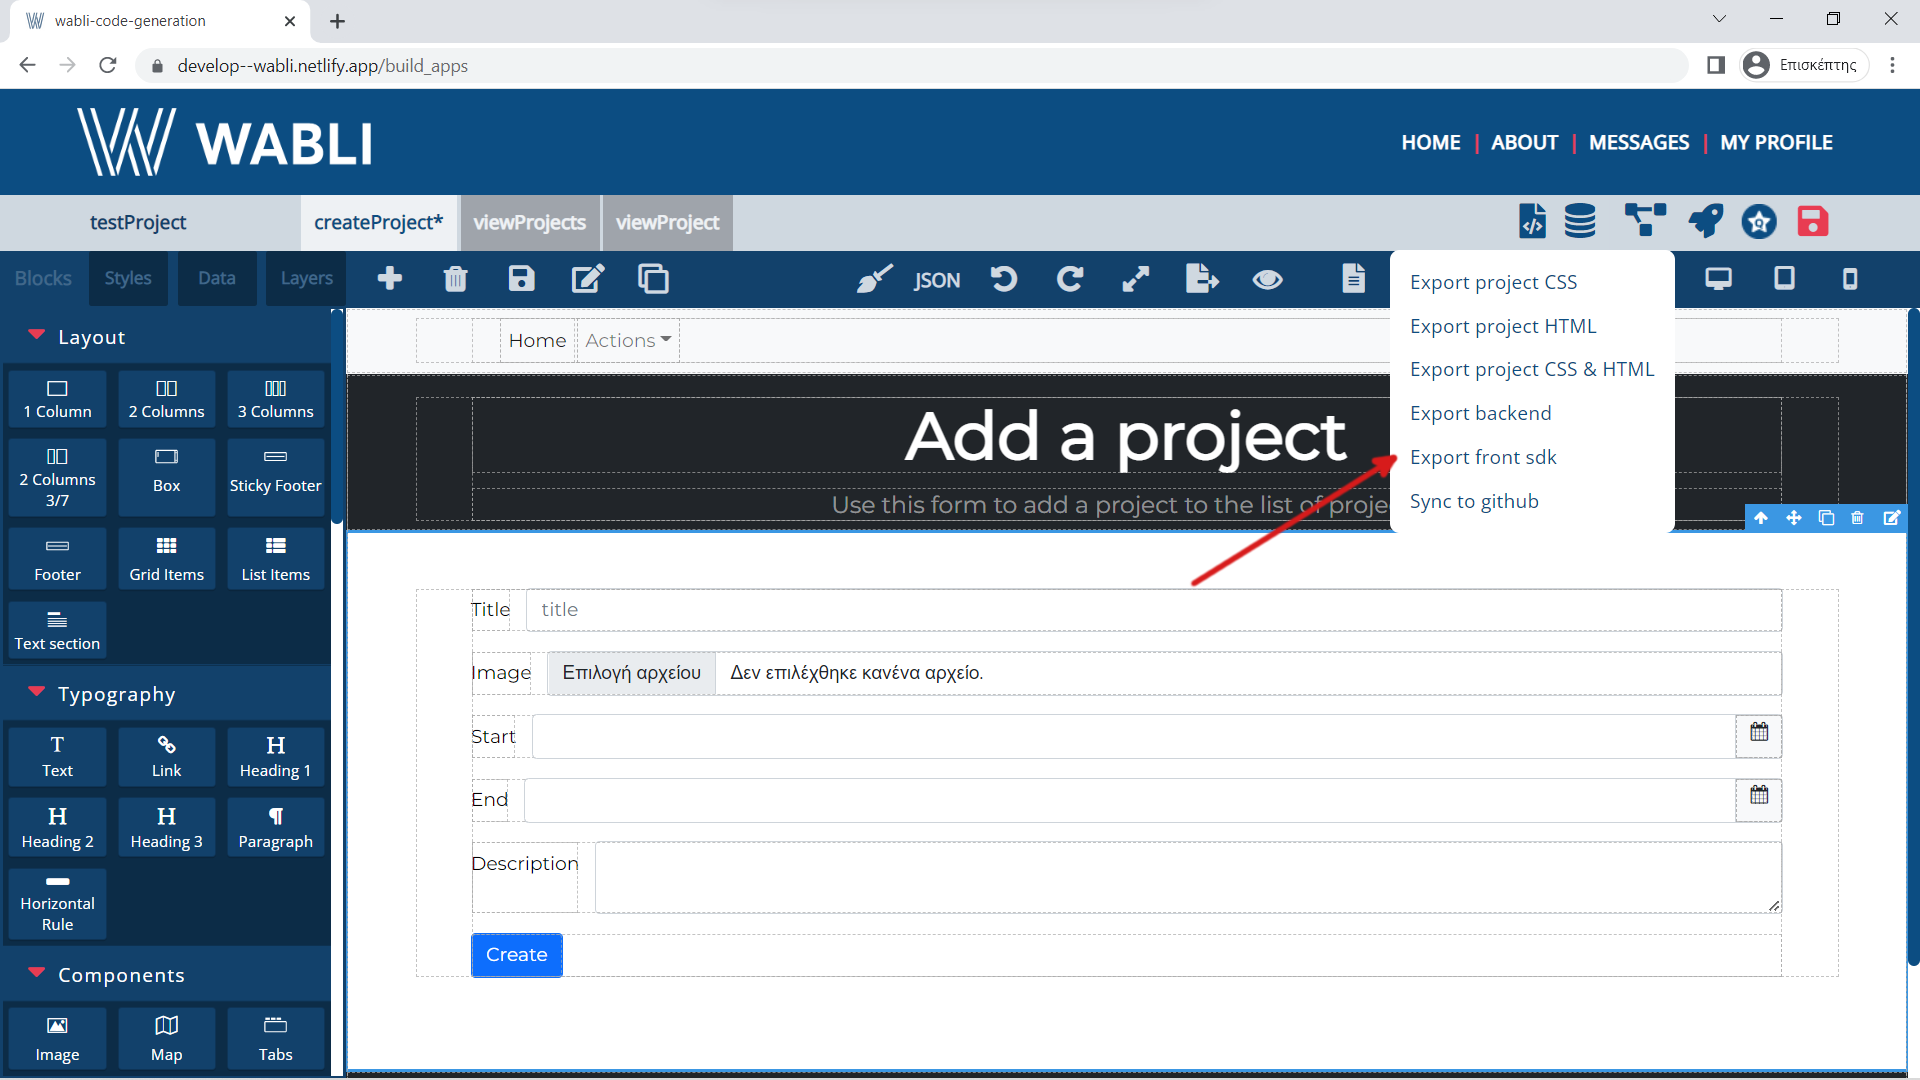
And then export the produced backend of the project.

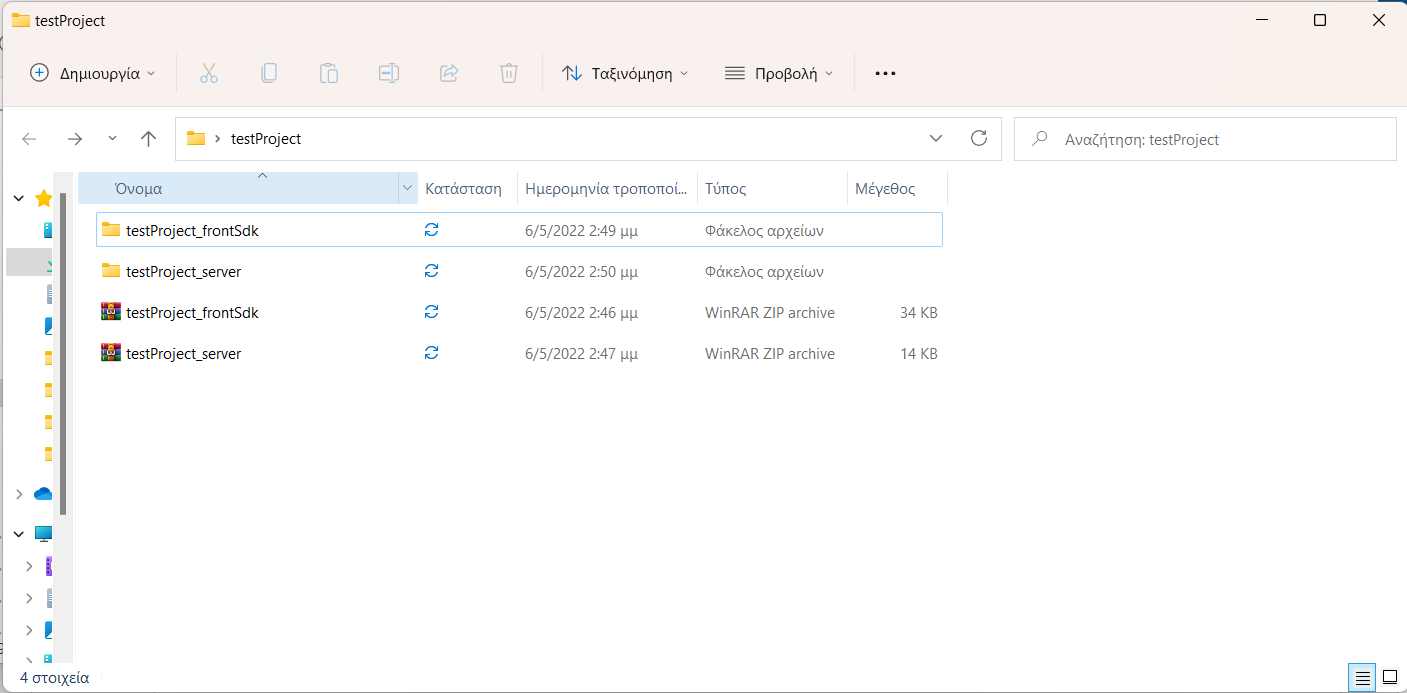
Two zip files have been downloaded.
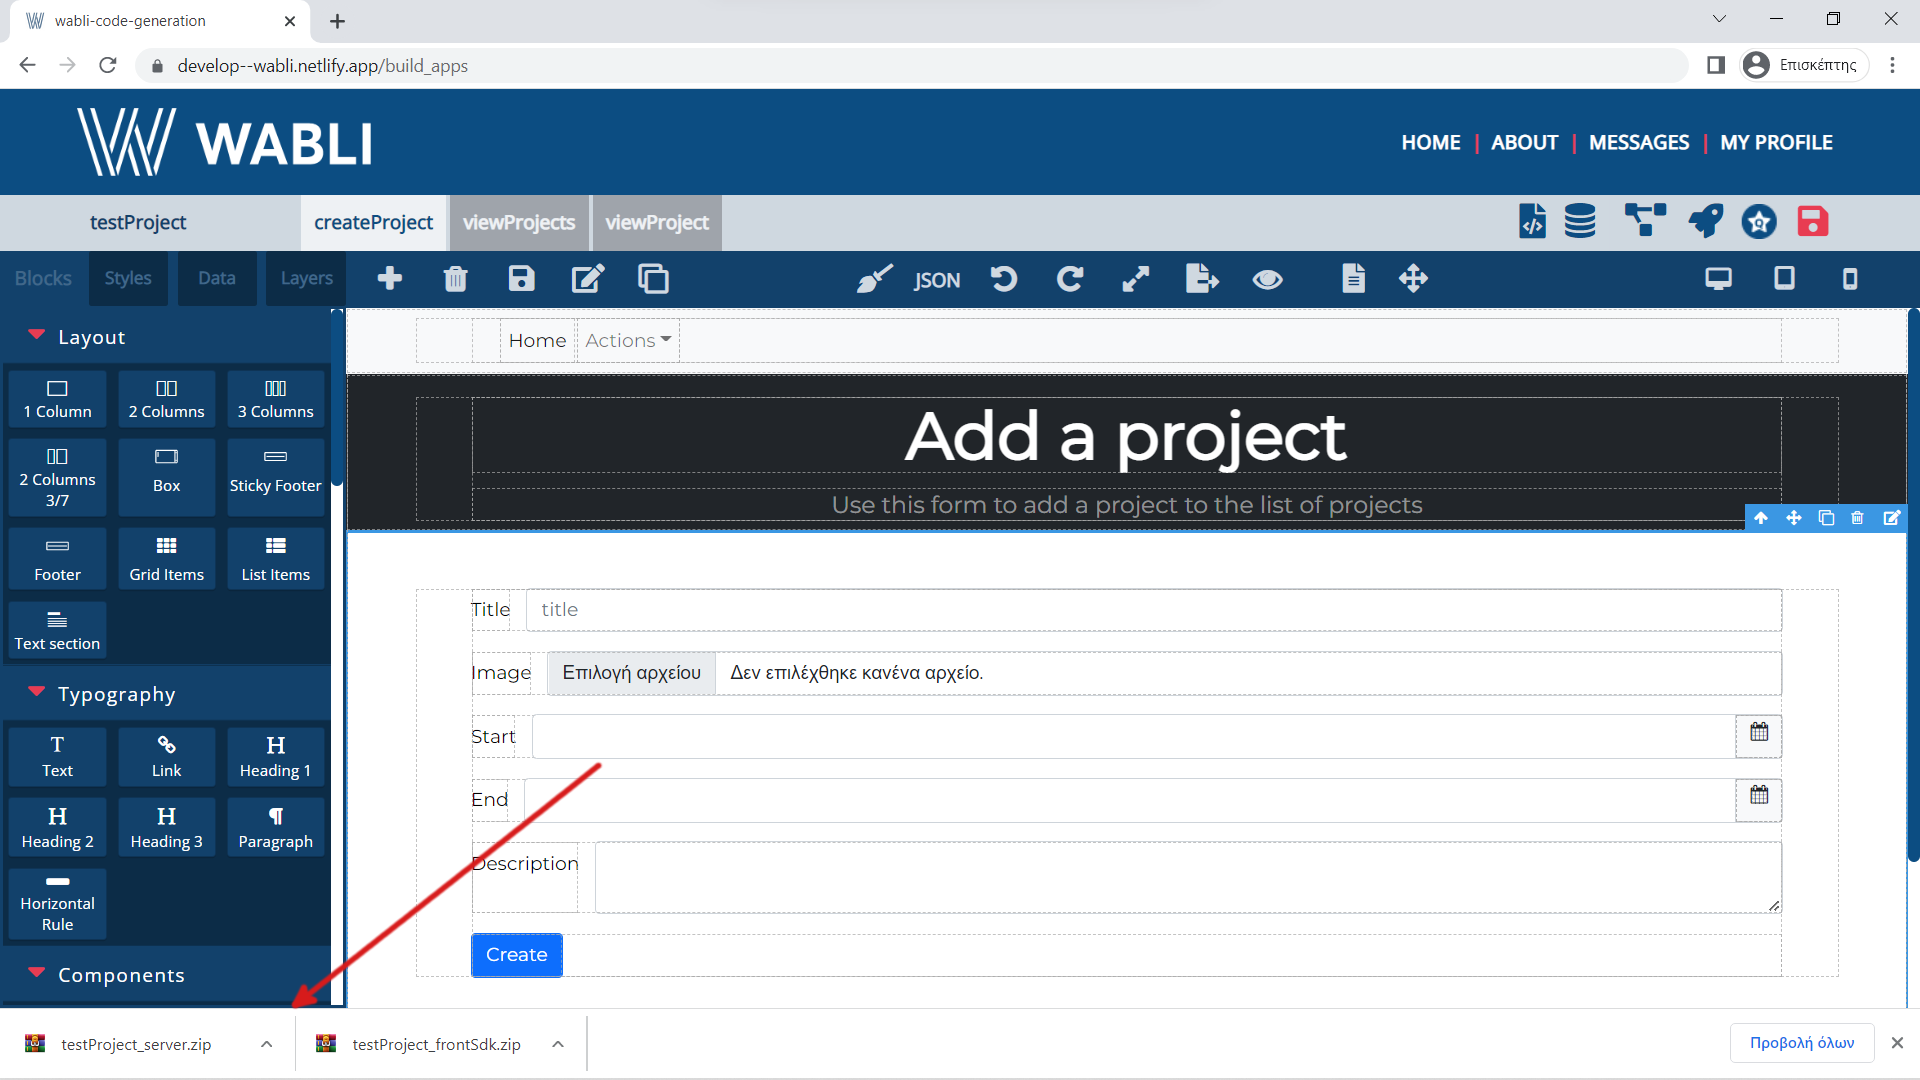
Create a new folder and put inside the two zip files.Then unzip these files.
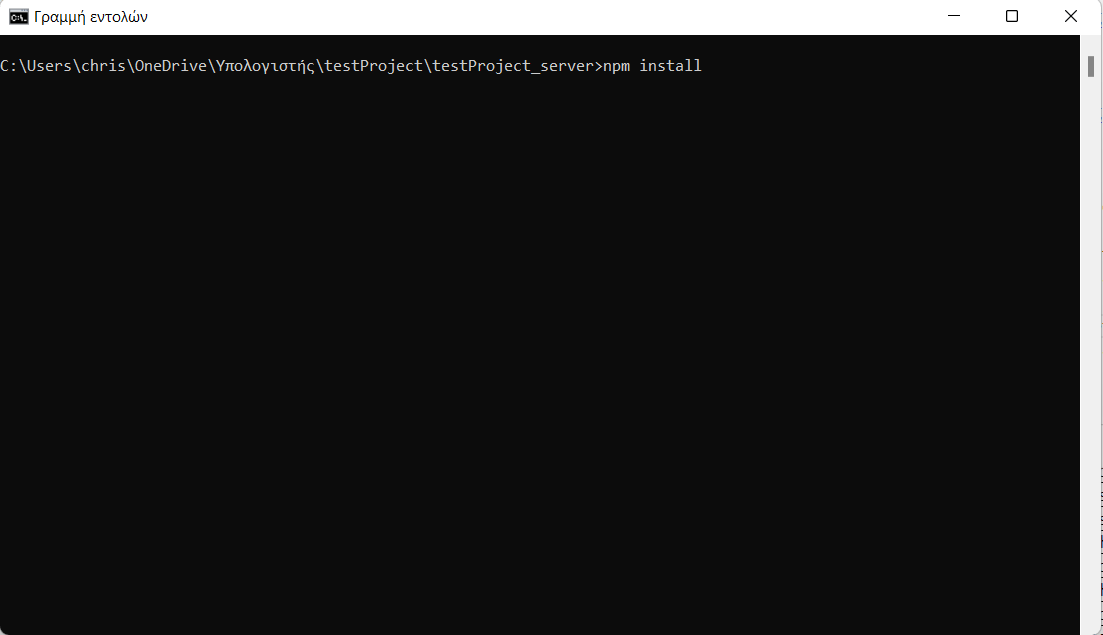
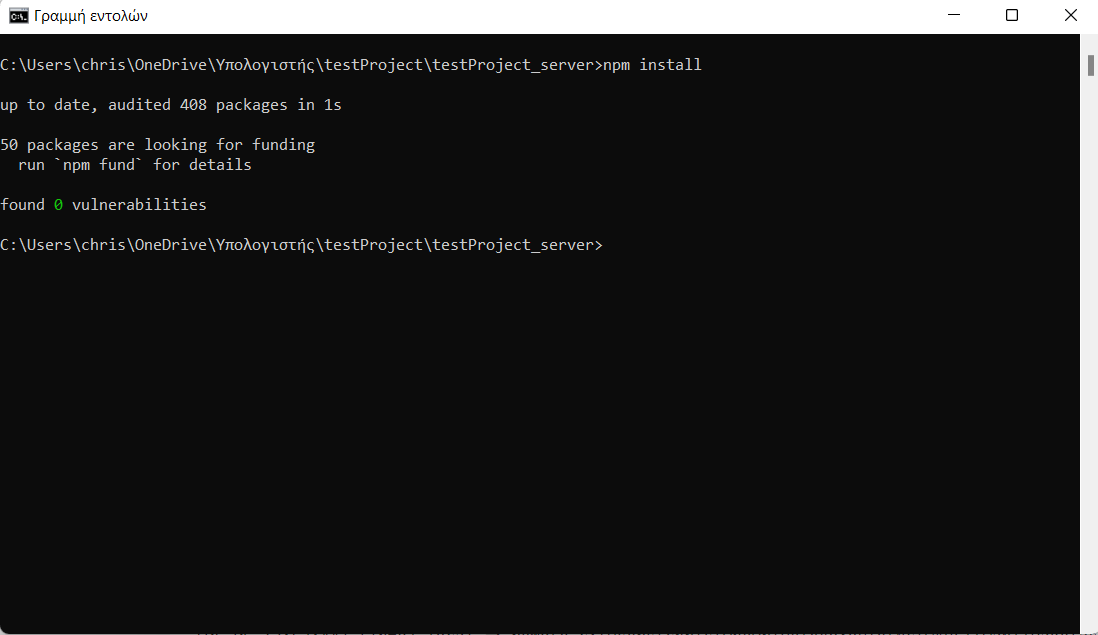
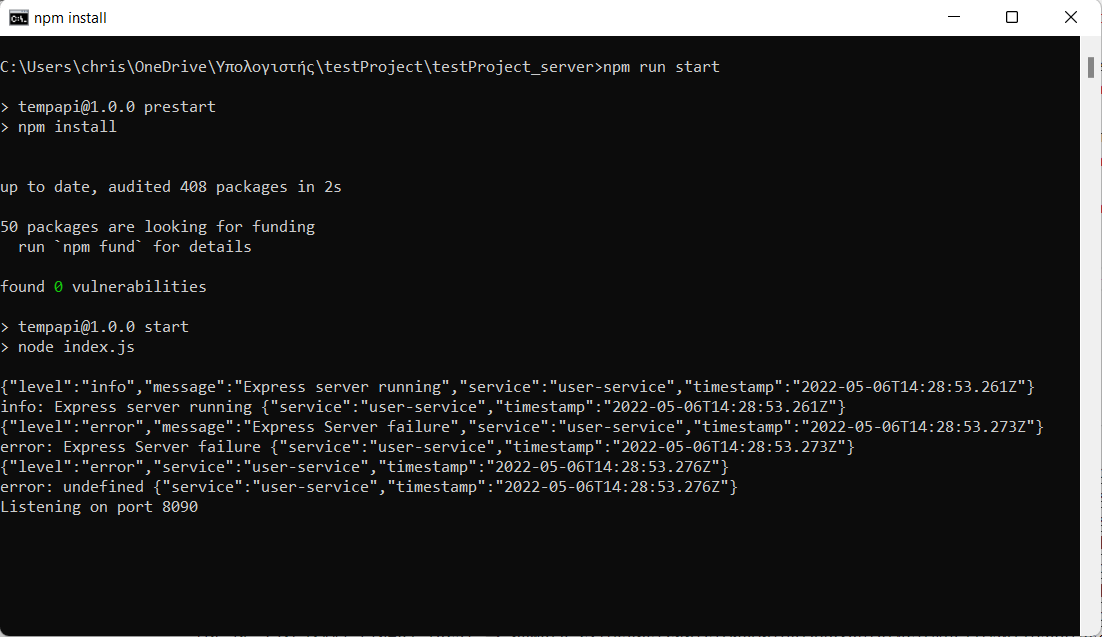
In order to install the dependencies for the backend, open the terminal in the address of the backend and type 'npm install'.
Then in order to start the backend, type 'npm run start'.
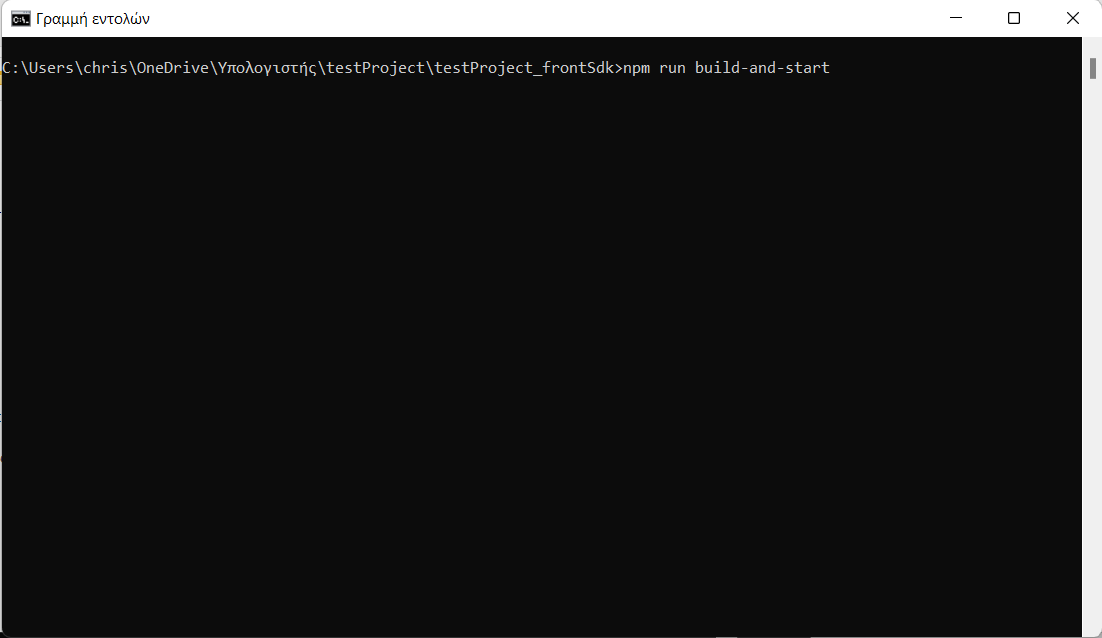
In order to install the dependencies for the front-sdk and start it, open the terminal in the address of the front-sdk and type 'npm run build-and-start'.
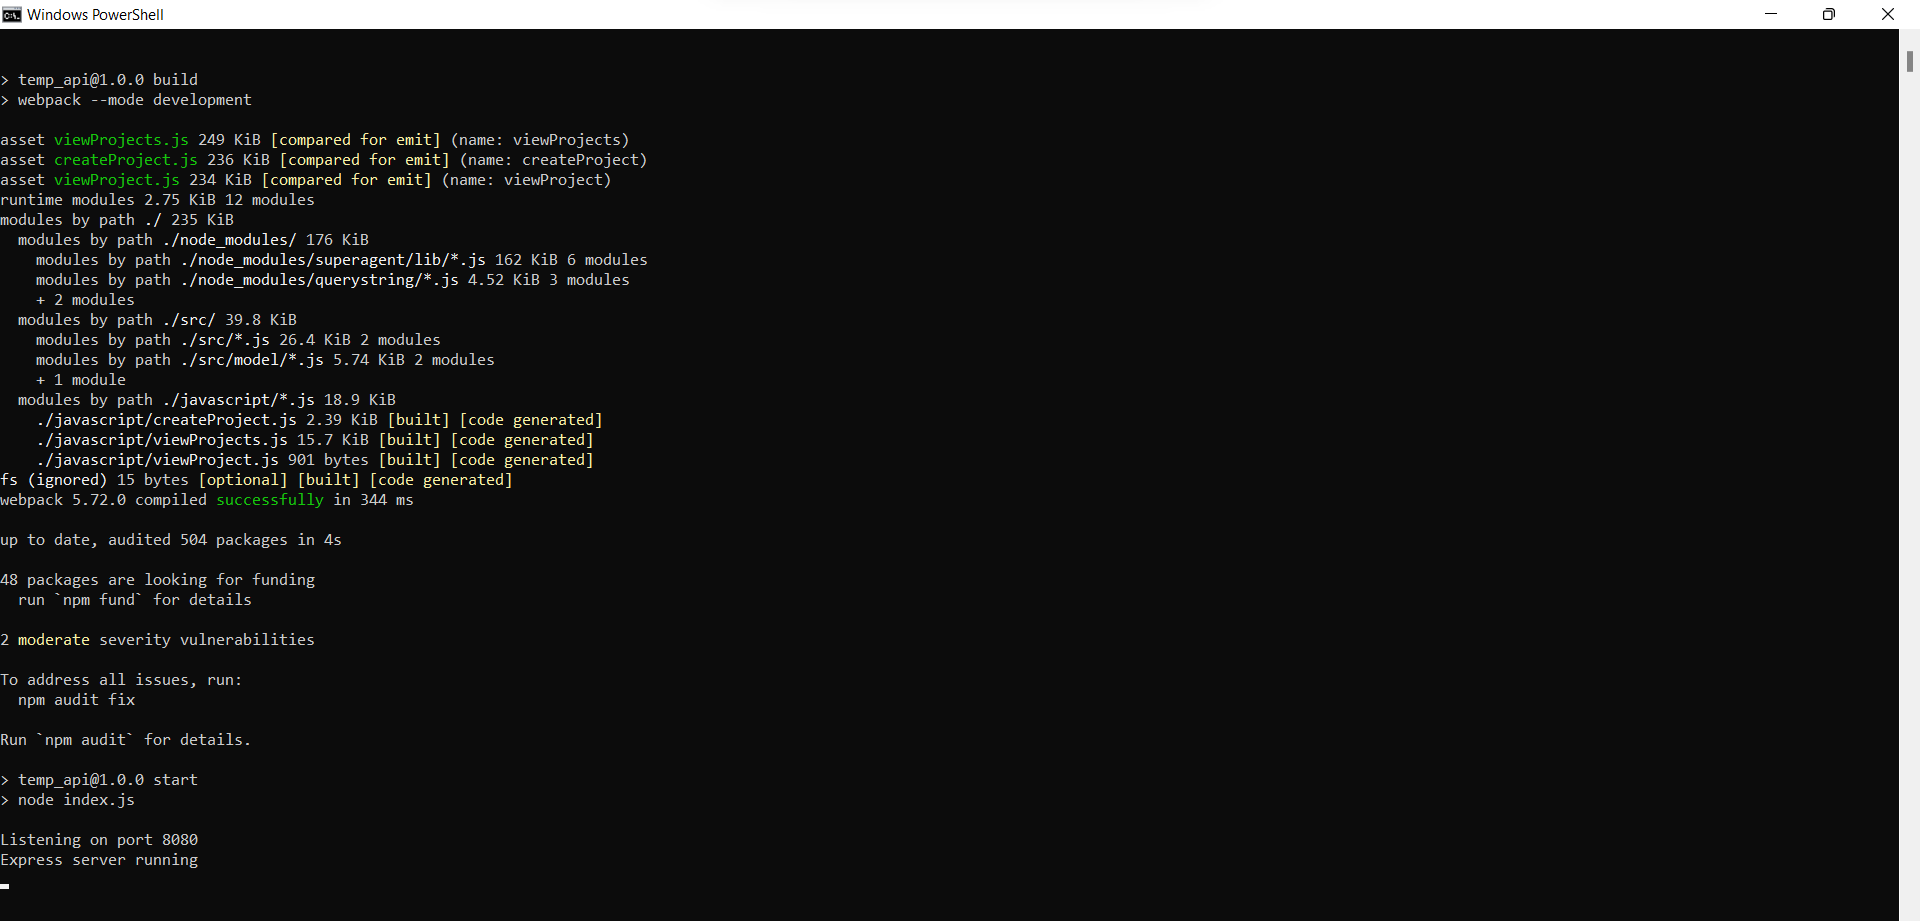
Your project is now running locally!
In order to deploy your project in WABLI server you should select the second option. You should first contact with admin in order to receive a url to deploy your project.

Then you have to click on deploy button.

Then you go back to build application page.

Then in your build application page you have to synchronize your project to Github. In order to do that you have first to select on 'export project code' button.
Then you have to select 'sync to Github' option and wait some seconds to push code to Github.

Finaly you have to go again to deployment page
And then click again deploy button.
Your project is now running on the WABLI server!